
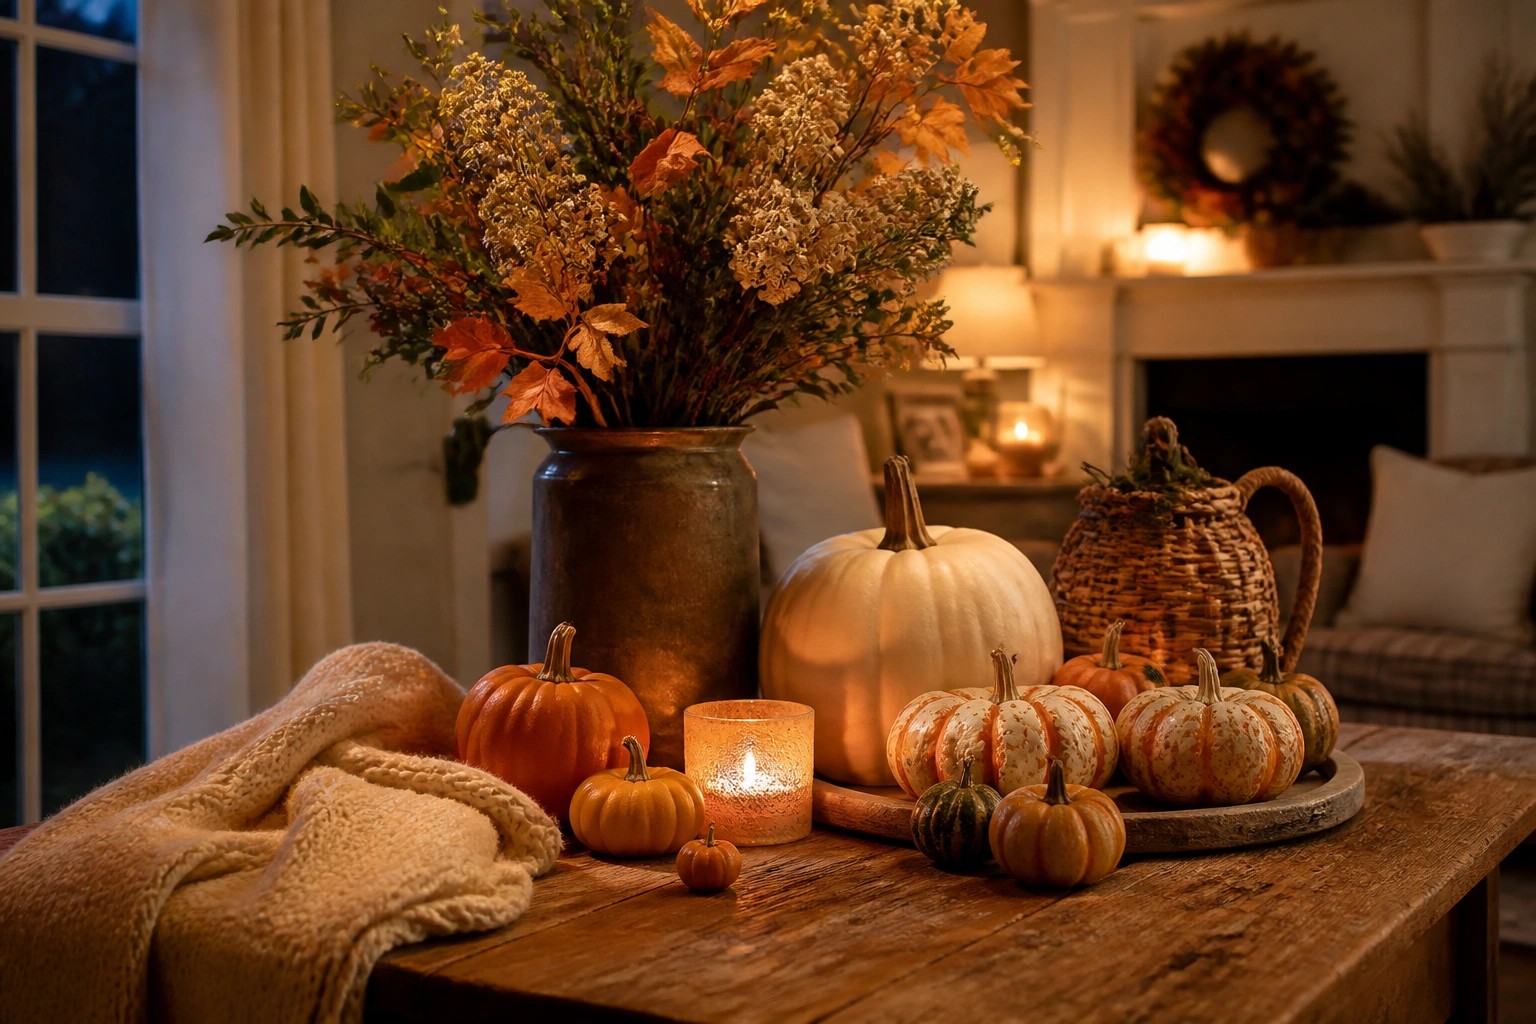
I usually begin my Halloween decorating by gathering pumpkins of all sizes because they work in almost any corner.
Their round forms make it simple to try different arrangements until something feels just right for the space.
I prefer keeping most of them uncarved so the focus stays on color and placement rather than scary faces.
A single painted pumpkin can change the whole feel of a shelf.
Trying out these small variations has helped me create displays that feel charming without taking over the room.
Arrange Pumpkins In A Tray With A Lantern
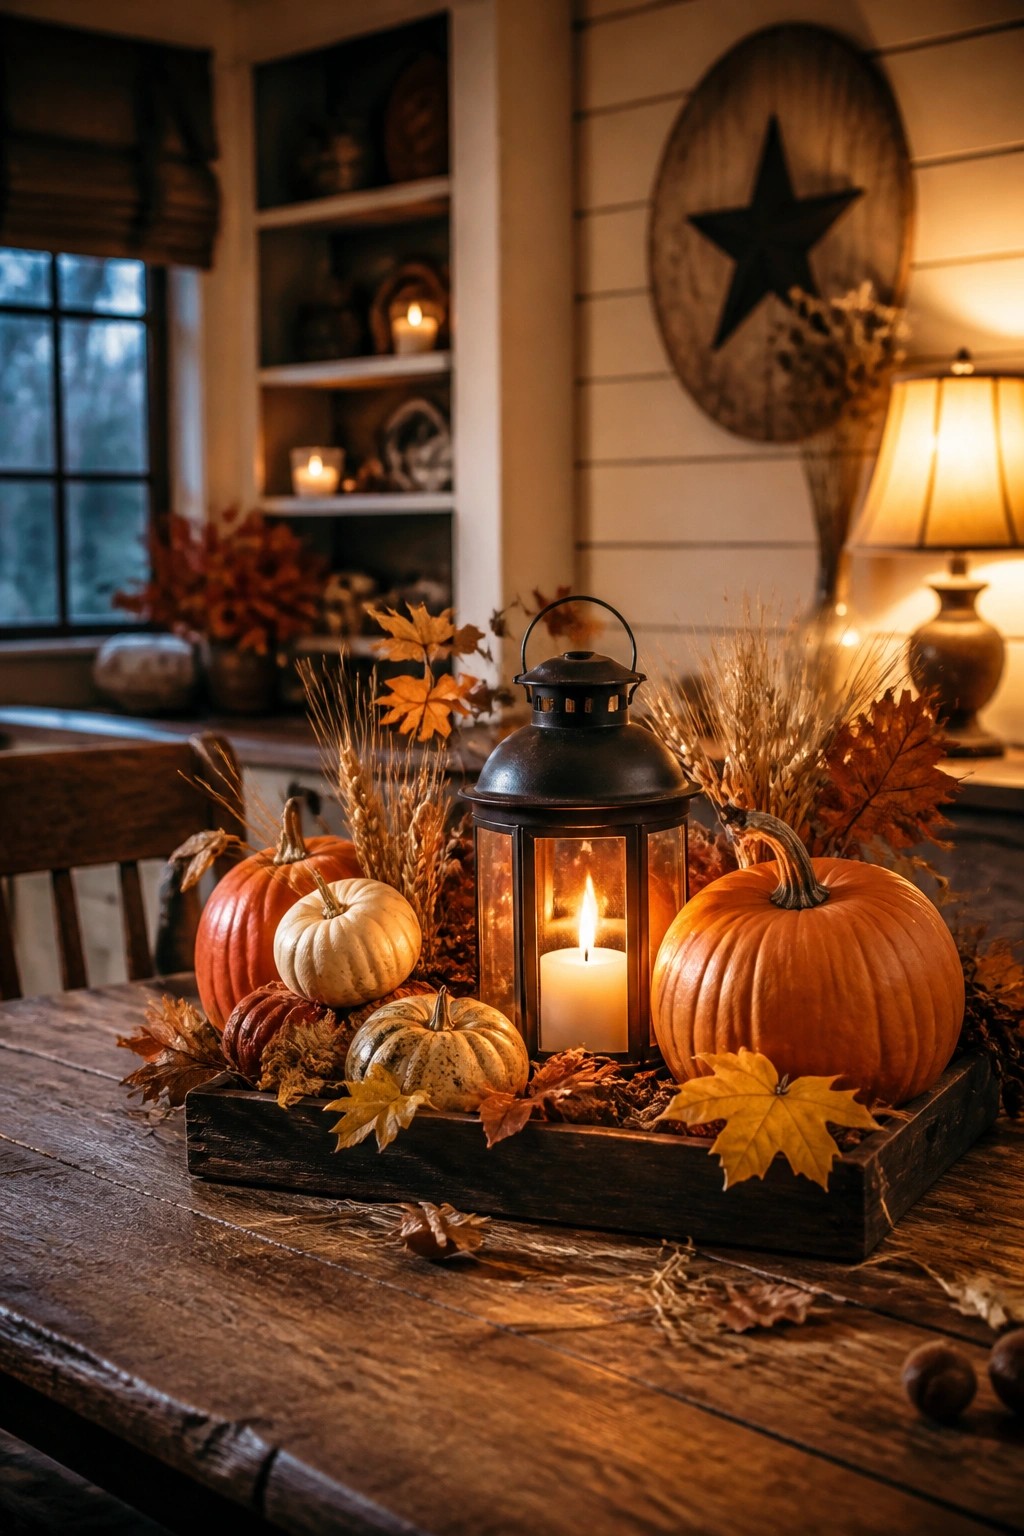
One simple way to highlight pumpkins is to group several different sizes and colors together in a low tray. Adding a lantern in the center gives the display a warm light while keeping the focus on the pumpkins themselves.
This setup works best on a dining table or kitchen counter where you want something seasonal but not overwhelming. Use three or four pumpkins, a few dried leaves, and one lantern to keep the look balanced and easy to move when needed.
Group Pumpkins Along An Entry Console

A simple row of pumpkins in different sizes and finishes makes a strong seasonal statement on a narrow console. The mix of deep orange, pale white, and dark green tones keeps the look varied without needing extra props or bright colors.
Place the largest pumpkins toward the back and smaller ones in front so everything stays visible from the doorway. A tall vase with bare branches behind them adds height and helps the arrangement feel balanced rather than crowded.
Group Pumpkins Across The Floor

Placing pumpkins of different sizes and colors directly on the floor creates a relaxed display that feels natural in any room. The mix of smooth and textured varieties adds interest without needing extra props or bright colors.
This works well in a living room or entry area where you already have a rug. Start with a few larger pumpkins as the base, then tuck smaller ones around them until the grouping looks full but not crowded. It takes almost no time to set up and removes just as easily once the season ends.
Arrange Pumpkins In Different Colors On The Mantel
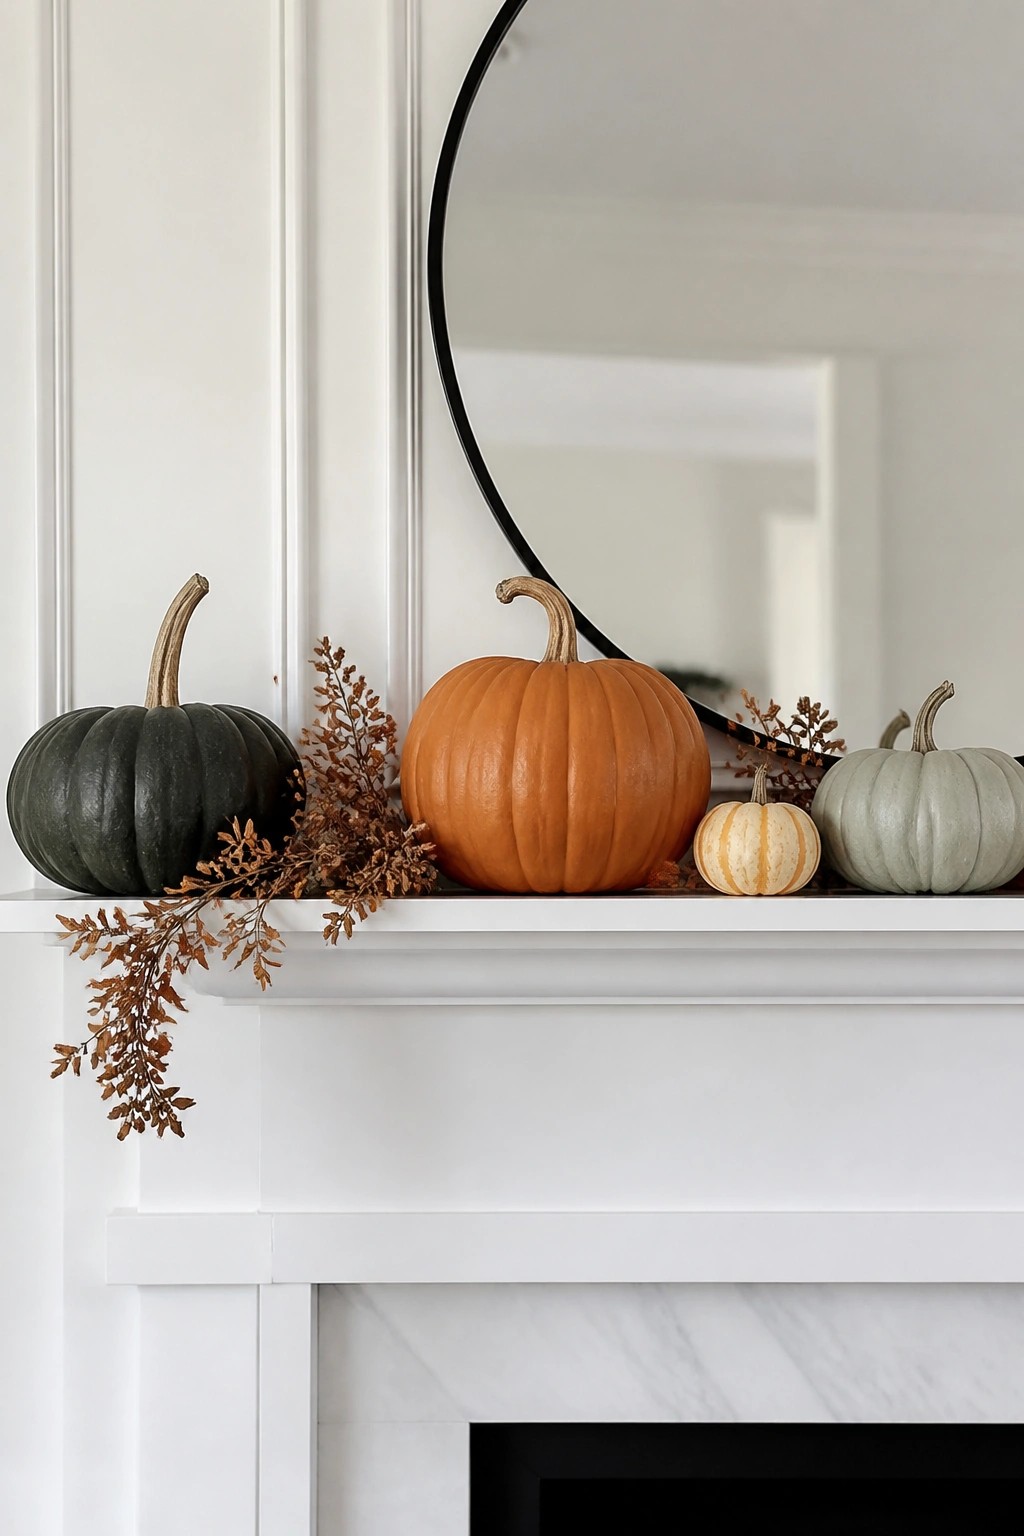
Mixing pumpkins in several shades and sizes creates a simple but effective mantel display. The contrast between the deep green, bright orange, soft sage, and the small striped one keeps the look interesting without needing extra pieces.
Place the largest pumpkins first, then fill in with smaller ones and a few stems of dried foliage. This works well on a white mantel because the colors stand out clearly. You can swap the arrangement easily as the season changes.
Carve A Scene Inside Your Pumpkin
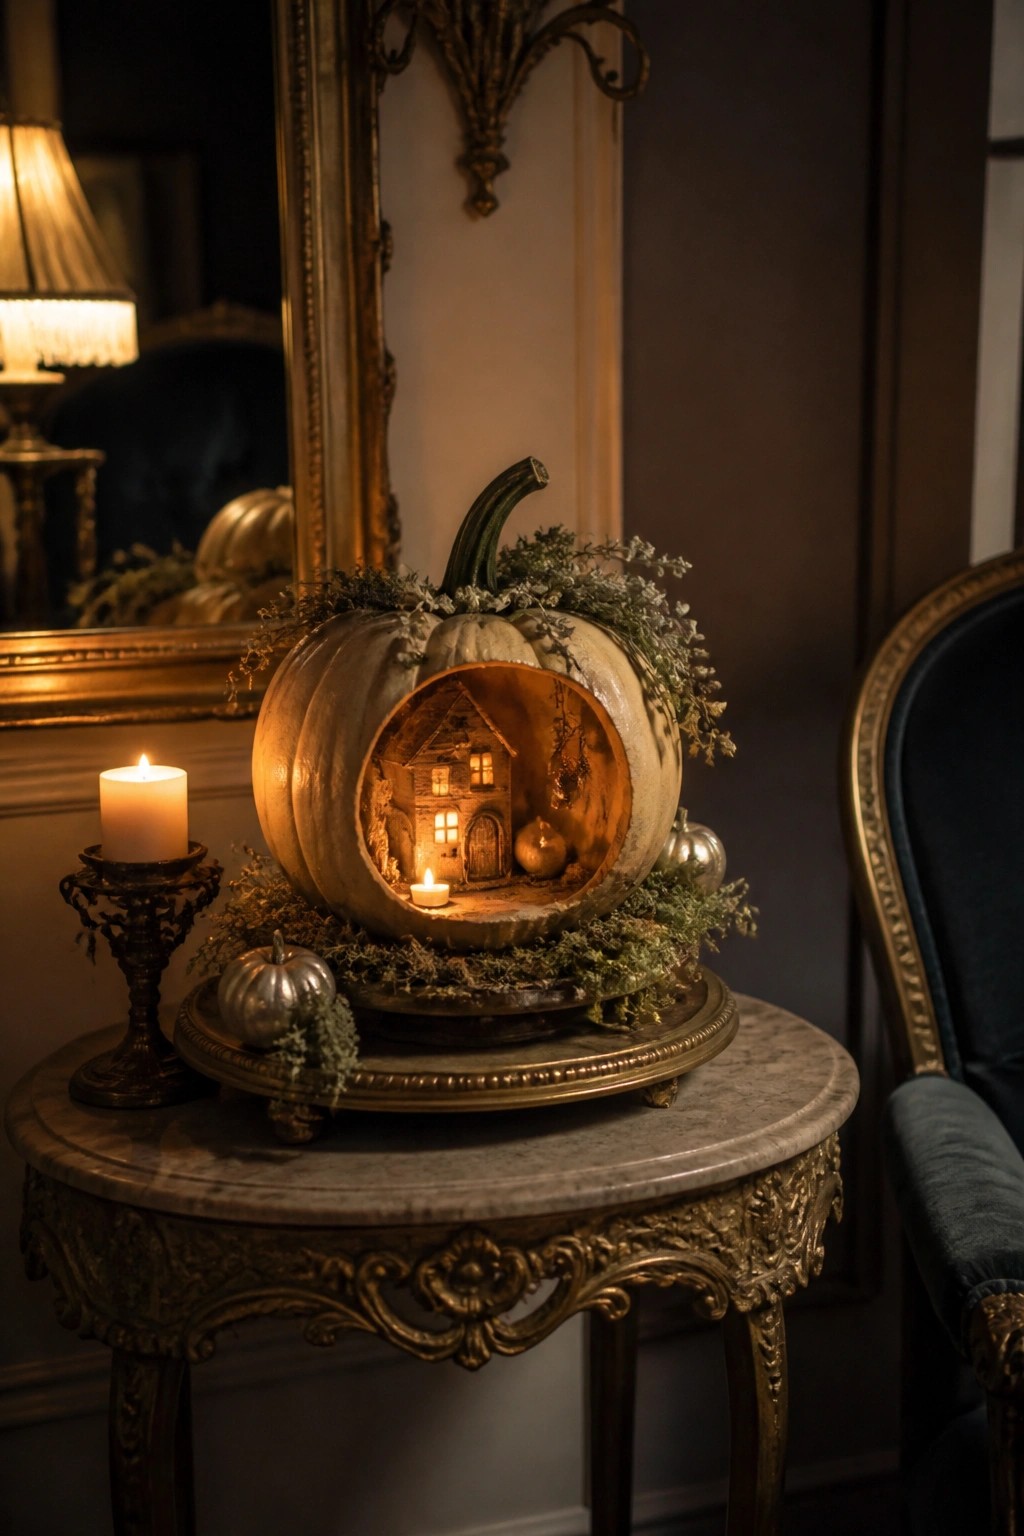
Hollow out a pumpkin and build a small scene inside so the light glows through the windows and doorway. This turns one pumpkin into the main focal point and gives it a clear Halloween story without extra props or wall decorations.
Set the finished pumpkin on a console or side table where it can be viewed from the front. Use a battery candle or two inside to keep the light steady, and keep other tabletop items minimal so the carved scene stays easy to notice.
Arrange Pumpkins Along The Porch Steps
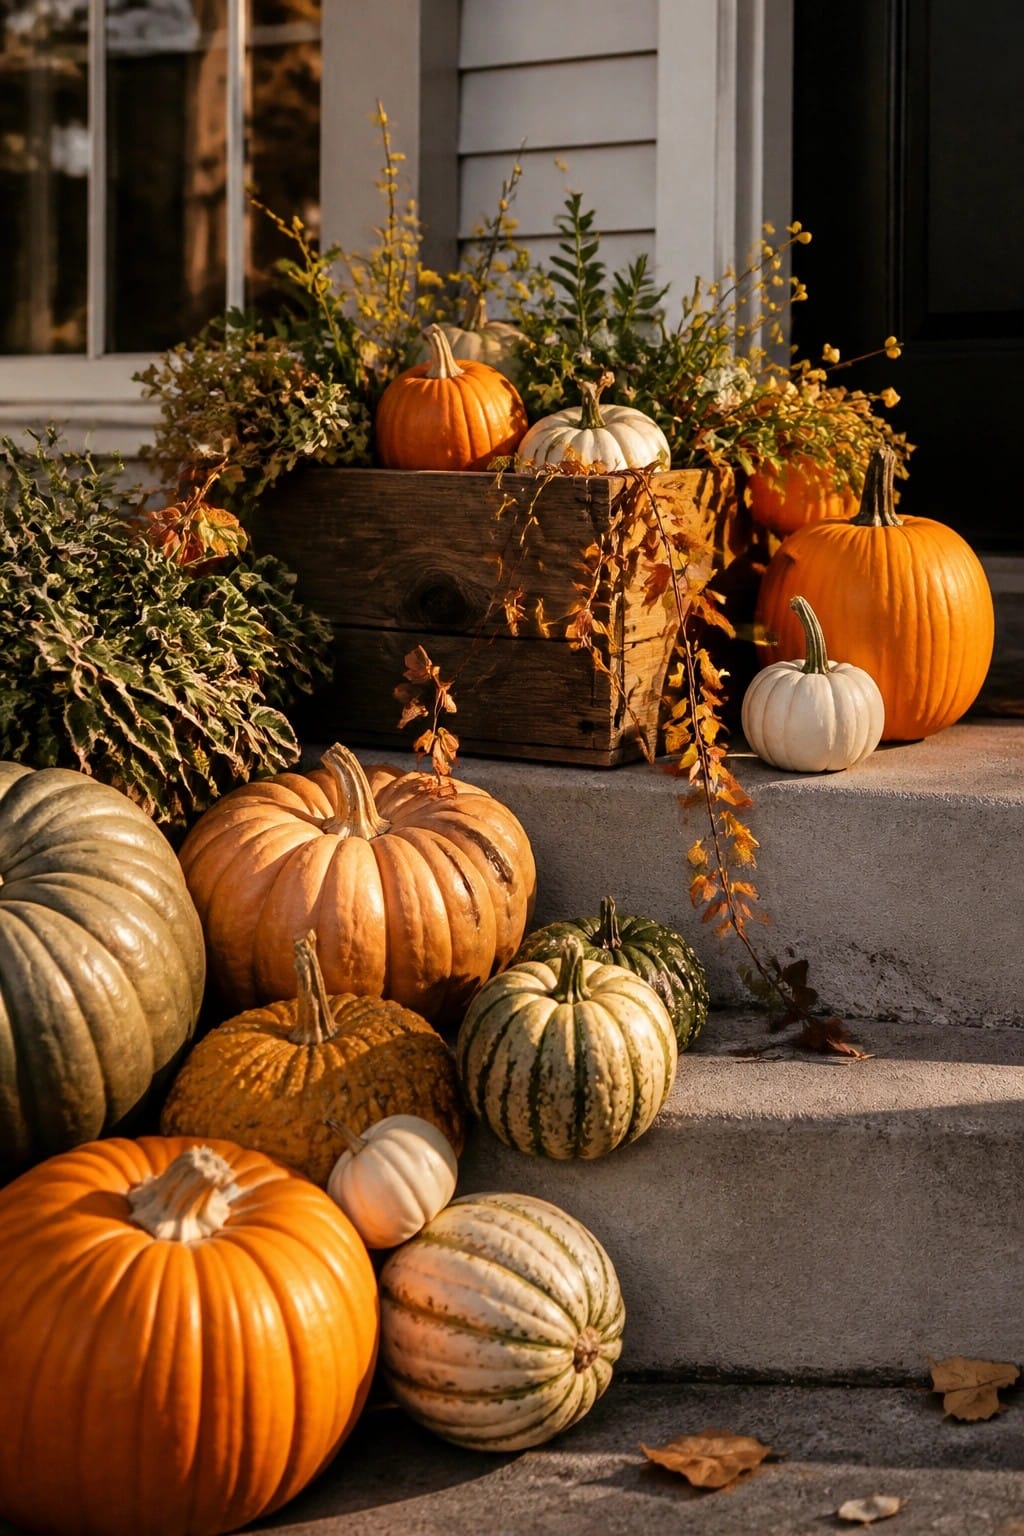
Placing pumpkins of different sizes and colors down the front steps creates a simple, welcoming display that feels seasonal without much effort. The mix of orange, white, and pale green pumpkins gives the arrangement some variety while keeping it easy to put together.
You can start with a few larger pumpkins at the bottom and work upward with smaller ones, then tuck in a little greenery or dried leaves if you have them on hand. This works well on concrete steps or any entry with a bit of width, and it stays charming even if you keep the total number of pumpkins modest.
Use A Large Pumpkin As A Centerpiece Base

This idea keeps the look simple by letting one big pumpkin do most of the work. The large orange gourd holds several smaller striped and white pumpkins along with a few leafy stems, creating a single focal point that still feels full.
To copy it, choose a wide pumpkin with a flat top, hollow out a shallow space if needed, and nest the smaller ones inside. Add a handful of eucalyptus or similar greenery to soften the edges and tie the colors together. The setup works best on a wooden dining table where the warm tones can stand out without extra props.
Cluster Mixed Pumpkins On A Coffee Table

A simple way to bring Halloween into the living room is to gather several pumpkins of different sizes and colors in one spot. The mix of smooth orange ones with striped and mottled varieties creates a full, finished look without needing extra props.
Place the arrangement on a coffee table where people gather most. Use both real and faux pumpkins so the display lasts through the season, and tuck a few leafy branches around the edges to fill any gaps.
Group Pumpkins Along The Porch Steps
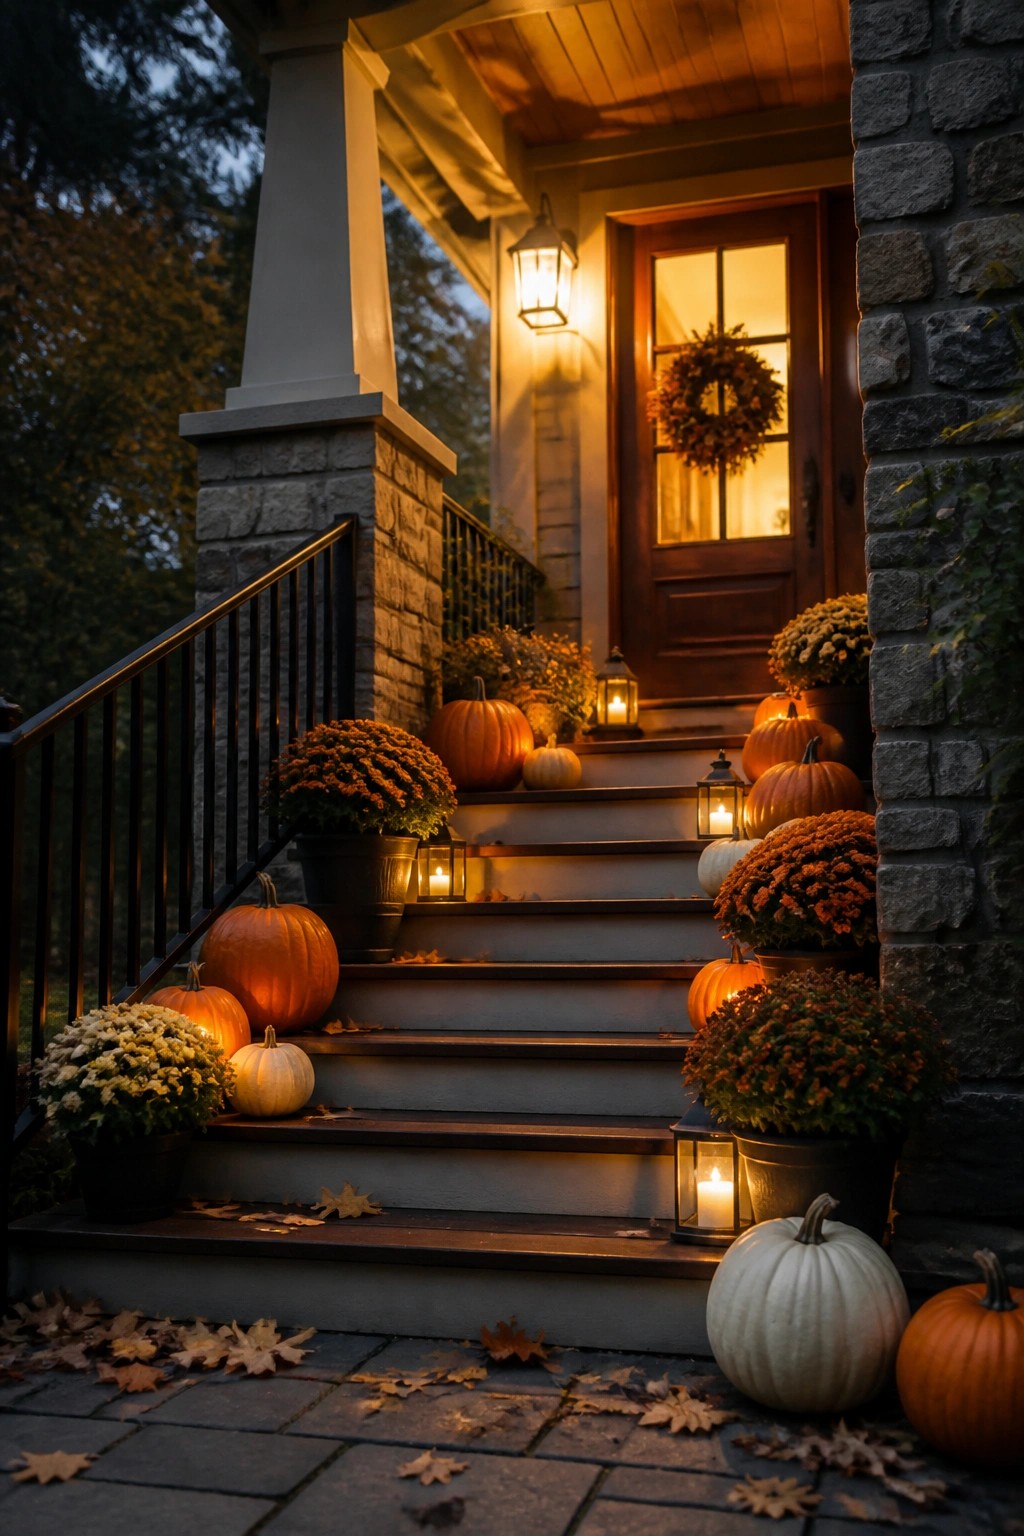
Placing pumpkins of different sizes and colors along the steps creates a simple and welcoming Halloween look. The mix of orange and white pumpkins draws the eye upward toward the door without needing extra props or complicated setups.
This works well on any front porch or entry stairs. Start with a few larger pumpkins at the bottom and work upward with smaller ones, then add just a couple of lanterns if you want light after dark. Keep the rest of the area clear so the pumpkins stay the main focus.
Arrange Pumpkins In A Kitchen Tray
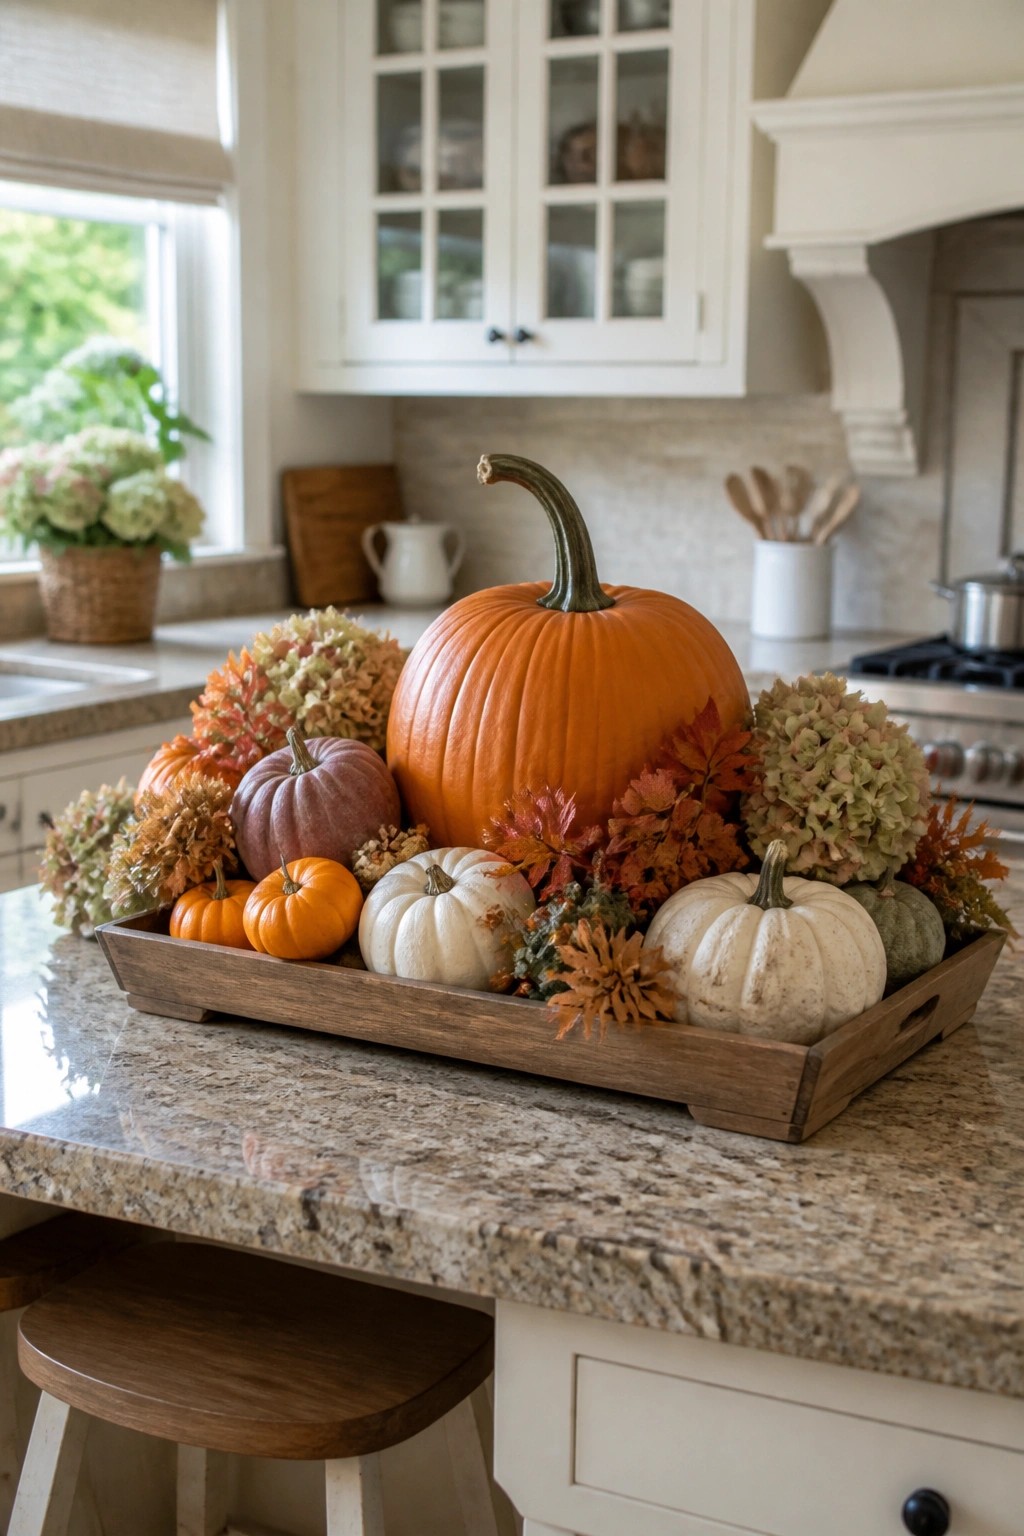
A wooden tray filled with pumpkins of different sizes and colors makes a simple and effective kitchen display. The mix of bright orange, soft white, and smaller varieties keeps the arrangement interesting while staying contained on the counter. It adds a seasonal touch that works well in a busy space like the kitchen without spreading decor everywhere.
To try this at home, pick a tray with low sides and gather pumpkins in a few different shades. Tuck in a few leaves or small flowers for extra color if you like. Place the tray on an island or countertop where it will not interfere with cooking but can still be seen from the main area of the room.
Group Neutral Pumpkins On A Console Table

A simple row of pumpkins in soft white, sage, and green tones makes an easy seasonal display on a console. The mix of smooth and striped finishes keeps the look interesting without needing extra pieces or bright colors.
Place the largest pumpkins toward the back and smaller ones in front so the arrangement feels balanced. This works well in an entryway where you already have a lamp or a vase of greenery, since the pumpkins become the main seasonal accent.
Carve A Heart Into Your Pumpkin
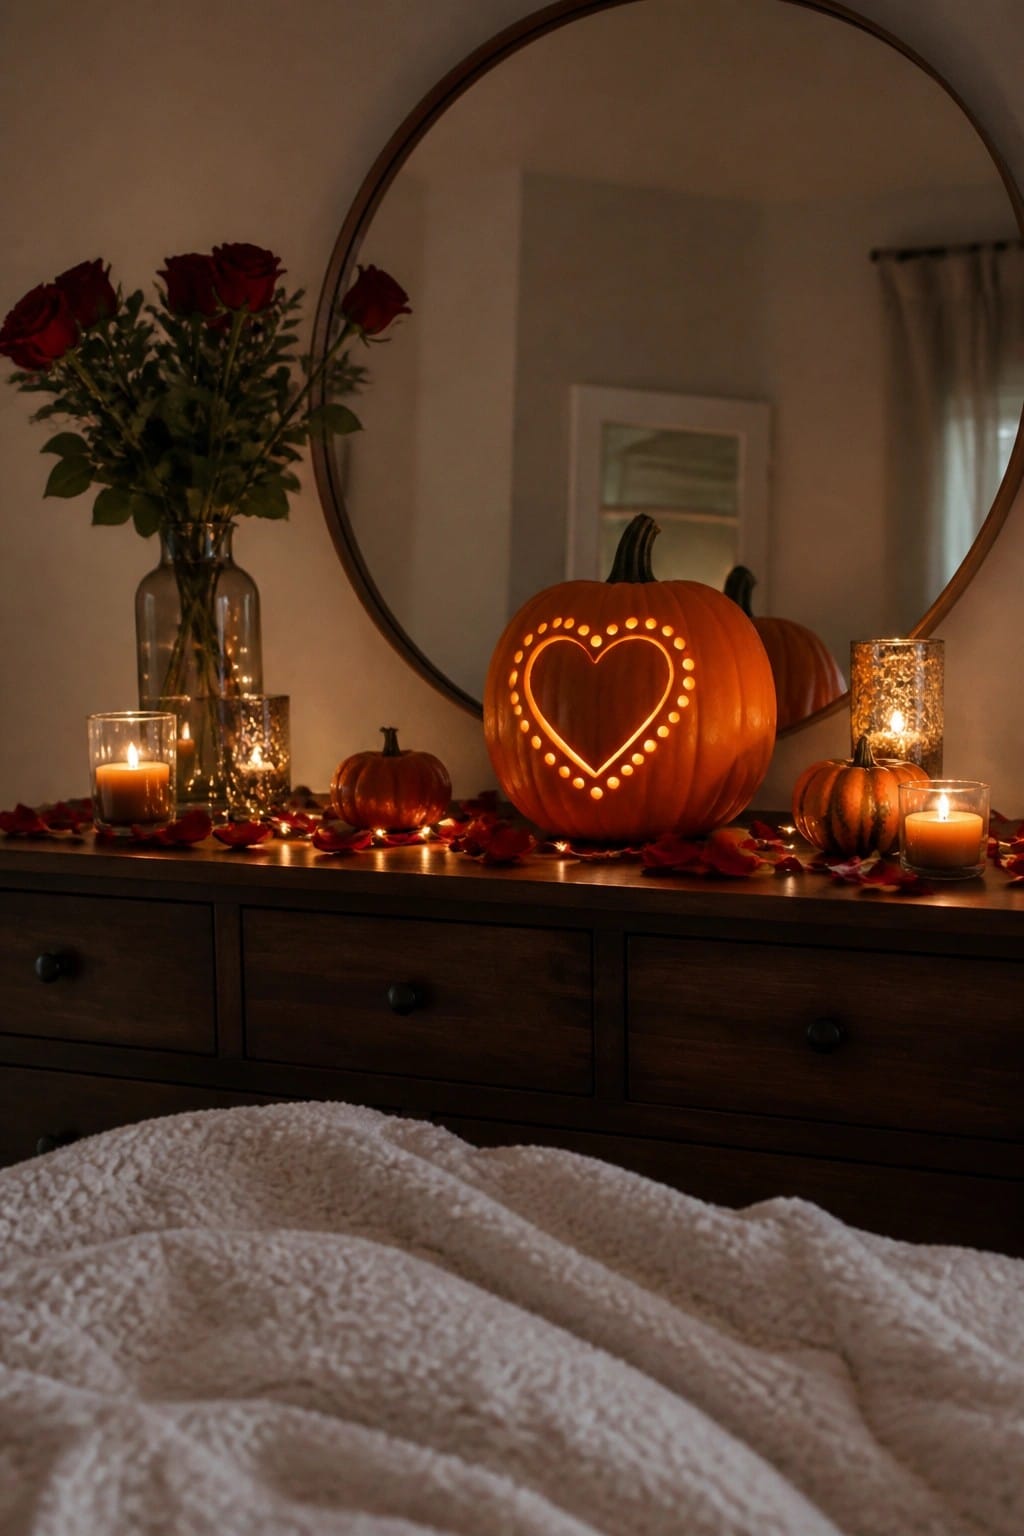
A heart carved into a pumpkin creates a simple and charming focal point that feels more romantic than spooky. The glowing outline draws attention without needing extra props or complicated setups.
Set the pumpkin on a dresser or console where it can stand out on its own. Add a couple of smaller pumpkins and a few candles nearby to keep the look balanced and easy to put together.
Group Pumpkins By Color On A Console

Mixing pumpkins in different muted shades creates a simple autumn display that still feels seasonal without going overboard. Placing them together on a console lets the color variations stand out while keeping the look calm and easy to style.
Start with three to five pumpkins in tones that match your space, such as deep green, soft white, and sage. Set them in a loose row or cluster and add one or two neutral vases with greenery behind them if you want a bit more height. This works well in an entryway or on any flat surface where you want a quick seasonal touch.
Group Pumpkins Along The Mantel

A simple way to create a strong seasonal focal point is to line up pumpkins of different sizes and finishes across the mantel. Mixing metallic gold and gray tones with plain white ones gives the arrangement more depth without needing extra props or bright colors.
This works best when you keep the rest of the surface fairly clear. Place a few low candles in between the pumpkins to add a soft glow at night. The look stays charming and easy to change once the season ends.
Arrange Pumpkins Along A Porch Bench
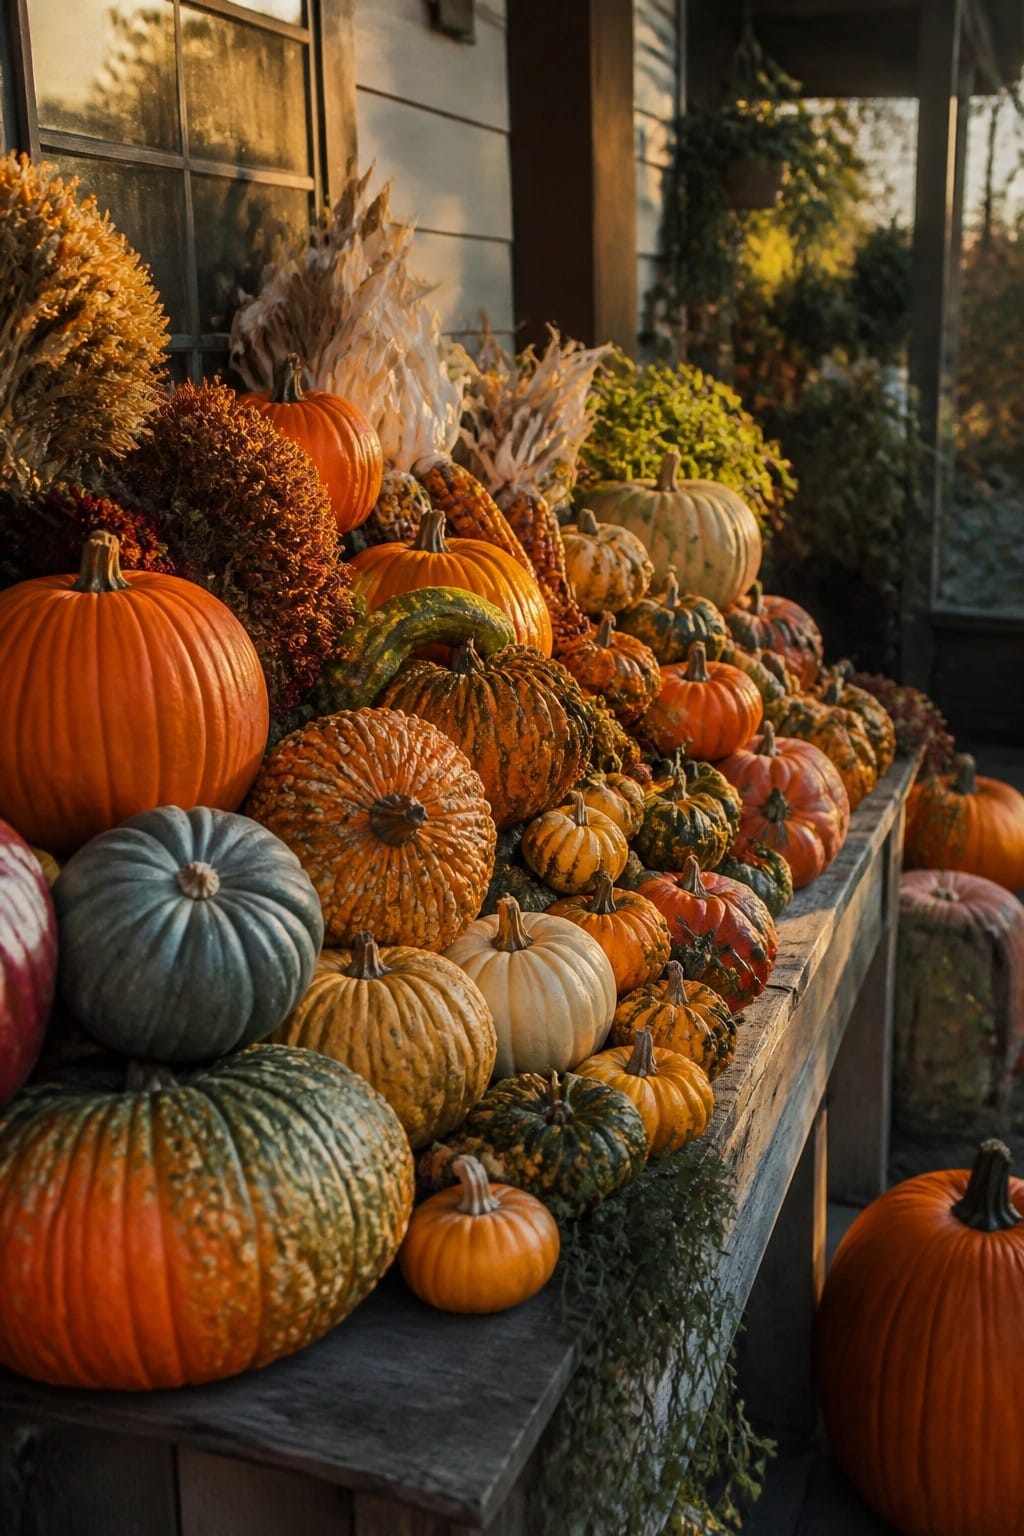
A big collection of pumpkins lined up on a bench makes a simple and cheerful porch display. The mix of orange, white, and green pumpkins in different sizes creates plenty of interest without needing extra pieces. It feels welcoming and works especially well in the afternoon light.
Try this on any outdoor bench or wide ledge near your front door. Start with larger pumpkins at the back and fill in smaller ones toward the front. Add a few dried stalks or leaves if you want, but keep the focus on the pumpkins themselves.
Group Pumpkins Along An Entry Console

A simple row of pumpkins in different sizes and soft shades makes a welcoming Halloween touch right by the door. The mix of creamy white, pale beige, and a few striped ones keeps the look charming without feeling busy or overly themed.
Try this on any narrow table or bench near your entry. Start with three or four larger pumpkins as the base, then tuck in smaller ones and a few stems of dried grass for height. The neutral colors let the shapes stand out and work well with whatever else you already have in the space.
Arrange Patterned Pumpkins On A Console

Pumpkins with simple cutout patterns make an easy and recognizable Halloween display when lined up on a console. The holes and painted details turn ordinary pumpkins into the main focal point without needing extra props or clutter.
Place four or five pumpkins of different sizes and finishes in a loose row, and keep the rest of the surface clear. This works well in an entryway or living room where you want a clear seasonal accent that still feels light.
Group Pumpkins Along The Mantel
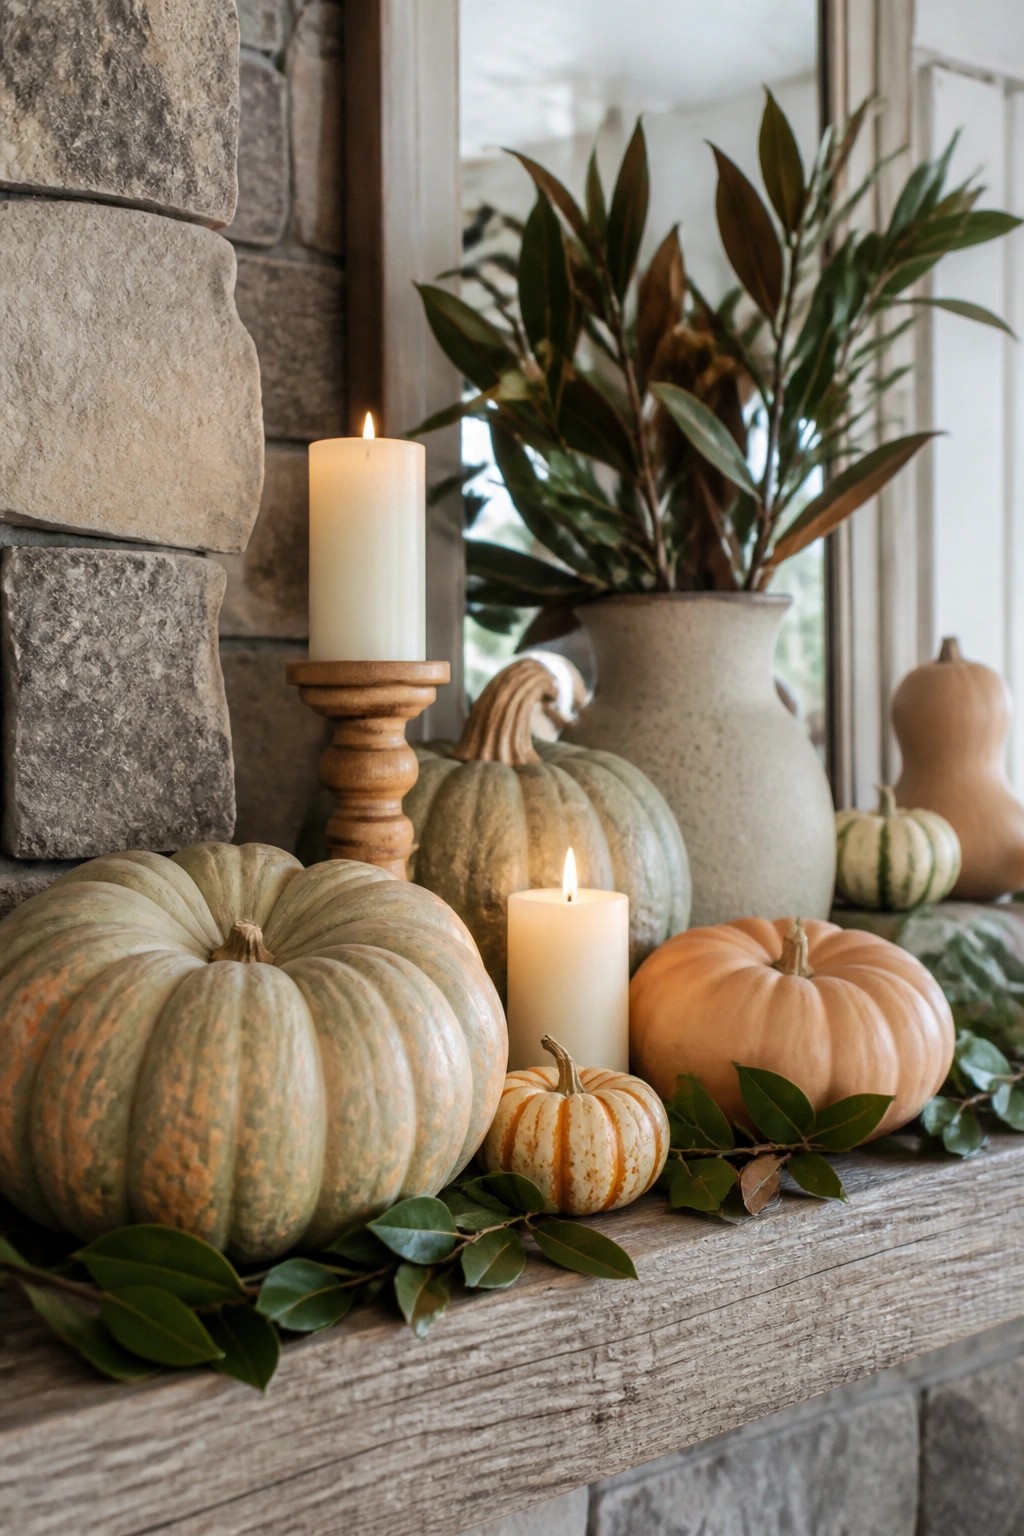
Pumpkins make a simple and effective focal point when lined up on a mantel. Mixing sizes and soft shades of green and orange keeps the look charming without feeling busy, and the candles add a gentle glow that works well in the evening.
Place the largest pumpkins toward the center or one end, then fill in with smaller ones and a few candles in between. Scatter a few leaves or a branch of greenery for a finishing touch. This setup works on most mantels and takes only a few minutes to arrange each year.
Fill A Pumpkin With Fresh Flowers
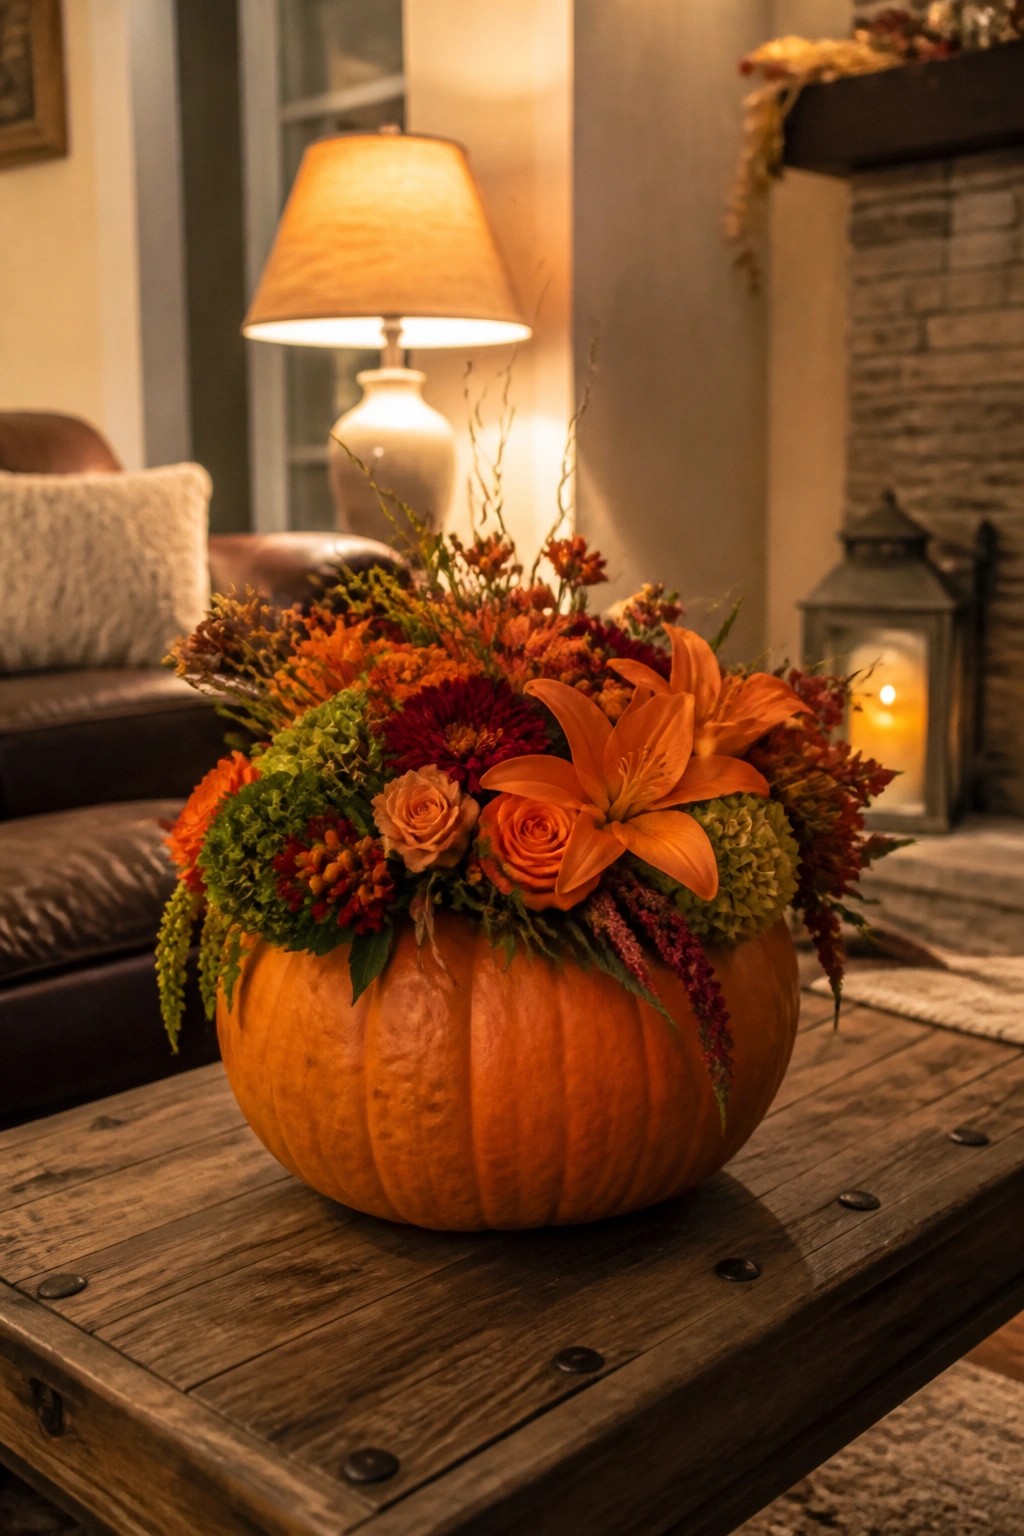
A hollowed pumpkin makes an easy and charming vase for a fall flower arrangement. Place it on a coffee table or dining surface where the bright orange color stands out against neutral wood and surrounding furniture. The mix of orange lilies, roses, and smaller blooms keeps the look seasonal without needing extra Halloween props.
To try this at home, choose a firm pumpkin, cut a wide opening at the top, and add a waterproof liner or small vase inside. Fill it with whatever flowers are available at the market and tuck in a few stems of greenery around the edges. This works well in living rooms or entry areas where you want a simple seasonal touch that still feels fresh.
Draw Faces On Pumpkins For A Charming Porch Display
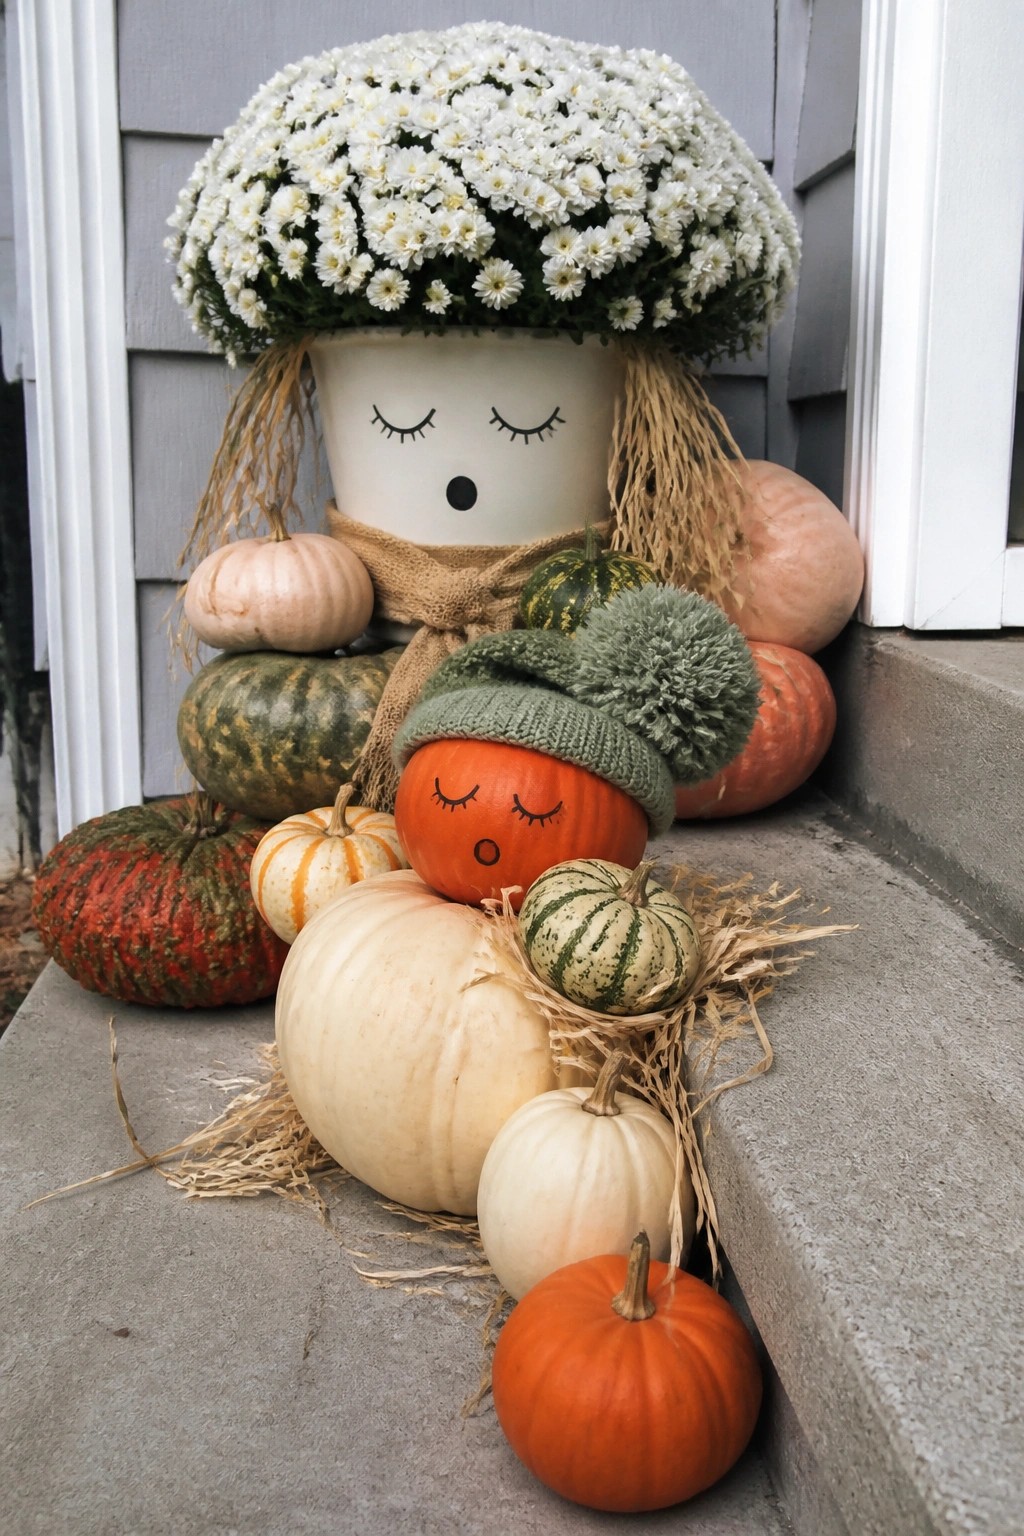
Drawing simple faces on a few pumpkins turns an ordinary grouping into something more playful. The orange pumpkin wearing the knit hat stands out because the eyes and mouth are easy to spot, and the larger pot with its drawn face and straw hair adds another friendly touch without any carving.
Start with three or four pumpkins in different sizes and use a marker or paint pen to add basic expressions. Place them together on your front steps with some straw underneath so the faces remain visible from the walkway. This works well when you keep the rest of the display simple and let the faces do the work.
Mix Pumpkins Down A Table Runner

A long table runner covered in pumpkins of different sizes and colors makes a simple but effective centerpiece. The mix of orange, white, and pale green pumpkins keeps the look varied without needing extra props or bright Halloween colors.
This works well on a dining table because it stays low enough for conversation while still showing off the pumpkins. Use a neutral runner, add a few small candles between the pumpkins, and tuck in some leaves if you want a bit more texture. Keep the rest of the table clear so the pumpkin line stays the focus.
Place A Large Pumpkin On The Mantel

A single oversized pumpkin makes a strong focal point on a mantel when surrounded by a few candles and scattered leaves. The warm glow from the candles highlights the pumpkin’s shape without needing extra decorations or patterns.
This works well in any living area with a fireplace because it keeps the display simple and easy to change after the season. Use one big pumpkin in the center, add a couple of low candles on each side, and keep the surrounding leaves minimal so the pumpkin stays the main feature.
Create A Pumpkin Carriage Display

A large pumpkin shaped like a carriage makes a charming focal point for any tabletop or console. The open door cutout lets you tuck a smaller pumpkin inside, almost like it is riding along, and the wheels give the whole thing structure without needing extra pieces.
Place the carriage on a side table near your entry or in a living room corner where it can be seen from several angles. Use just one or two smaller pumpkins nearby so the carriage stays the main feature. This works well with both painted and natural pumpkins, and it comes down easily after the season.
Use A Pumpkin As A Flower Vase

A hollowed-out pumpkin makes a simple and charming vase for fall flowers. The pale color of the pumpkin keeps the look soft while the bright blooms inside add just enough seasonal color without any extra effort.
Place the arrangement on a wooden tray with a couple of smaller pumpkins nearby. This setup works well on a kitchen counter or windowsill and only needs one good pumpkin and whatever flowers you have on hand.
Cluster Pumpkins Along The Mantel
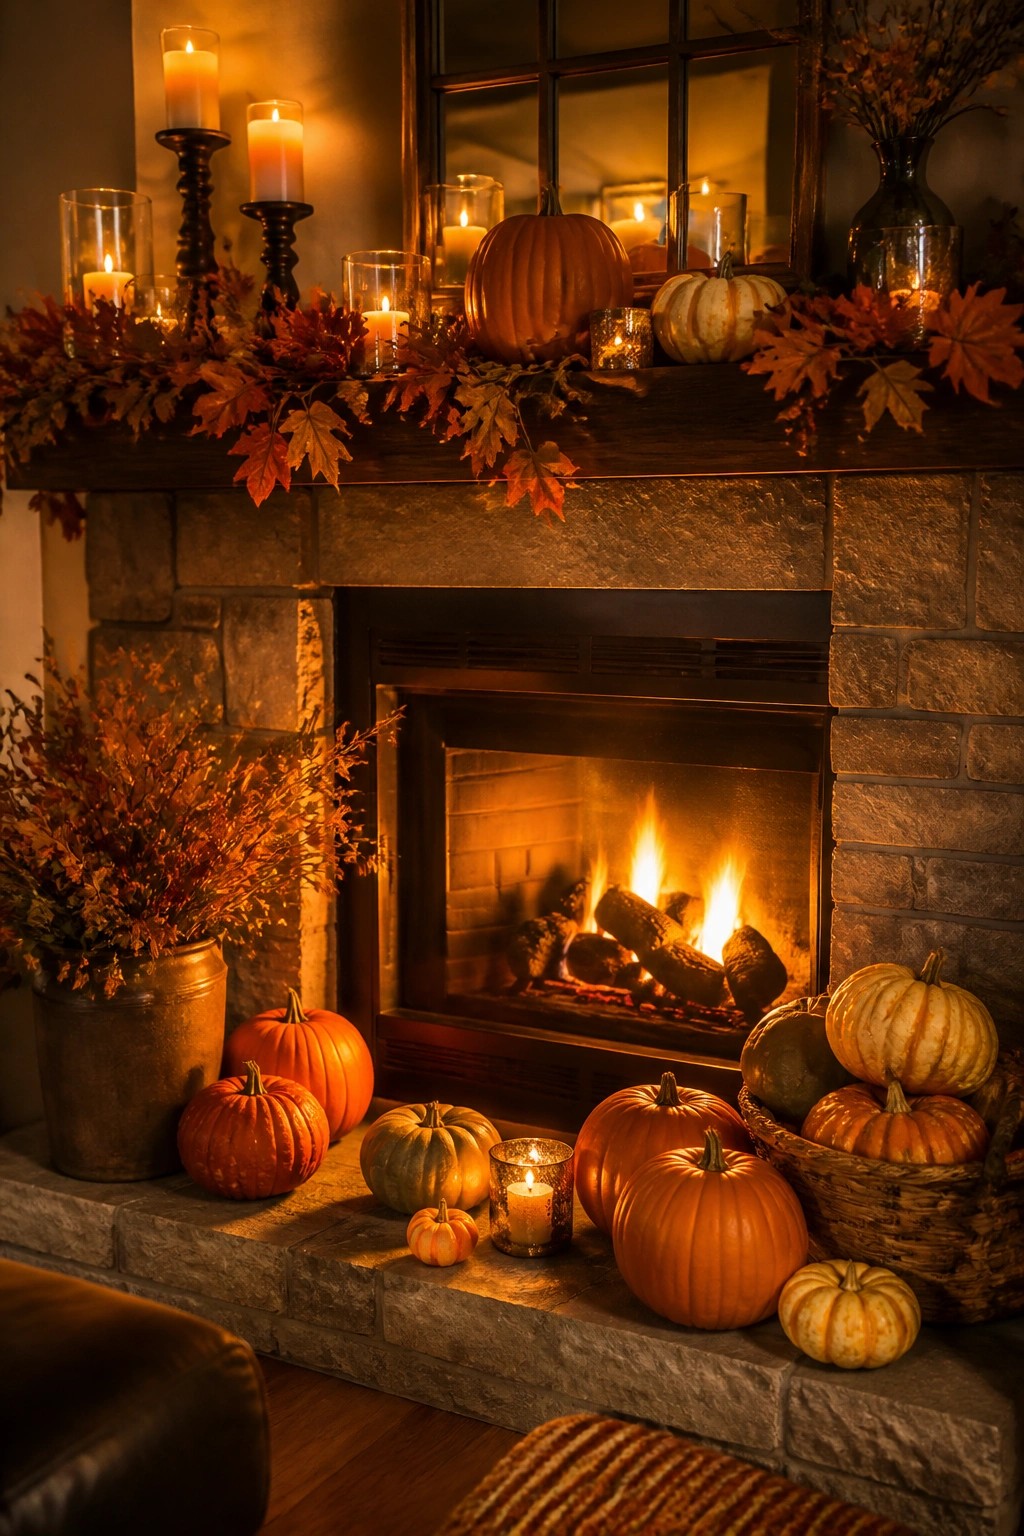
Placing pumpkins along a fireplace mantel gives them a natural spot to stand out. The mix of orange and pale striped pumpkins with a few candles tucked between them keeps the display simple but still feels like a clear seasonal statement.
Start with two or three larger pumpkins on the mantel and add smaller ones on the hearth below. Keep the supporting pieces minimal so the pumpkins stay the main focus.
Frequently Asked Questions
Q: How can I stop my pumpkins from getting moldy right away?
A: Wipe them down with a vinegar solution after carving. Keep them out of the rain and check for soft spots daily. A little maintenance goes a long way here.
Q: Do I need special tools for these decorating ideas?
A: Most projects work fine with stuff you already have like markers or glue. Skip the fancy kits if you’re just painting or adding embellishments. Simple supplies keep things fun and low pressure.
Q: What’s an easy way to involve kids in the decorating?
A: Let them paint faces or glue on googly eyes. Focus on one pumpkin per child to avoid arguments.
