
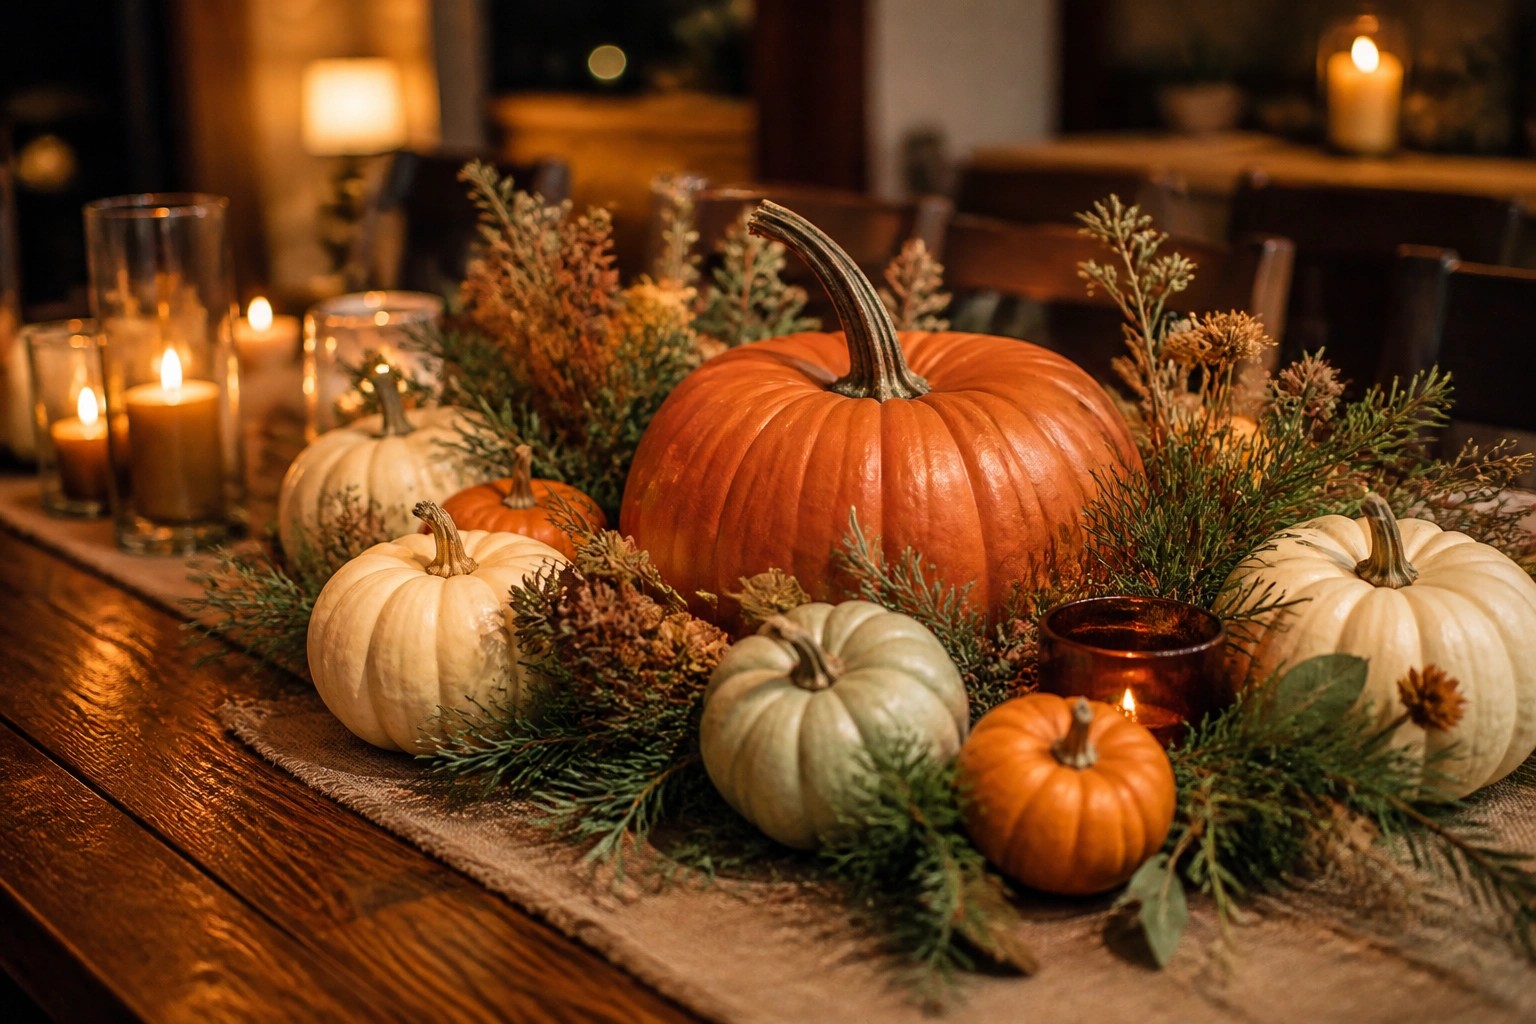
Pumpkins give me an easy starting point when I want to bring some Halloween spirit into my home without rearranging everything.
I like how a few well chosen DIY touches can turn ordinary spaces into something more festive for the season.
Crafting these ideas in the evenings has become a quiet way for me to enjoy the process before the holiday arrives.
Not every project needs to be elaborate since smaller pumpkin arrangements often look more natural in my rooms.
Trying different techniques keeps the decorating fresh each year.
Group Pumpkins In A Rustic Bowl
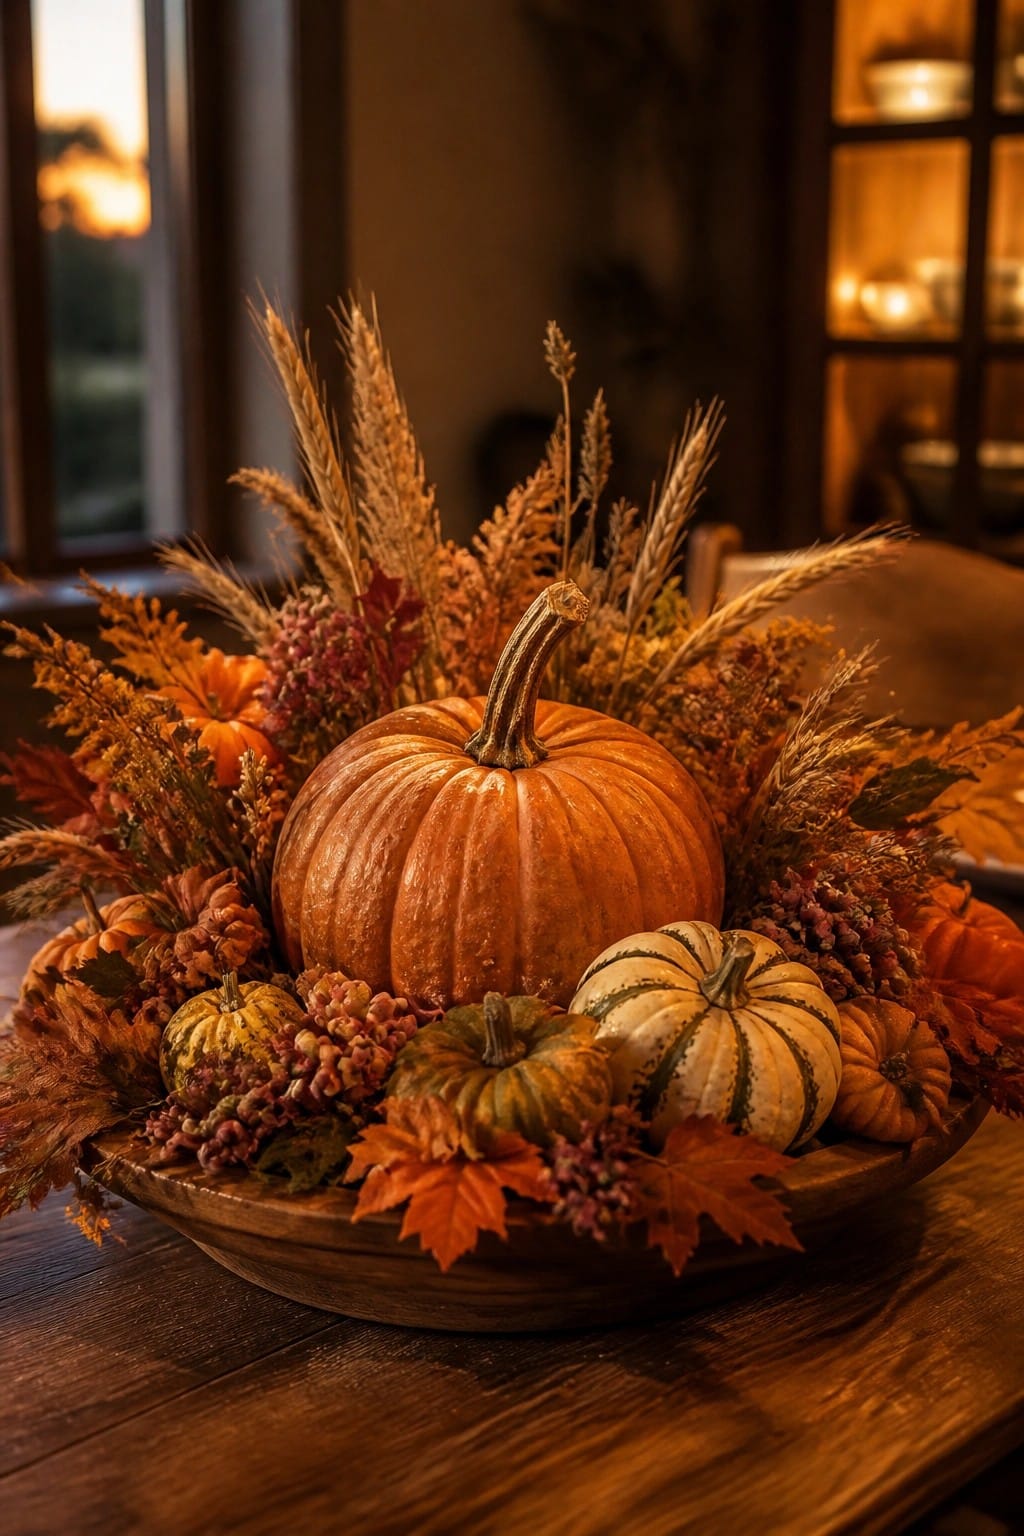
A simple way to highlight pumpkins is to pile several different sizes and colors into one large wooden bowl. The mix of smooth orange pumpkins with smaller striped and green ones creates an easy focal point without needing extra pieces.
Set the bowl on a dining table or kitchen counter where people gather. Use real or faux pumpkins, and keep any surrounding stems or leaves minimal so the pumpkins stay the main feature.
Arrange Pumpkins Across The Mantel

A simple way to mark Halloween is to line up pumpkins of different sizes and colors along the mantel. The mix of a large orange one, a white pumpkin, and a few smaller striped varieties keeps the look interesting without needing much else.
Start with three or four pumpkins in varying shapes, then tuck in a couple of smaller ones near the edge. Add a few pinecones or a trailing branch if you want a bit more texture, but keep the focus on the pumpkins themselves so the display stays easy to change after the holiday.
Embellish Pumpkins With Lace And Tassels

One simple way to make pumpkins feel more finished is to wrap the stems or tops with lace, small tassels, and wooden beads. The white pumpkin in the middle shows how these soft trims add texture and keep the whole display feeling calm rather than busy.
Try the same idea on a few pumpkins in different sizes and set them together on a shelf or console. Mix in one or two with dried flowers or seed pods for contrast, then place them on woven mats so the focus stays on the hand-decorated pieces.
Arrange Painted Pumpkins Along An Entryway Console

A simple row of pumpkins in different sizes and finishes makes a strong seasonal statement without much effort. The mix of a solid dark one, a lightly speckled white, and a bright orange creates contrast while still feeling cohesive on the console.
This works well in an entry because it greets people right away and stays contained to one surface. Try painting a few pumpkins yourself in soft neutrals or light patterns, then set them together with just a few branches for height. Keep the rest of the space light so the pumpkins remain the focus.
Trim Pumpkins With Black Lace For A Vintage Touch

One simple way to dress up plain pumpkins is to add a band of black lace around the stem. The contrast against a white or lightly painted surface gives each pumpkin a finished look without extra paint or carving.
Try this on a few pumpkins in different sizes and set them together on a console or dresser. Use scraps of lace you already have and secure it with a pin or bit of glue so the pieces stay put through the season.
Display Pumpkins On A Tiered Tray

Grouping pumpkins on a tiered tray gives each one room to show off without needing much space. The different levels keep the display from looking flat and let you mix sizes and textures easily.
Start with a simple wooden tray stand and add pumpkins in a few finishes like velvet or knit covers. Place a few smaller ones on the bottom level and work upward so nothing gets hidden. This works on a counter or side table and only takes six to eight pumpkins to feel complete.
Group Pumpkins On A Wooden Tray

One simple way to bring Halloween into the kitchen is to gather pumpkins in different colors and sizes and set them on a tray. The mix of white, soft green, orange, and pale pink shades keeps the display interesting while still feeling cohesive.
Place the tray on a countertop or island where it stays visible but does not get in the way. Add a few bits of greenery around the base to fill gaps, and change out the pumpkins as needed throughout the season.
Arrange Pumpkins In A Table Vignette
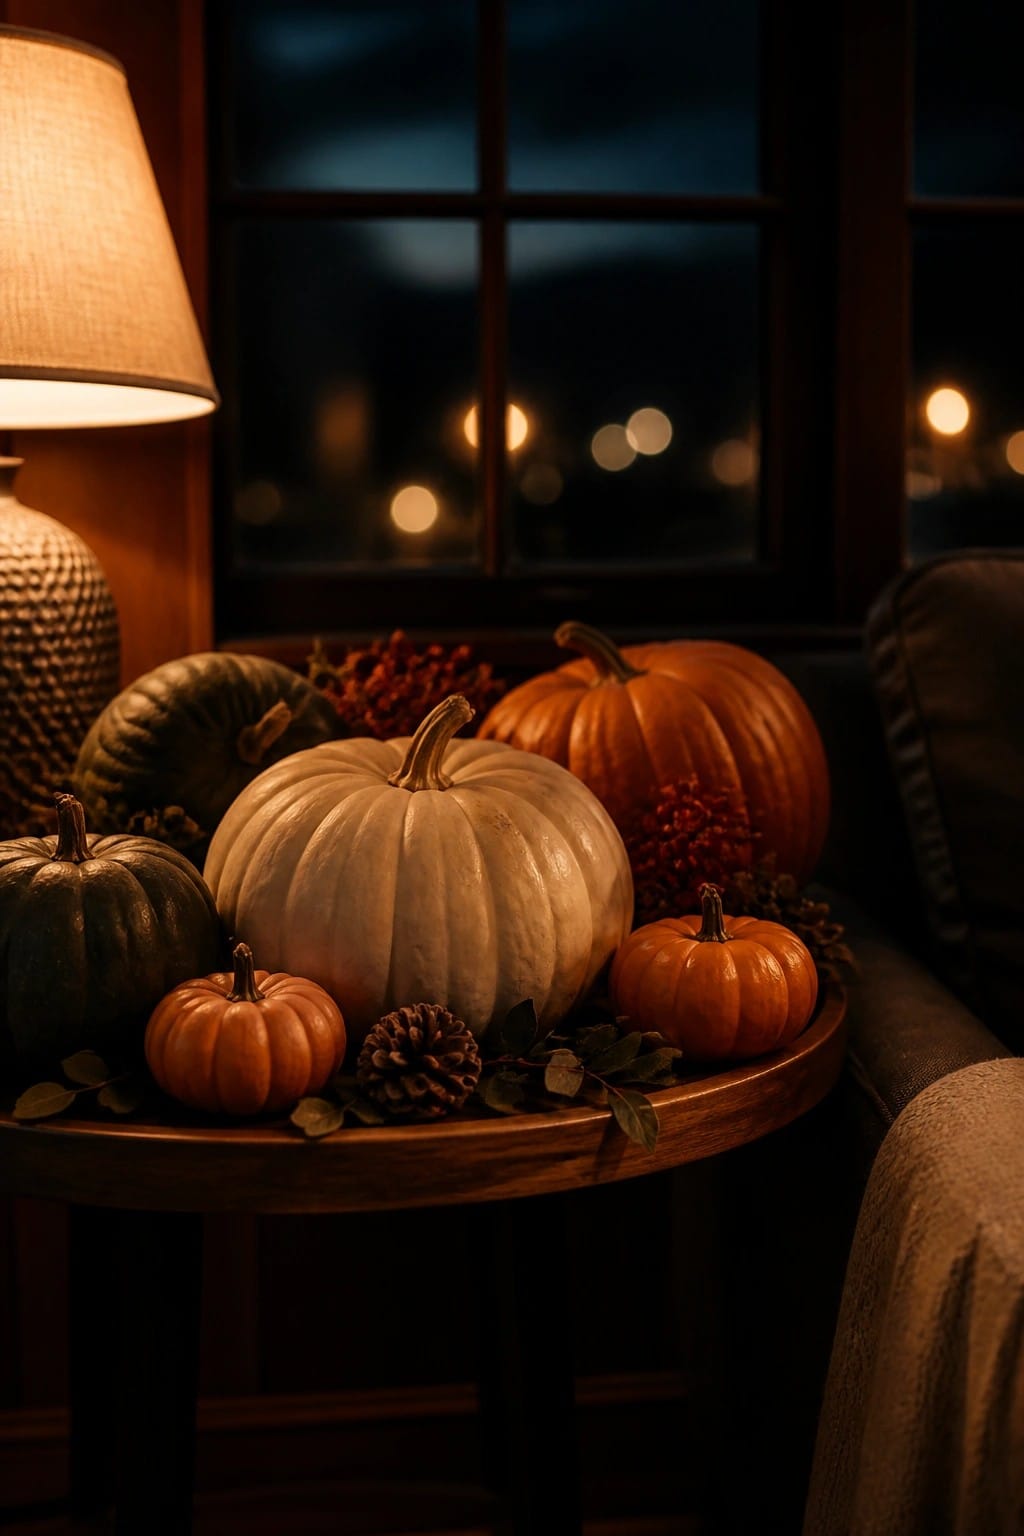
Mixing pumpkins in different sizes and colors on one surface creates an easy Halloween display that feels collected rather than scattered. The mix of white, orange, and green pumpkins here keeps the look seasonal without needing extra props or bright colors.
Place the largest pumpkins in the center first, then fill gaps with smaller ones around the edges. A few natural bits like leaves or a pinecone can sit between them, but keep the focus on the pumpkins themselves so the arrangement stays simple and quick to change out later.
Make A Pumpkin Floral Centerpiece
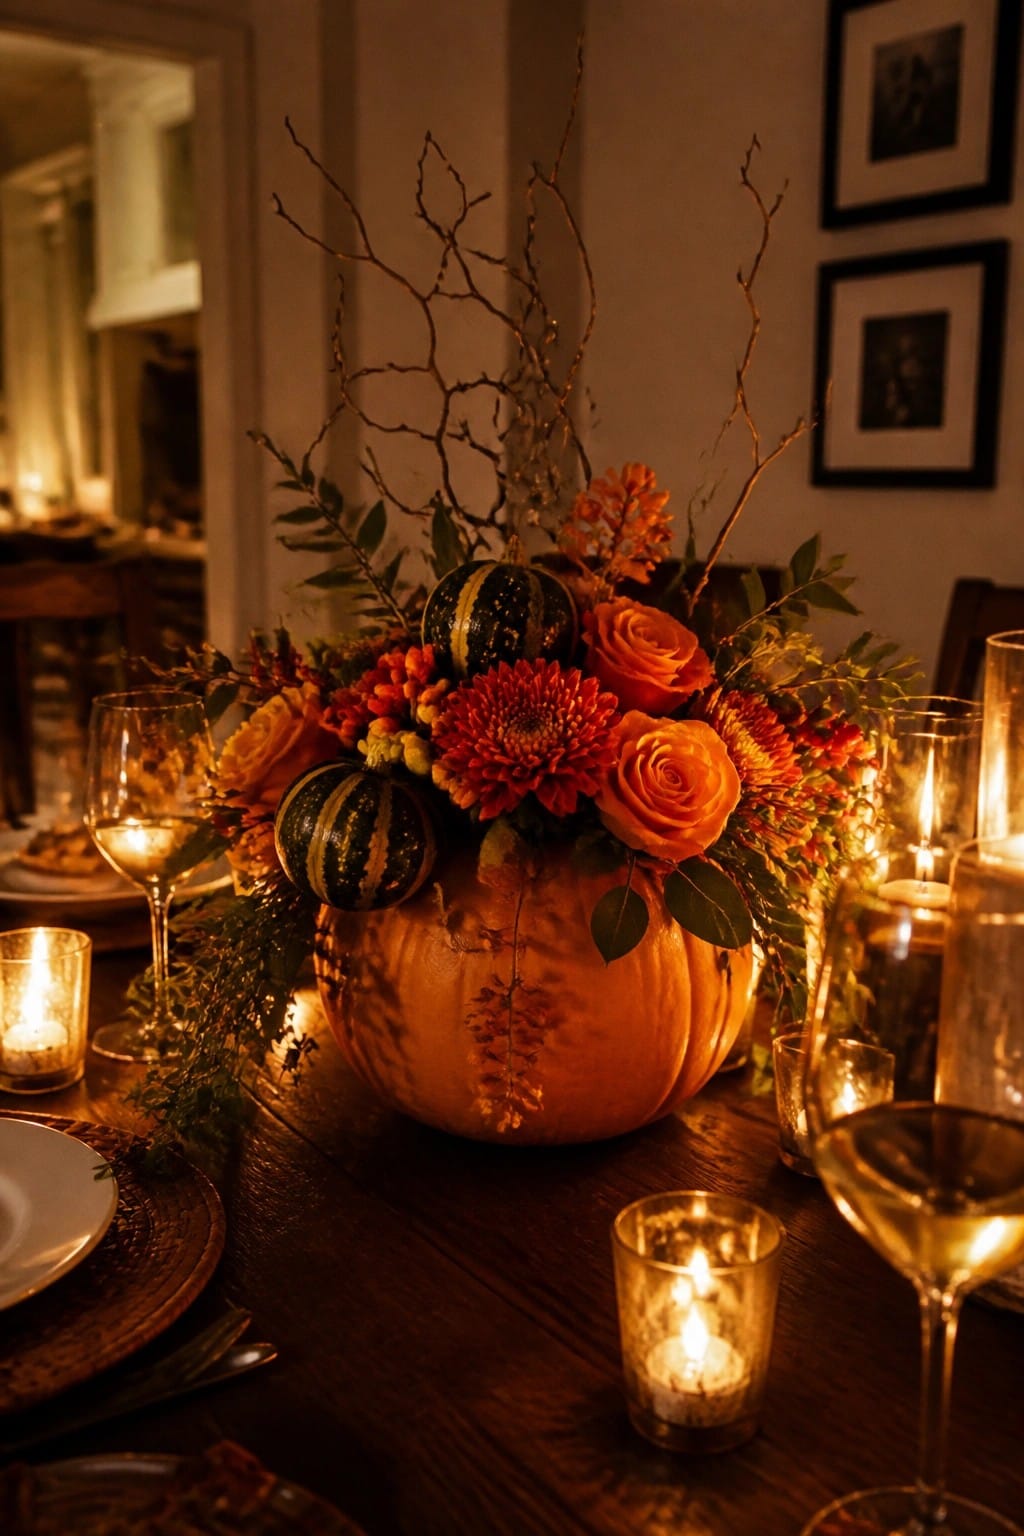
A hollowed pumpkin works well as the base for a dining table arrangement. Fill it with a mix of flowers, smaller gourds, and branches so the pumpkin itself stays the main focus without extra props.
Choose a pumpkin that sits flat, cut a wide opening at the top, and add a liner to hold water. Place it in the center of the table and keep surrounding items like candles low so the arrangement stays easy to see across the table.
Arrange Pumpkins In Mixed Sizes Along The Steps
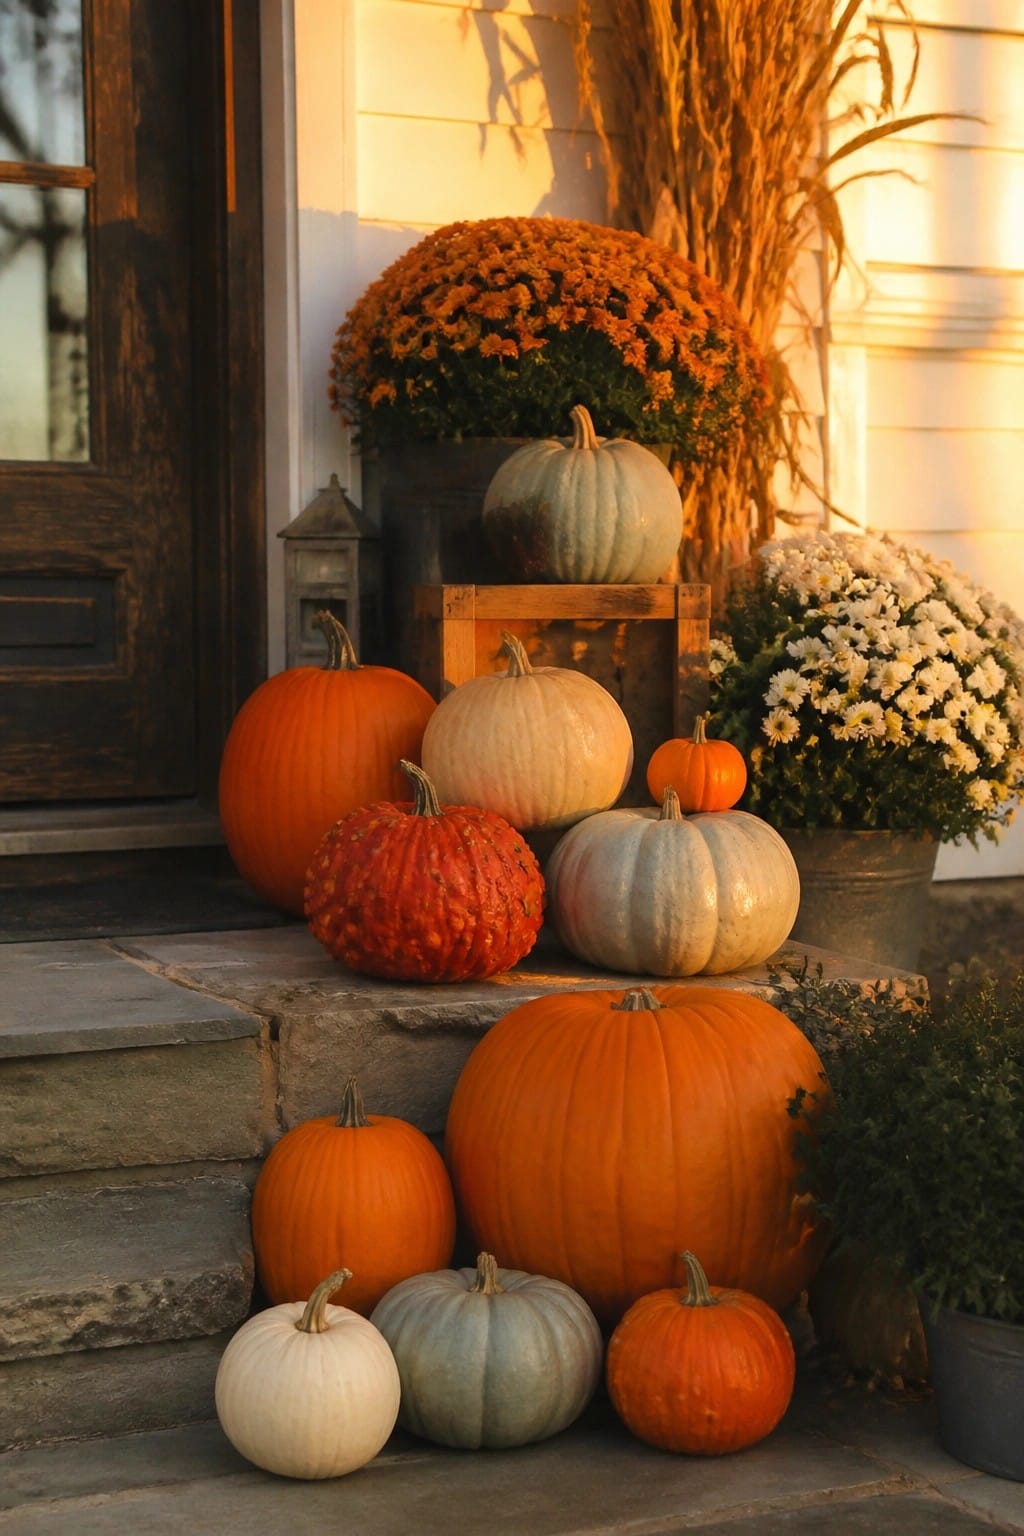
A straightforward pumpkin display works well when you use several sizes and colors together instead of matching sets. Placing a few large orange ones at the base with smaller white and blue gray pumpkins scattered around them gives the steps a collected look that reads as intentional Halloween decor.
You can recreate this with real or faux pumpkins you already have or pick up a few different varieties at the market. Set the biggest ones first, then fill gaps with smaller ones so the arrangement feels balanced but not too perfect. This style suits any front steps and needs almost no extra pieces beyond the pumpkins themselves.
Group Painted Pumpkins On A Windowsill
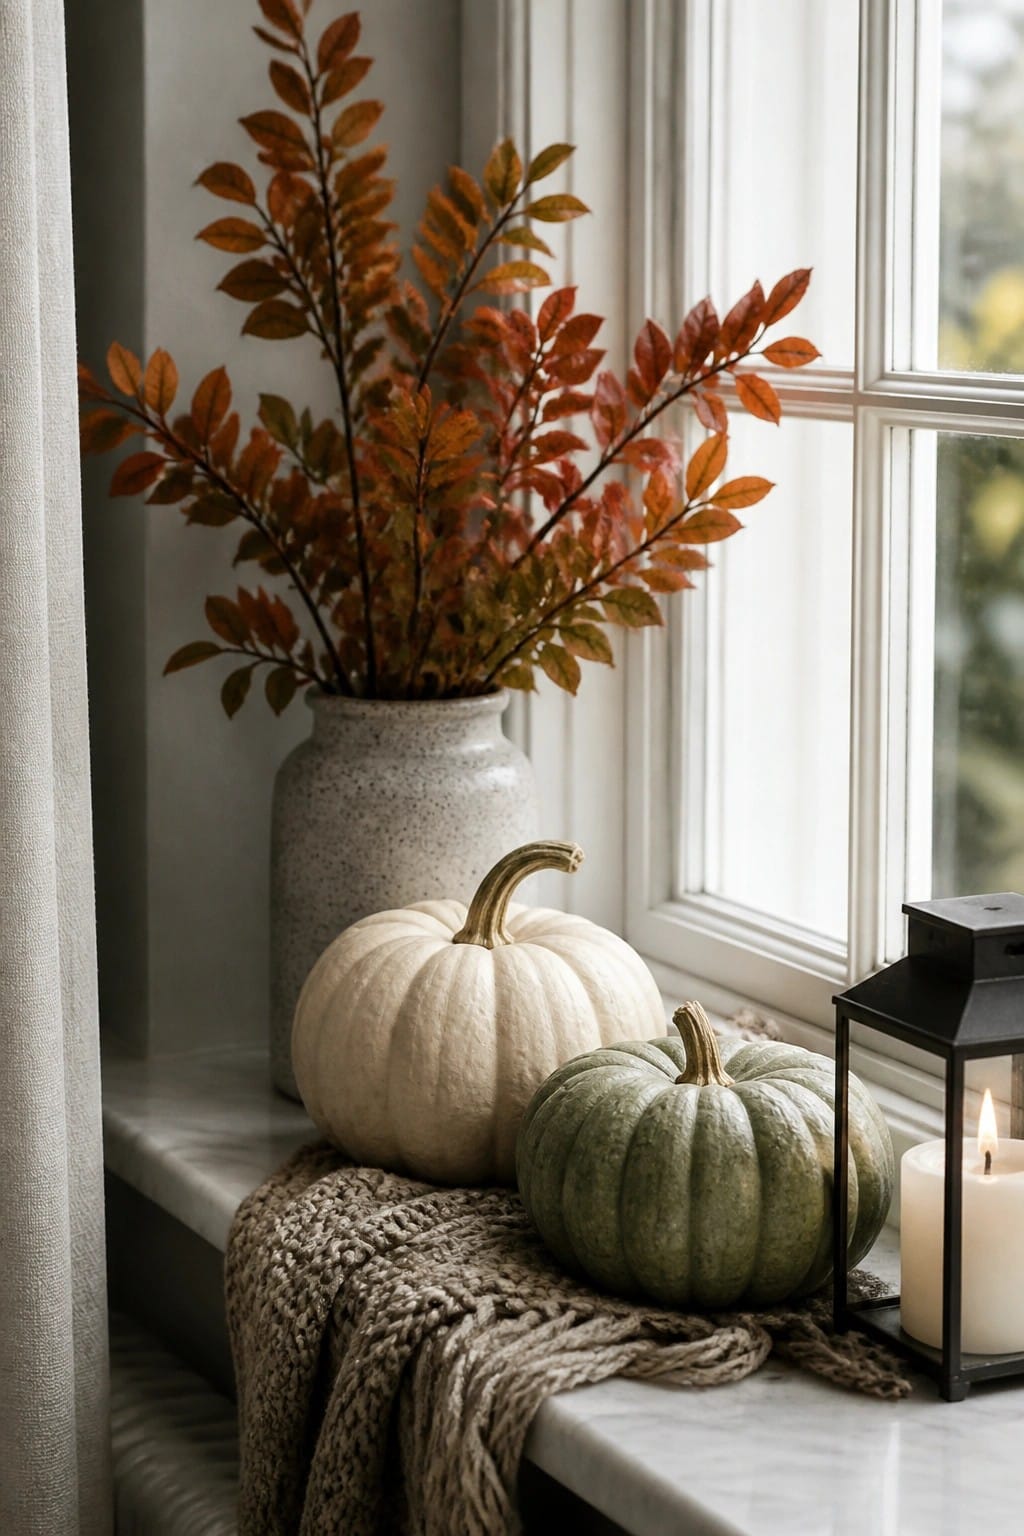
A simple mix of white and green pumpkins makes an easy Halloween display that still feels seasonal without going overboard. The lack of faces or bright orange keeps it calm while the curved shapes and different sizes give it enough interest to read as intentional decor.
Place the pumpkins on a folded throw or cloth to add texture and keep them from rolling. One or two extra elements like a lantern or a few branches are enough to tie it together, and you can swap the pumpkins out for carved versions later if you want more of a spooky look.
Arrange Pumpkins In A Wooden Dough Bowl

A simple mix of pumpkins in different sizes and colors makes an easy centerpiece when placed in a large wooden bowl. The contrast between the bright orange pumpkin, the pale striped one, and the tiny gourd tucked into a small basket keeps the arrangement interesting without needing extra pieces.
Set the bowl on a coffee table or side table where it can be seen from the seating area. Use whatever pumpkins you already have or find at the market, add a few dried stems if you want texture, and stop once the bowl looks full. This keeps the look seasonal while still fitting a living room that stays in use.
Build A Pumpkin Stack On The Porch
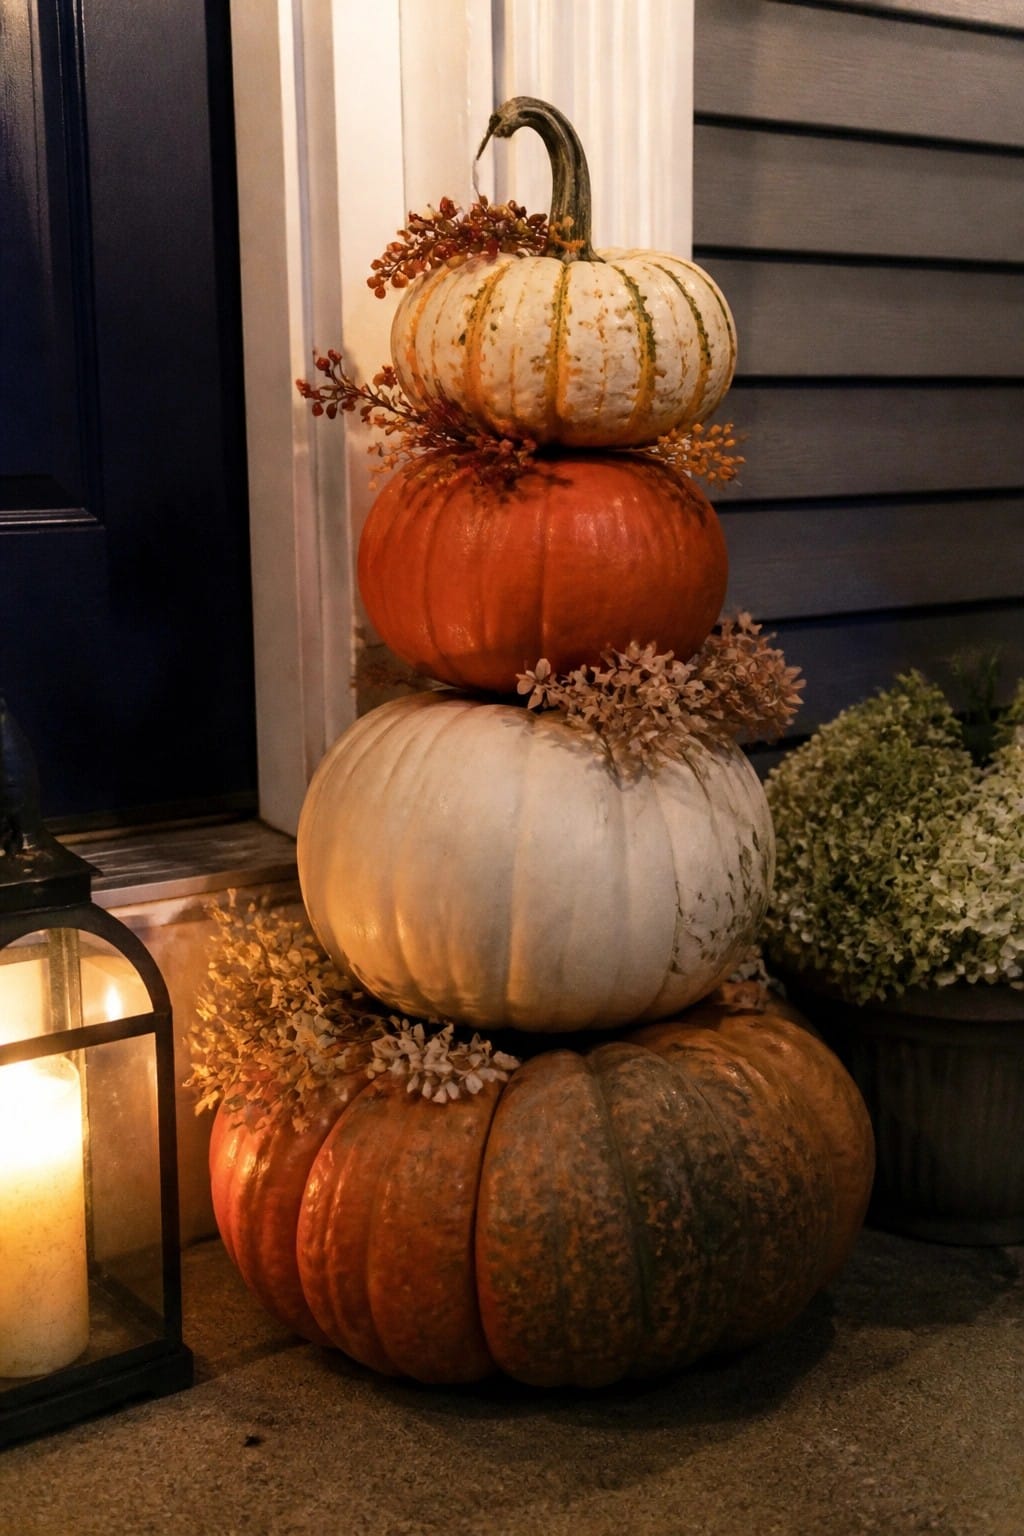
Stacking pumpkins of different sizes and colors creates a simple but eye-catching display that works well near an entry. The mix of white, orange, and weathered-looking pumpkins adds some visual variety without needing extra props.
To try this at home, start with the largest pumpkin at the base and work upward, choosing ones that sit flat. A few sprigs of dried foliage tucked between the layers help tie the stack together, and placing it beside a lantern keeps the look balanced for evening.
Use A Large Pumpkin As A Bookshelf Focal Point

A single large pumpkin placed on stacked old books creates a straightforward Halloween accent that works on almost any shelf. The contrast between the bright orange and the dark wood and worn book spines makes the pumpkin stand out without extra props or bright lights.
To copy the look, choose one pumpkin with a bit of natural variation in color and set it on two or three hardcover books of similar size. Add a few dried stems or a small brass piece nearby if you want, but keep the rest of the shelf simple so the pumpkin remains the main feature.
Style A Pumpkin Tray Arrangement

One of the simplest ways to create a Halloween pumpkin display is to gather several pumpkins of different sizes and colors into a low tray. The pumpkins act as both the base and the main decoration, while a few stems of dried flowers or grasses tucked into the tops add height and texture without much extra work.
This works well on a coffee table or dining table where the tray keeps everything contained. Choose pumpkins in white, soft orange, and textured finishes, then add just a handful of neutral florals to one or two of them so the arrangement stays balanced and easy to move when needed.
Arrange A Mix Of Painted Pumpkins On A Console Table

A simple console in the entry becomes a strong Halloween display when you gather pumpkins that have been painted, carved, or textured in different ways. The mix of smooth, bumpy, striped, and metallic finishes keeps the look interesting without needing extra props or bright colors.
Place the largest pieces toward the back and work forward with smaller ones so everything stays visible. This setup works well in any narrow space and lets you show off several DIY projects at once.
Arrange Pumpkins Across The Mantel

A simple way to mark the season is to line up pumpkins of different sizes and soft colors along the mantel. The mix of white, cream, and pale peach tones creates a calm display that still feels festive without needing bright orange or carved faces.
Start with a few larger pumpkins in the center and tuck smaller ones toward the ends. Add one or two neutral branches in a vase behind them if you want a bit more height. The look works on almost any mantel and takes only a few minutes to put together each year.
Turn A Pumpkin Into A Vase

One large pumpkin works well as the base for a full arrangement. Cut off the top, hollow it out, and drop in a small container or piece of floral foam so the stems stay in place. The mix of smaller pumpkins, dried leaves, and seed heads inside gives the display height and texture without needing many extra pieces.
This idea fits on a nightstand, entry table, or any flat surface where you want a quick seasonal accent. Keep the surrounding area simple so the pumpkin stays the main focus, and swap in fresh or dried stems as they fade.
Group Pumpkins On A Kitchen Tray
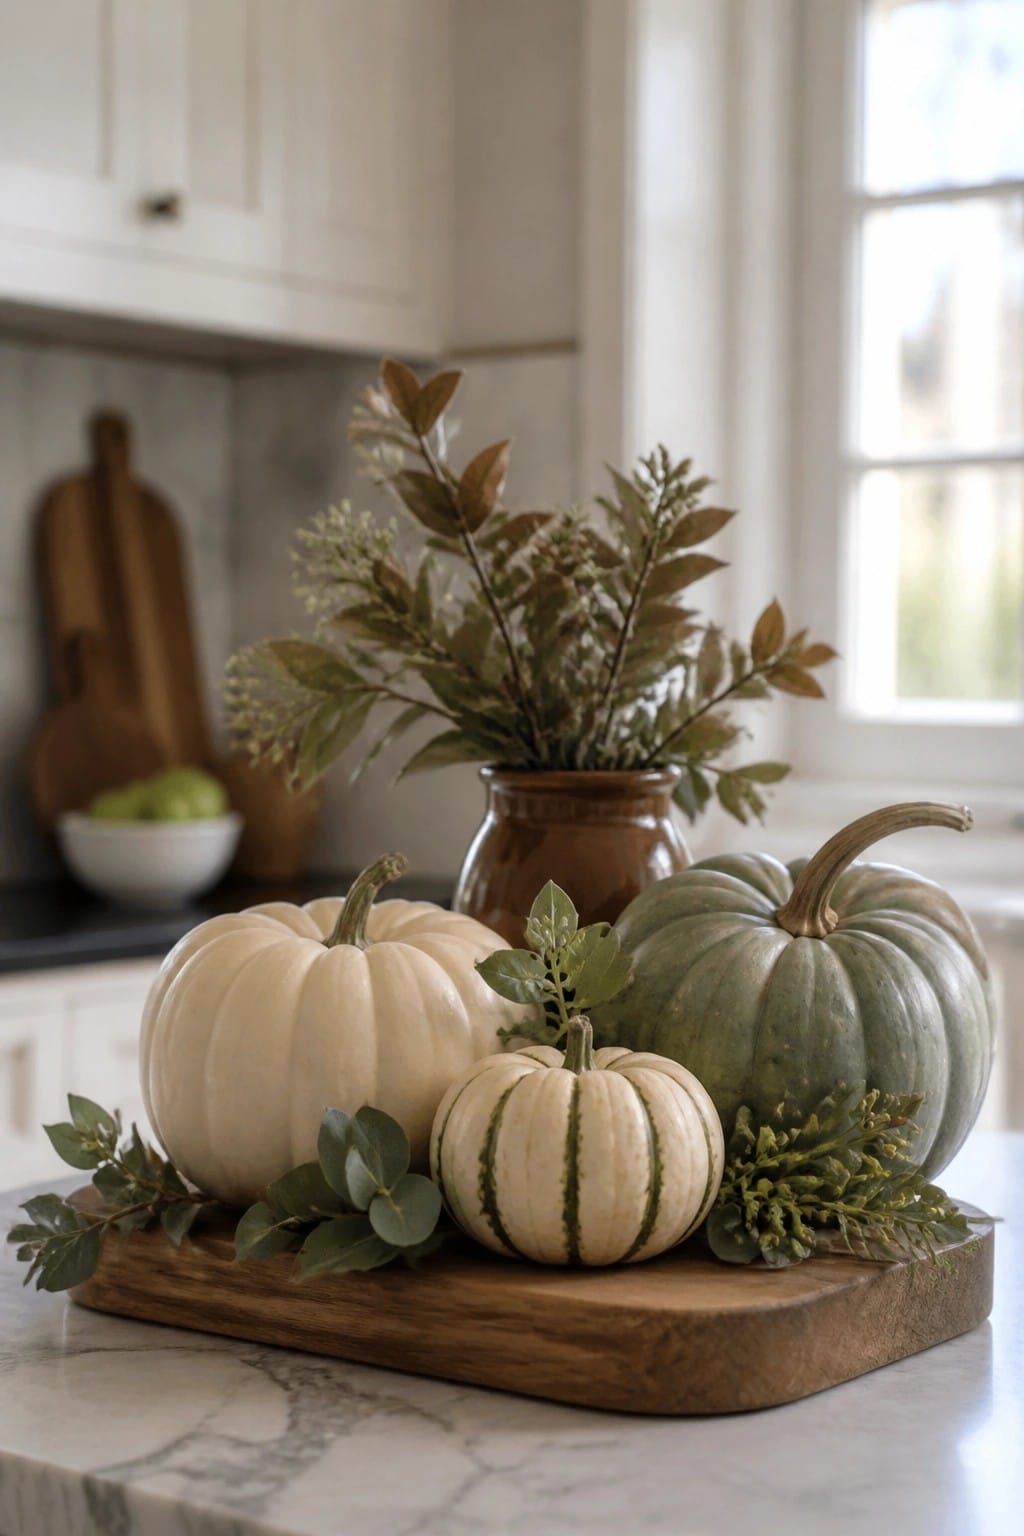
A simple mix of pumpkins in different sizes and colors makes an easy Halloween display right on the counter. The neutral tones keep it from feeling busy while still giving the space a seasonal touch that fits right into everyday kitchen use.
Try this on a wooden board or tray so you can move it around easily. Use three or four pumpkins with different shapes and add a few sprigs of greenery if you want a bit more texture. It works well in smaller kitchens where you do not want a big setup.
Cluster Pumpkins in Mixed Colors and Shapes

Grouping pumpkins of different colors and textures creates an easy outdoor display that feels seasonal without much effort. The white, orange, and speckled green pumpkins shown here work well together because the contrast keeps the arrangement interesting even when the shapes stay simple.
Place a similar mix on a porch table, deck, or any flat outdoor surface. Stick to three or four pumpkins at most so the group stays balanced, and add a small potted plant nearby if you want a bit more color around the edges.
Make A Pumpkin Floral Centerpiece

A hollowed pumpkin works well as a vase for a table arrangement. The round shape holds flowers upright and the neutral tone lets the blooms stand out without extra effort.
Pick a firm pumpkin, cut off the top, and scoop out the inside. Drop in a small container or soaked floral foam, then add a mix of roses, dahlias, and trailing greenery. Set it on a dining table or sideboard where guests can see it up close.
Frequently Asked Questions
Q: Can I swap in craft store pumpkins instead of the ones from my garden patch? A: Yes grab the foam or plastic versions from the store. They hold up better to paint and hot glue without rotting. Just give them a quick wash so everything adheres right.
Q: What should I do if my kids want to help but the projects involve sharp tools? A: Let them handle the painting and sticker details while you manage any cutting. Set up a separate table with washable markers and tape for their part. Everyone stays involved without extra worry.
Q: How long do these decorated pumpkins usually last before they start to sag? A: Real pumpkins hold for about a week indoors once carved. Skip the water based glues if you want extra time and opt for a light coat of petroleum jelly on cut edges instead.
