
I often find that painted pumpkins give me an easy way to add a clear Halloween touch without rearranging an entire room.
The paint turns ordinary pumpkins into focal points that stand out on a mantel or shelf while still working with the colors already in the space.
I have learned that grouping a few in different sizes and finishes creates more impact than spreading them out one by one.
Choosing designs that feel bold but not busy keeps the look seasonal instead of sliding into plain fall styling.
One strong painted pumpkin can change the whole feel of a small area.
Add Bold Brushstrokes To A Pumpkin

Painting a pumpkin with thick, colorful brushstrokes gives it instant impact without needing extra props. The mix of teal, pink, orange, and white turns an ordinary pumpkin into the main focal point, especially when placed on a simple stack of books.
Set it on a side table or coffee table where the colors can stand out against darker surroundings. One painted pumpkin is usually enough, so keep the rest of the surface clean with just a couple of neutral vases or a plant nearby.
Paint Pumpkins With Large Floral Designs
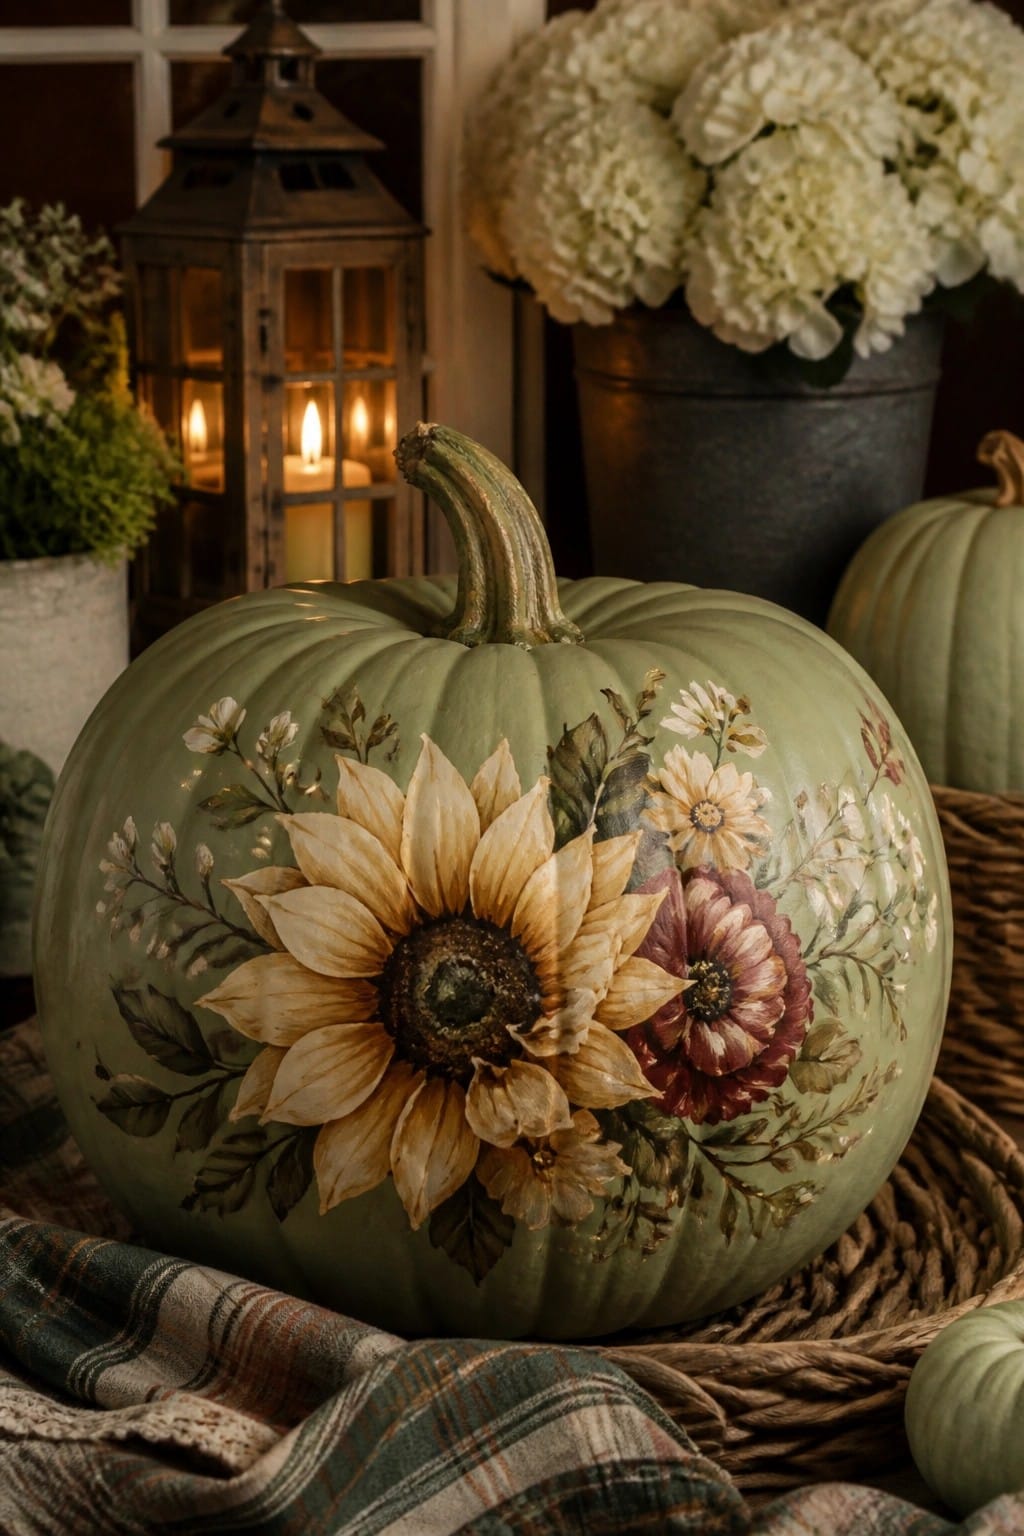
Painting a pumpkin with oversized flowers gives it instant impact while keeping the look simple. The sunflower and surrounding blooms on this green pumpkin stand out on their own and turn an ordinary gourd into the main focal point.
Set the painted pumpkin on a tray or mat and add one or two smaller plain pumpkins beside it. This works on a dining table, entry surface, or coffee table and needs no other Halloween pieces to feel complete.
Paint A Pumpkin In Metallic Black And Gold
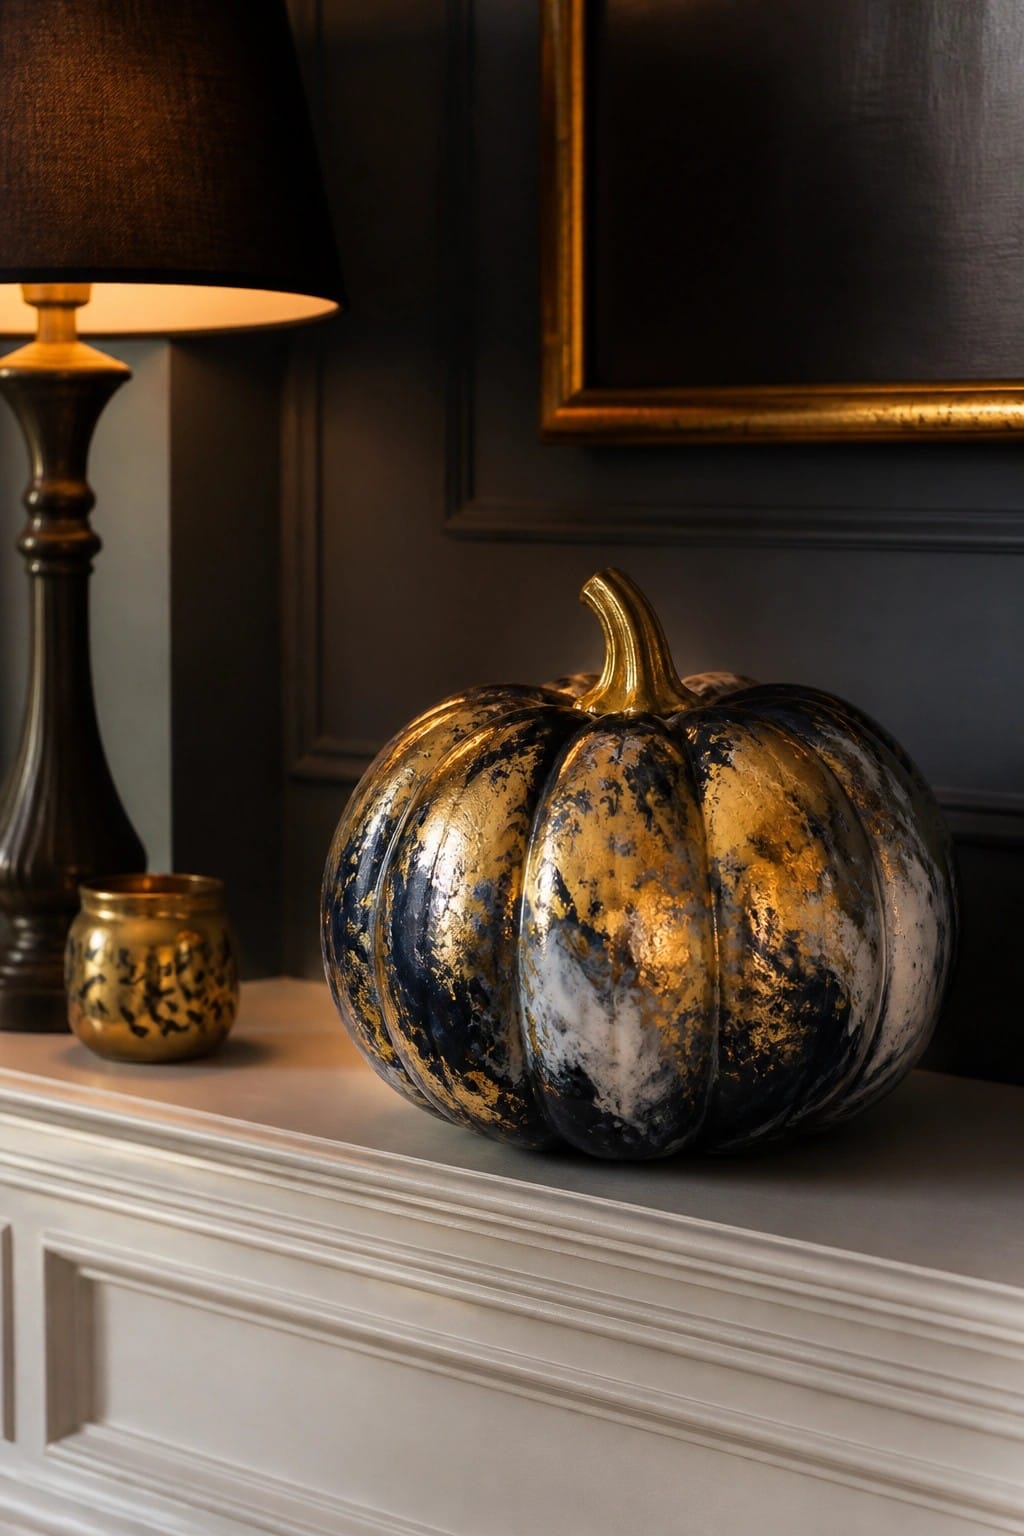
A large pumpkin finished in streaky black and gold paint makes a strong focal point on a mantel. The metallic finish catches the light and gives the classic pumpkin shape a more polished, eye-catching look that still reads as Halloween.
Place the painted pumpkin in the center of the mantel and keep any supporting pieces small and simple. One or two neutral accessories on either side are enough to frame it without competing for attention. This approach works especially well in living rooms or entryways where you want one clear seasonal statement.
Paint A Pumpkin With Watercolor And Gold Accents

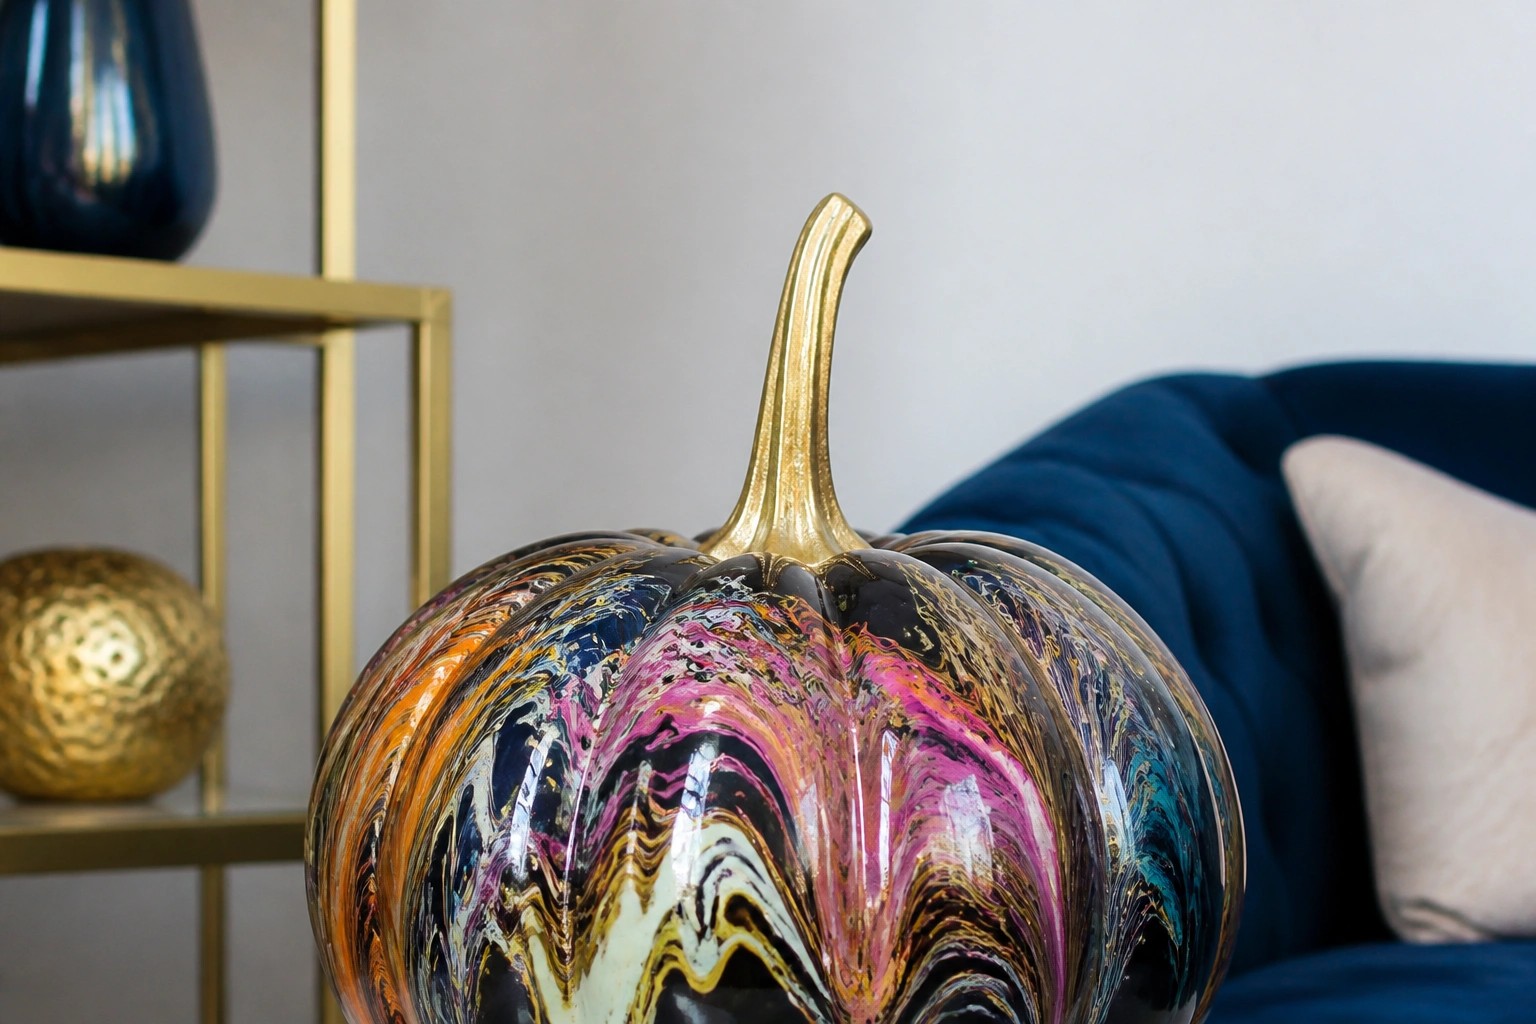
A large pumpkin painted in soft watercolor washes of blue, pink, and white with scattered gold leaf makes a strong focal point on any table. The metallic stem adds a polished finish that catches light without feeling overly themed.
Place the painted pumpkin in the center of a dining table or sideboard and keep the surrounding pieces simple. A few small white pumpkins and some greenery are enough to frame it without crowding the look. This approach works well indoors or on a covered porch when you want seasonal color that still feels refined.
Paint An Abstract Pumpkin For The Table
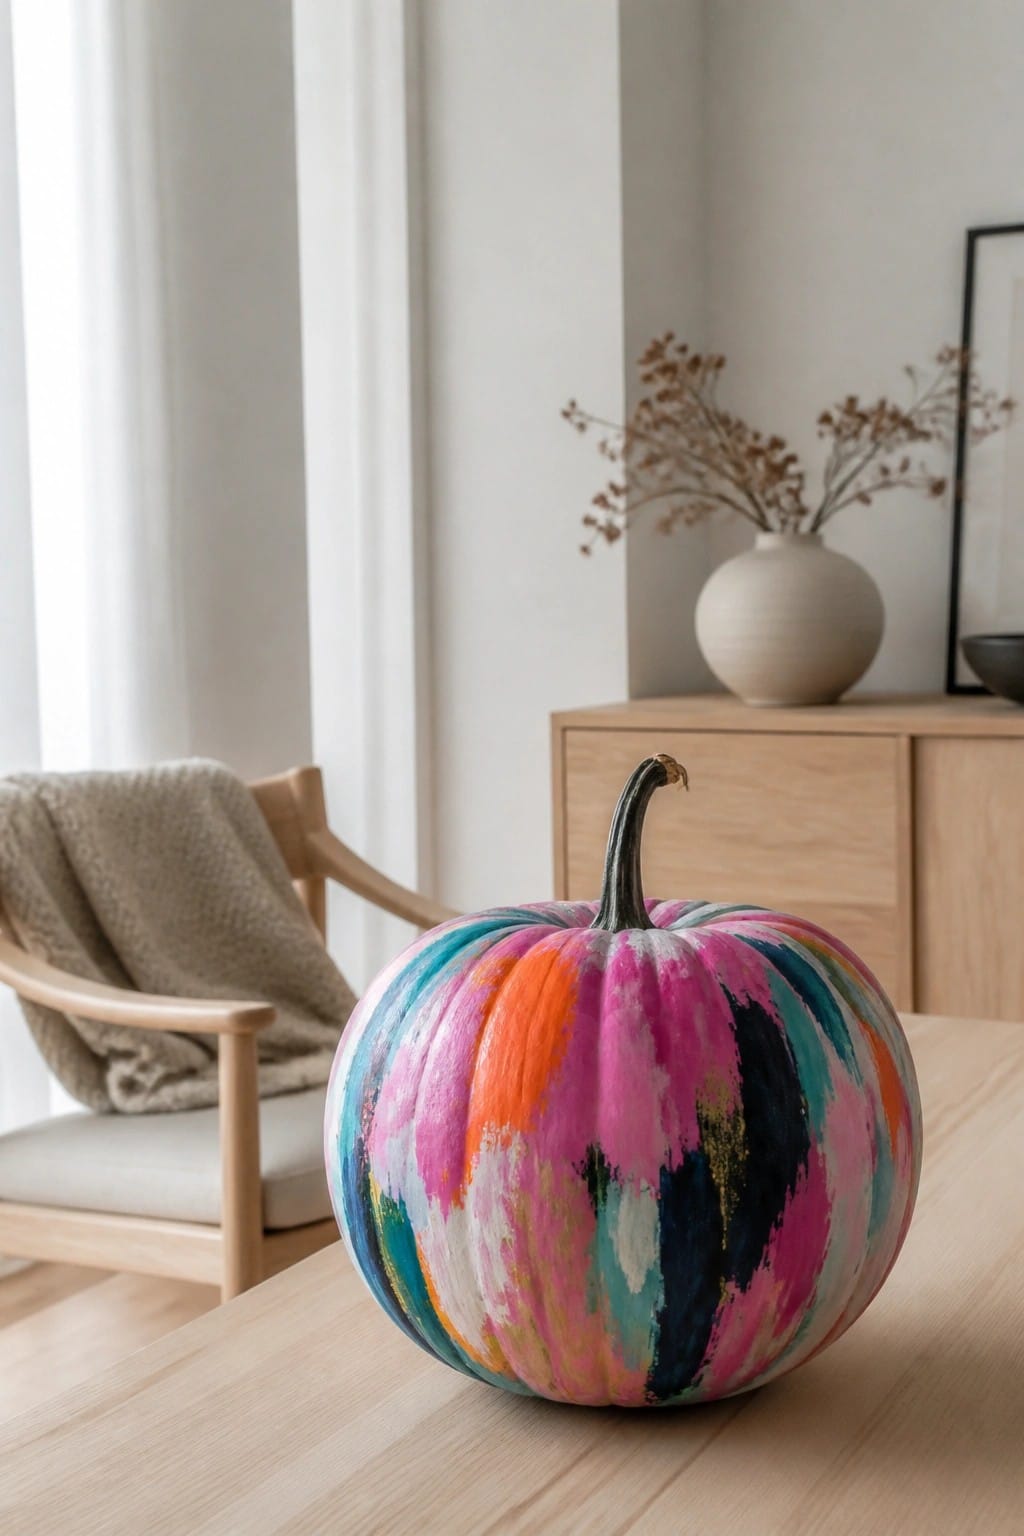
A painted pumpkin with big, loose brushstrokes gives any tabletop a quick seasonal hit. The mix of pink, orange, teal, and black makes the shape stand out even in a mostly neutral room.
Set one on a dining table or sideboard where people will see it up close. Use leftover craft paint, work in thick strokes, and stop before it feels too planned. One pumpkin is usually enough.
Paint Wildflowers Across A Large Pumpkin
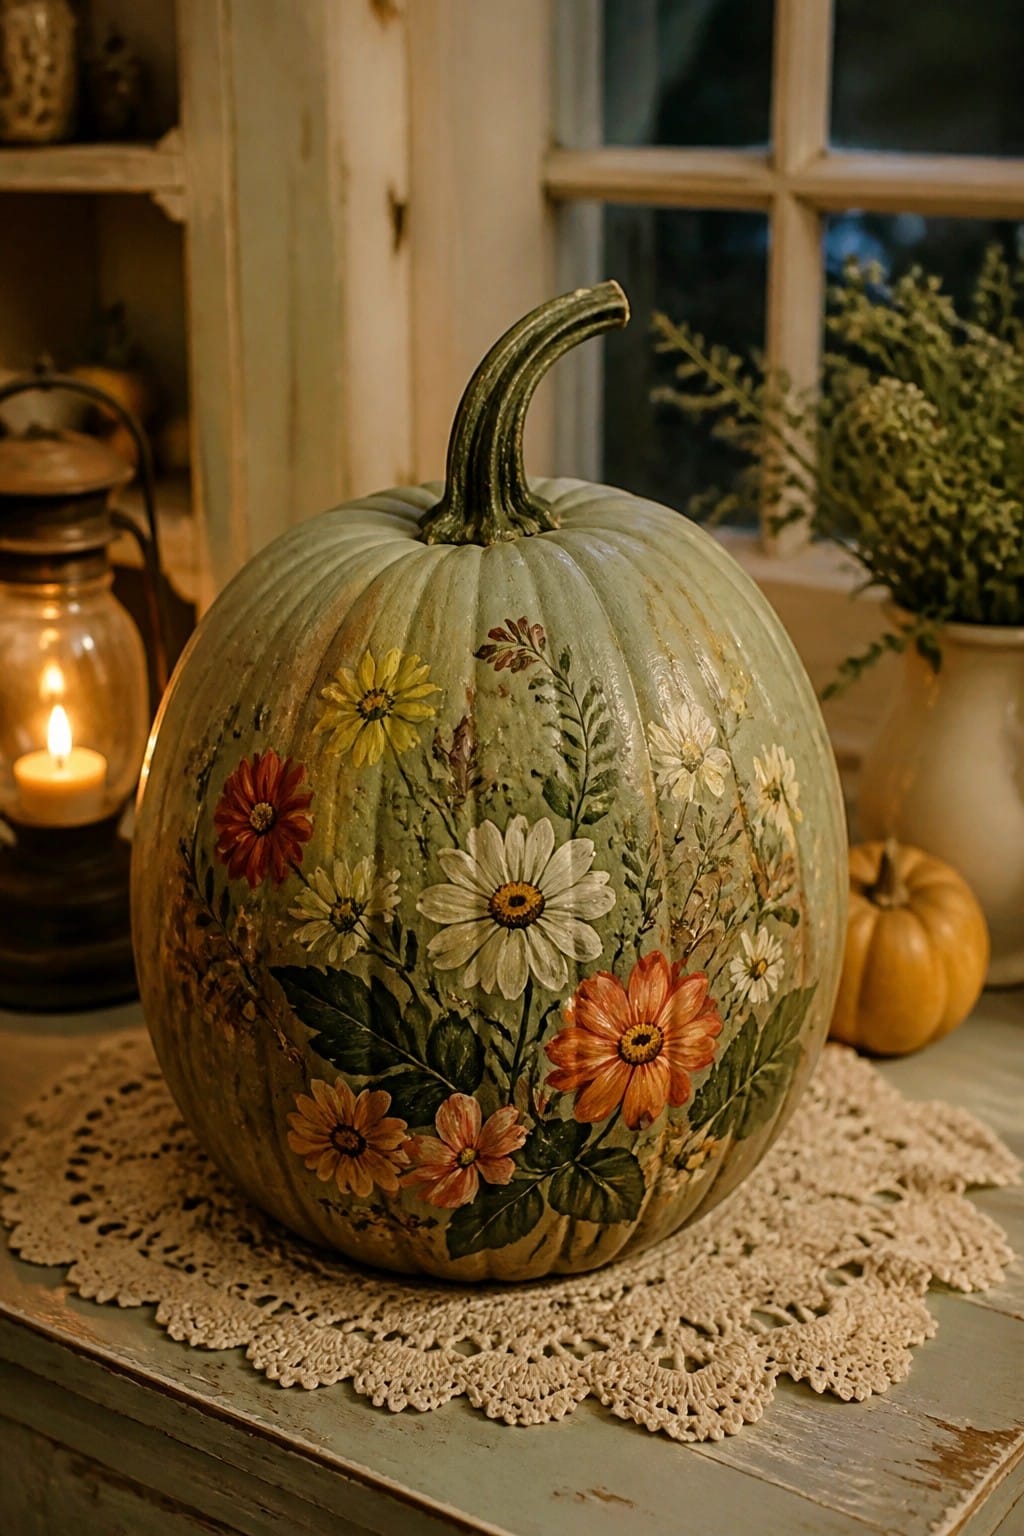
A painted pumpkin with clusters of daisies, cosmos, and leaves makes a strong seasonal statement on its own. The soft green base keeps the design light while the bright blooms give it clear visual impact for fall displays.
Set the pumpkin on a lace doily in a window or on a side table. Add one or two simple accents like a lantern nearby so the painted details stay the focus without crowding the space.
Paint A Floral Pumpkin For The Porch

A painted pumpkin with soft floral details gives your porch a seasonal look without going full spooky. The light base color and rose pattern stand out nicely against mums and stone steps while still reading as fall.
Try this on a real or foam pumpkin using transfer paper or stencils for the flowers, then add a few gold leaf accents on the stem and edges. Place one or two on your front steps or entry landing with matching potted flowers for an easy update that lasts through the month.
Paint A Skull And Floral Pumpkin
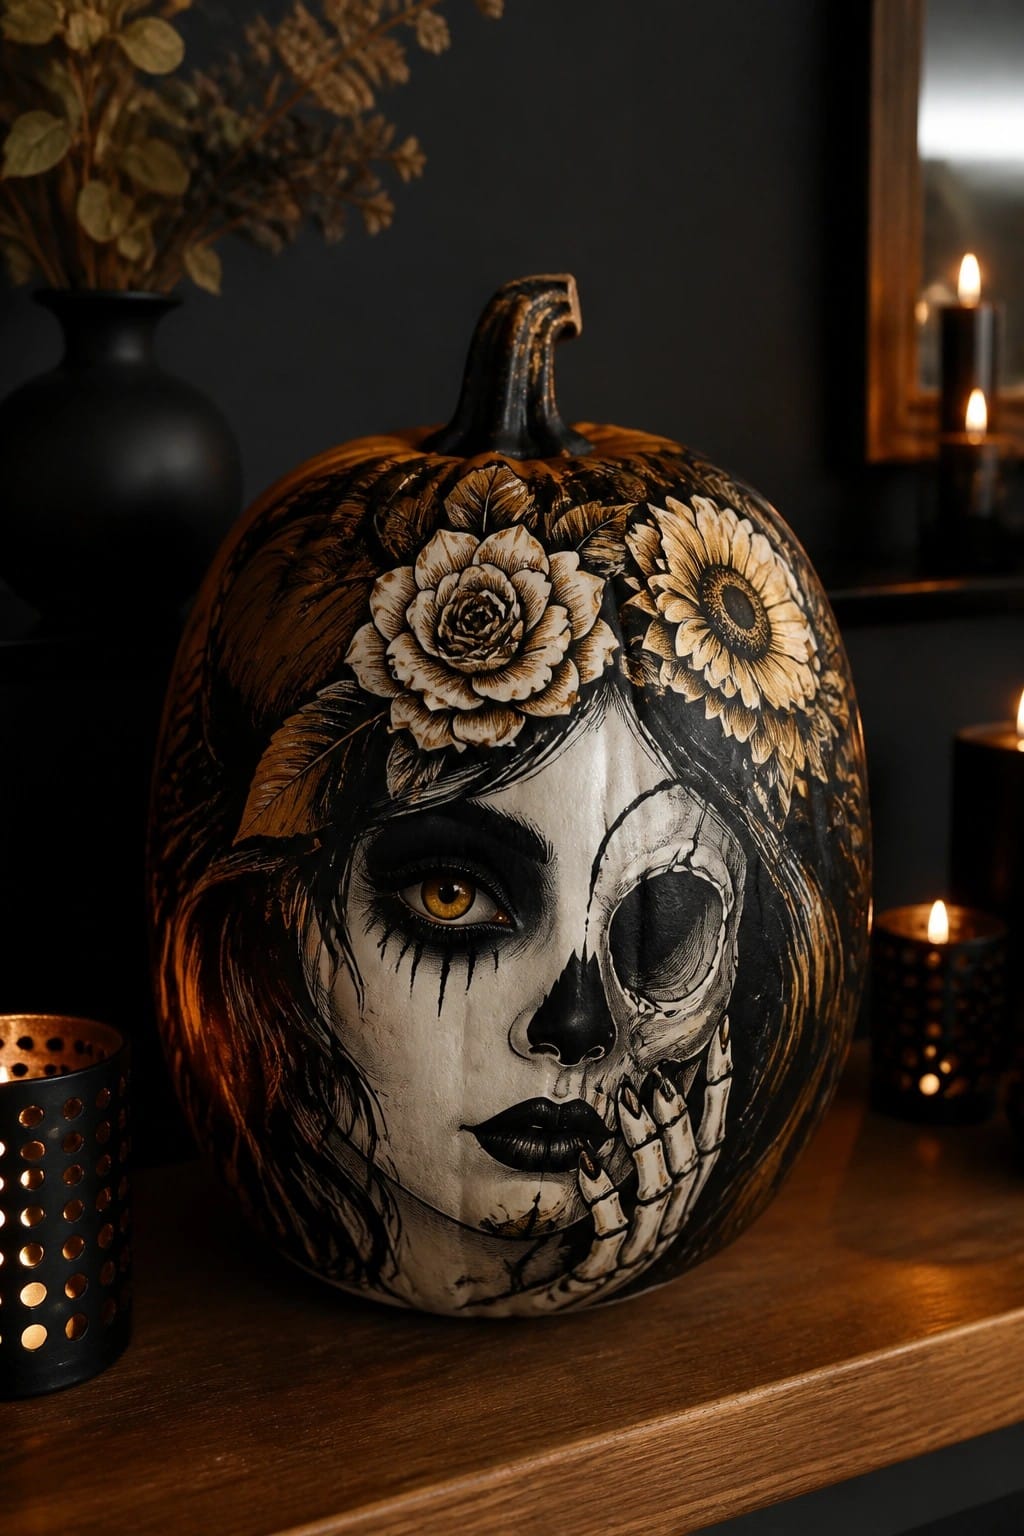
This painted pumpkin uses a striking half-face, half-skull design with dark makeup, flowers, and a skeleton hand to create a bold focal point. The mix of feminine details and skull elements makes the pumpkin instantly recognizable as Halloween decor rather than plain fall styling.
Set the pumpkin on a tabletop or console and keep surrounding items minimal. A couple of small candles are enough to highlight the painted details without crowding the look. One strong painted piece like this works well in any room where you want a clear Halloween accent.
Paint A Pumpkin With Bold Florals

A large pumpkin covered in a detailed teal and floral pattern makes a strong visual statement on its own. The mix of orange, yellow, and white flowers against the dark base draws attention without needing extra props or layers.
Place one painted pumpkin like this on a low table or floor spot where it can stand out. Keep the surrounding area simple so the design stays the focus, and add just one or two plain pumpkins nearby if you want a small group.
Paint Black Pumpkins With Dripping Gold
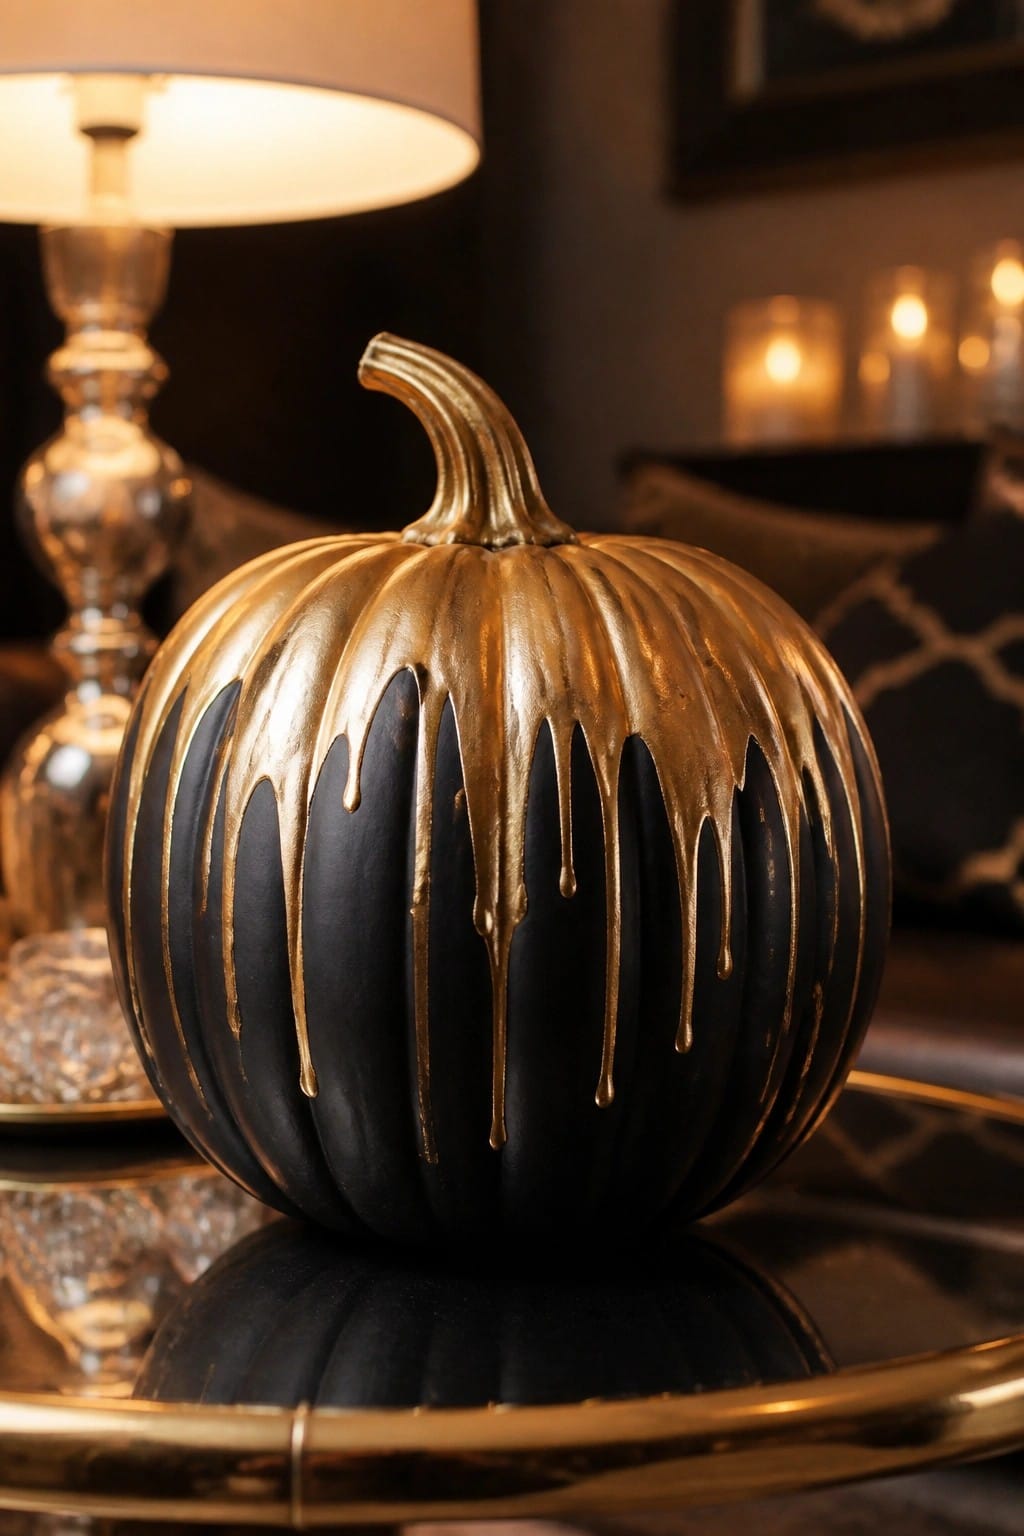
A black pumpkin covered in thick gold drips creates a strong focal point without much else needed. The metallic streaks stand out against the dark surface and give the pumpkin a polished yet seasonal feel that fits right into the article theme.
Place one or two of these on a tray or small table where the light can hit the gold. Keep the rest of the surface simple so the drips remain the main detail. This works well indoors and needs only basic craft paint to recreate.
Paint Leopard Spots On A Pumpkin

A leopard print pattern turns an ordinary pumpkin into something much more noticeable. The black and gold spots stand out against the bright orange base and give the whole piece a bold, graphic look that works well outdoors.
Set the finished pumpkin on porch steps or near the front door. Keep the rest of the area simple with just a few dried branches or a lantern so the painted design stays the main focus.
Paint An Abstract Pumpkin For A Table Display

A painted pumpkin with large blocks of color and simple shapes stands out right away on a wooden table. The mix of soft pinks, rust, teal, and navy keeps it interesting without looking busy, and the single pumpkin does the work instead of needing a whole group.
Place one like this on a coffee table, entry table, or dining surface where it can be seen from across the room. Use a real or faux pumpkin, tape off sections, and fill them in with acrylic paint. Keep the rest of the surface light so the pumpkin stays the focus.
Paint A Pumpkin With Bold Swirls For A Statement Piece
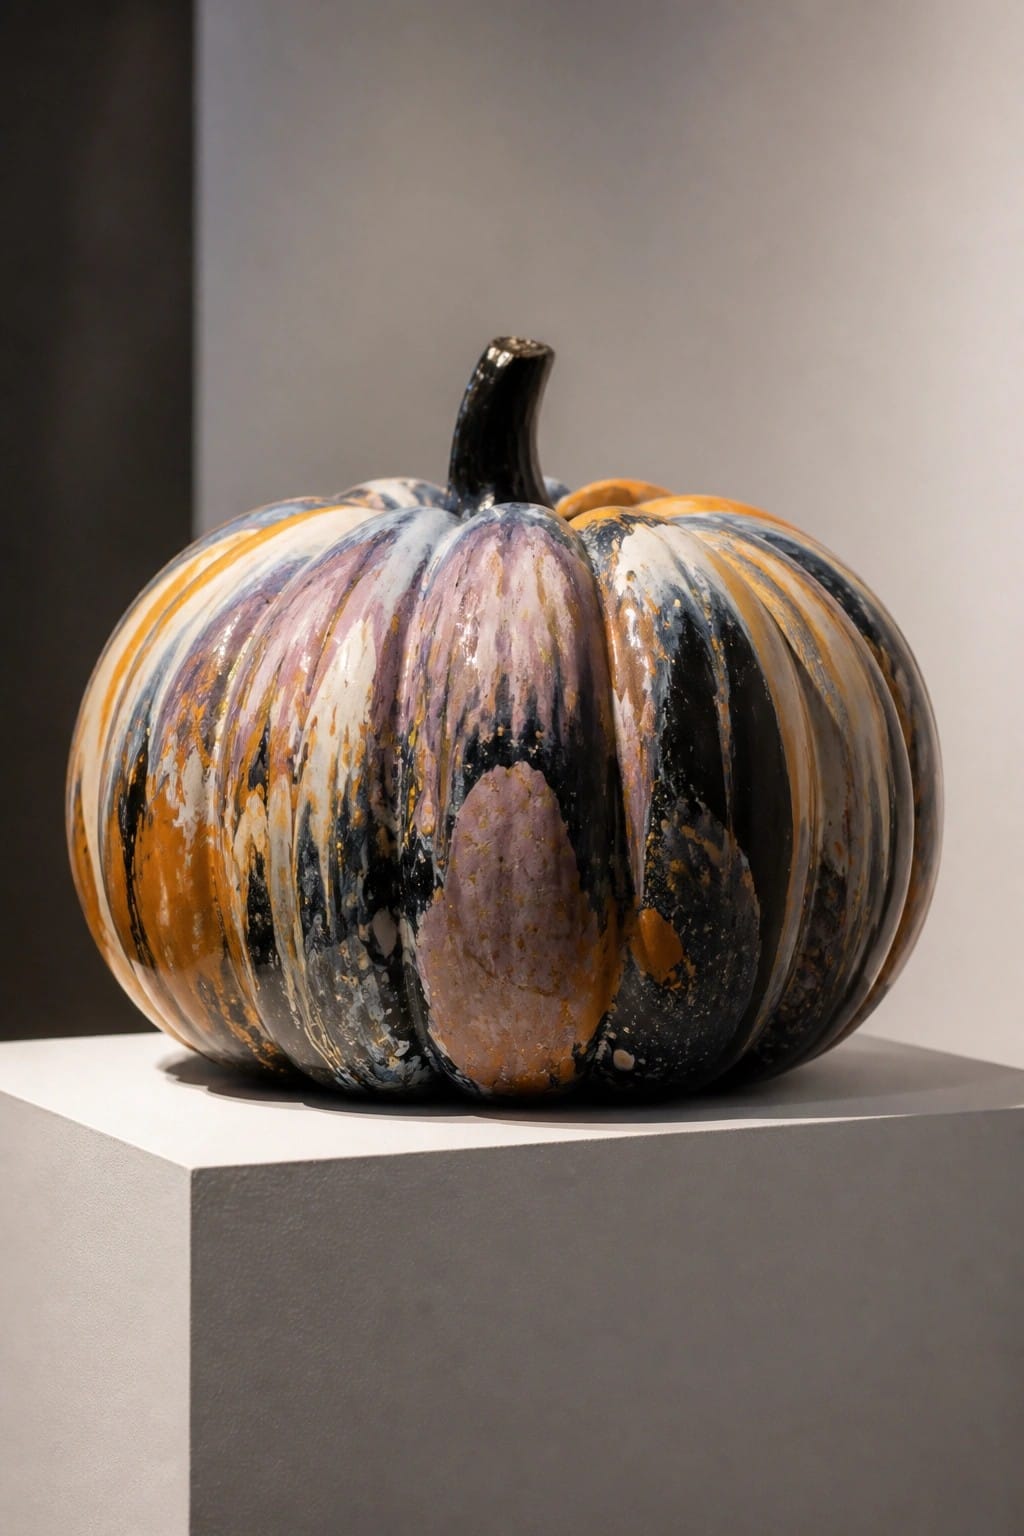
A single pumpkin with thick, streaky swirls of orange, black, purple, and white stands out on its own. The glossy finish and dark stem give it enough presence to work as the main Halloween accent without needing extra pieces around it.
Place one painted pumpkin like this on a low table, shelf, or entry console where it can be seen from across the room. Use leftover house paint or craft acrylics, apply them in loose streaks, and let the colors blend while wet. One well-painted pumpkin is usually enough.
Paint Bold Stripes On A Pumpkin
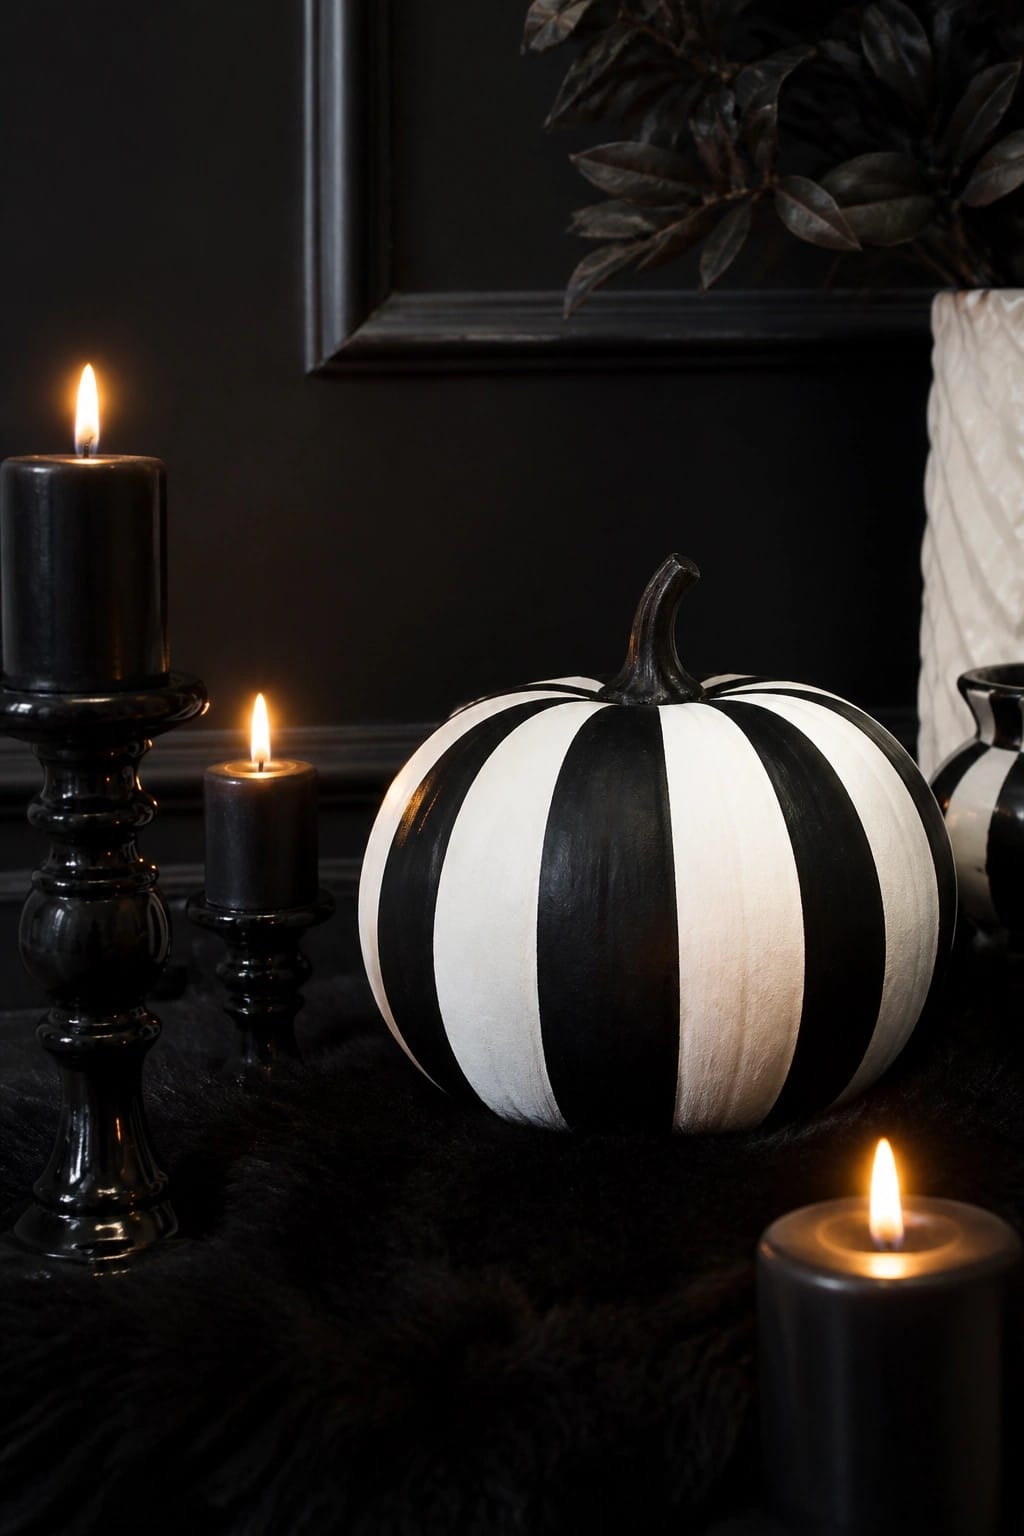
A painted pumpkin with wide black and white stripes gives you one clear focal point that reads as Halloween right away. The high contrast makes the shape stand out even in a simple setup with just a few black candles nearby.
Try this on a medium or large pumpkin you already have. Mask off even stripes with painter’s tape, brush on two coats of paint, and let it dry fully before removing the tape. It works best on a tabletop, mantel, or console where the stripes can be seen from across the room.
Paint A Pumpkin Black With Gold Metallic Drips
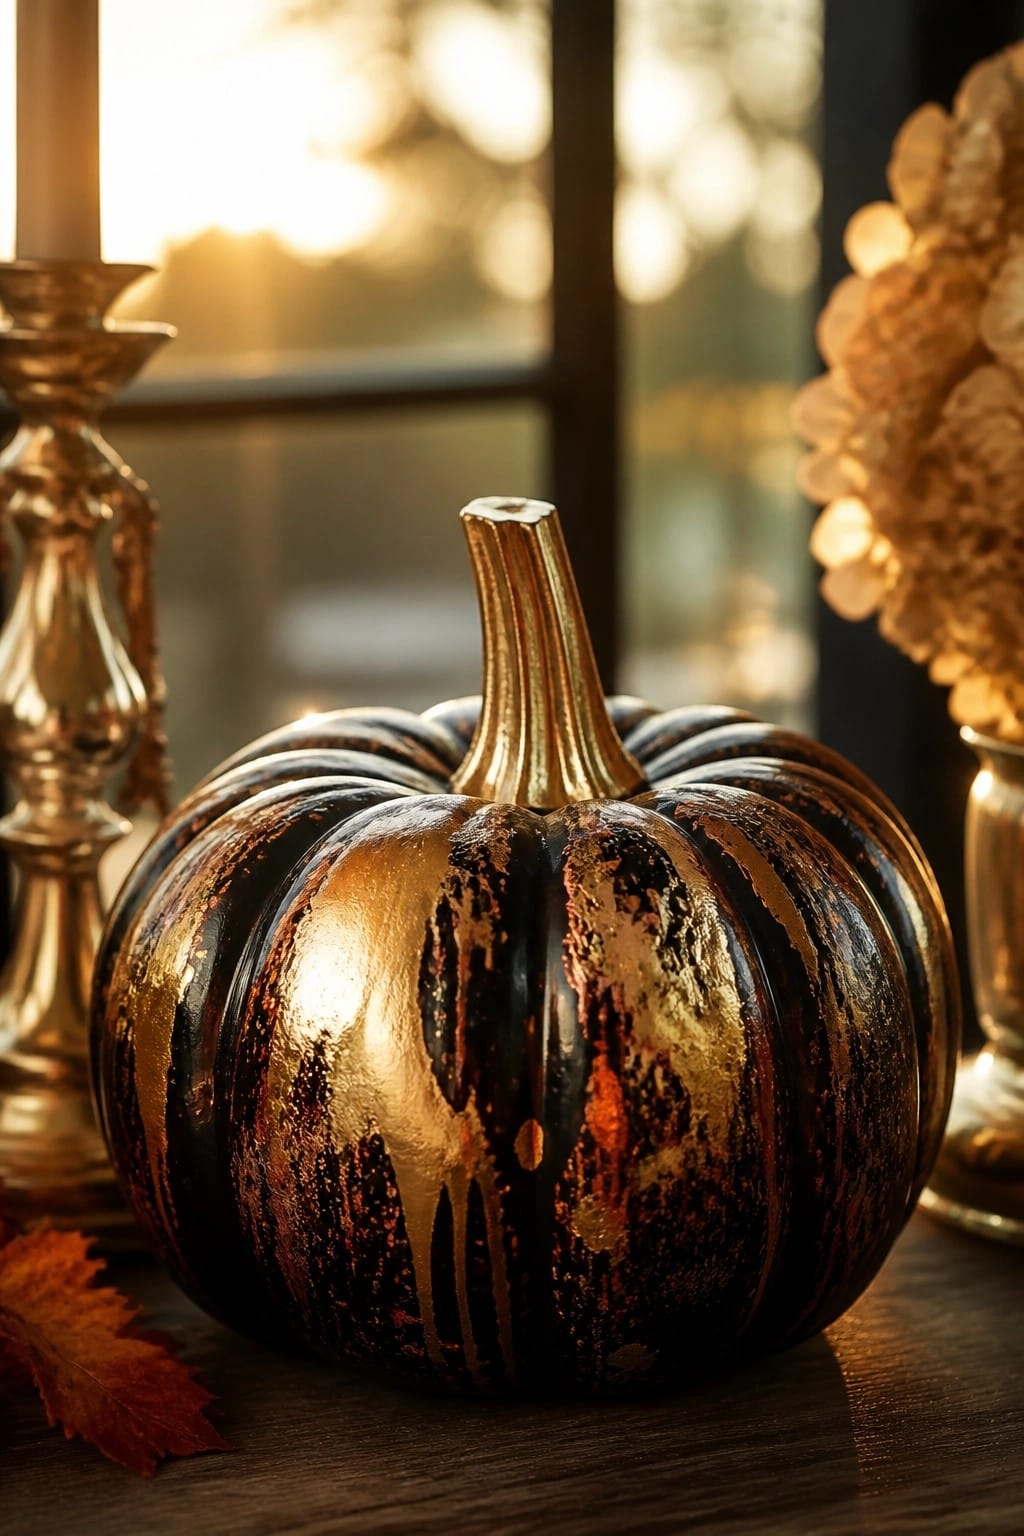
This painted pumpkin uses a black base with running gold metallic paint to create a strong visual contrast. The dripping effect makes the pumpkin the clear focal point and gives it an eye-catching finish that reads as Halloween without extra props.
Place one or two of these on a side table, mantel, or entry console. Keep the rest of the surface simple so the paint treatment stays front and center. A few leftover gold and black craft paints are usually enough to finish the look.
Paint A Bold Face On A Large Pumpkin
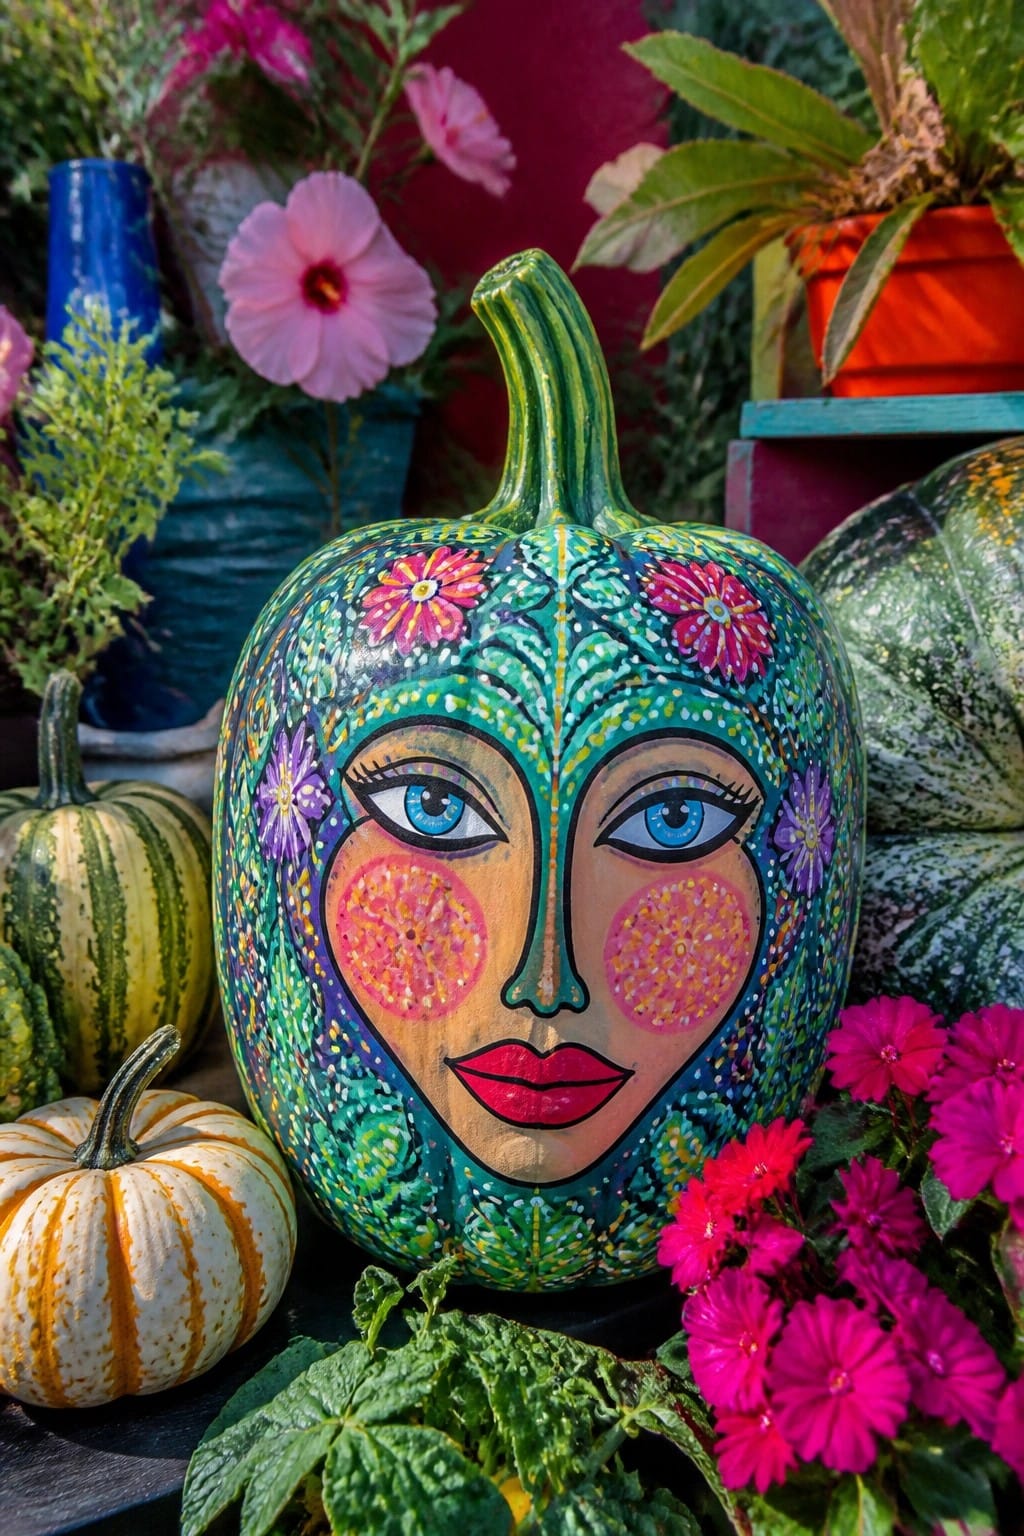
A painted pumpkin with a full face design stands out fast because the features are large and easy to read from a distance. The bright colors and simple shapes turn an ordinary pumpkin into the main point of the display without needing extra props.
Place one big painted pumpkin in the center of a small cluster and keep the rest of the grouping simple. A few smaller plain pumpkins and some low plants around the base are enough to frame it. This works well on a porch step, a patio table, or any spot where you want one clear focal piece.
Paint An Abstract Pumpkin With Bold Brushstrokes

A pumpkin covered in thick, colorful brushstrokes makes a strong focal point without any carving. The mix of pink, blue, gold, and white stands out clearly against darker backgrounds and feels fresh compared to solid orange pumpkins.
Set one on a table or mantel with just a couple of candles nearby. Keep the rest of the surface simple so the painted surface does all the work.
Paint A Pumpkin As A Tiny Cottage
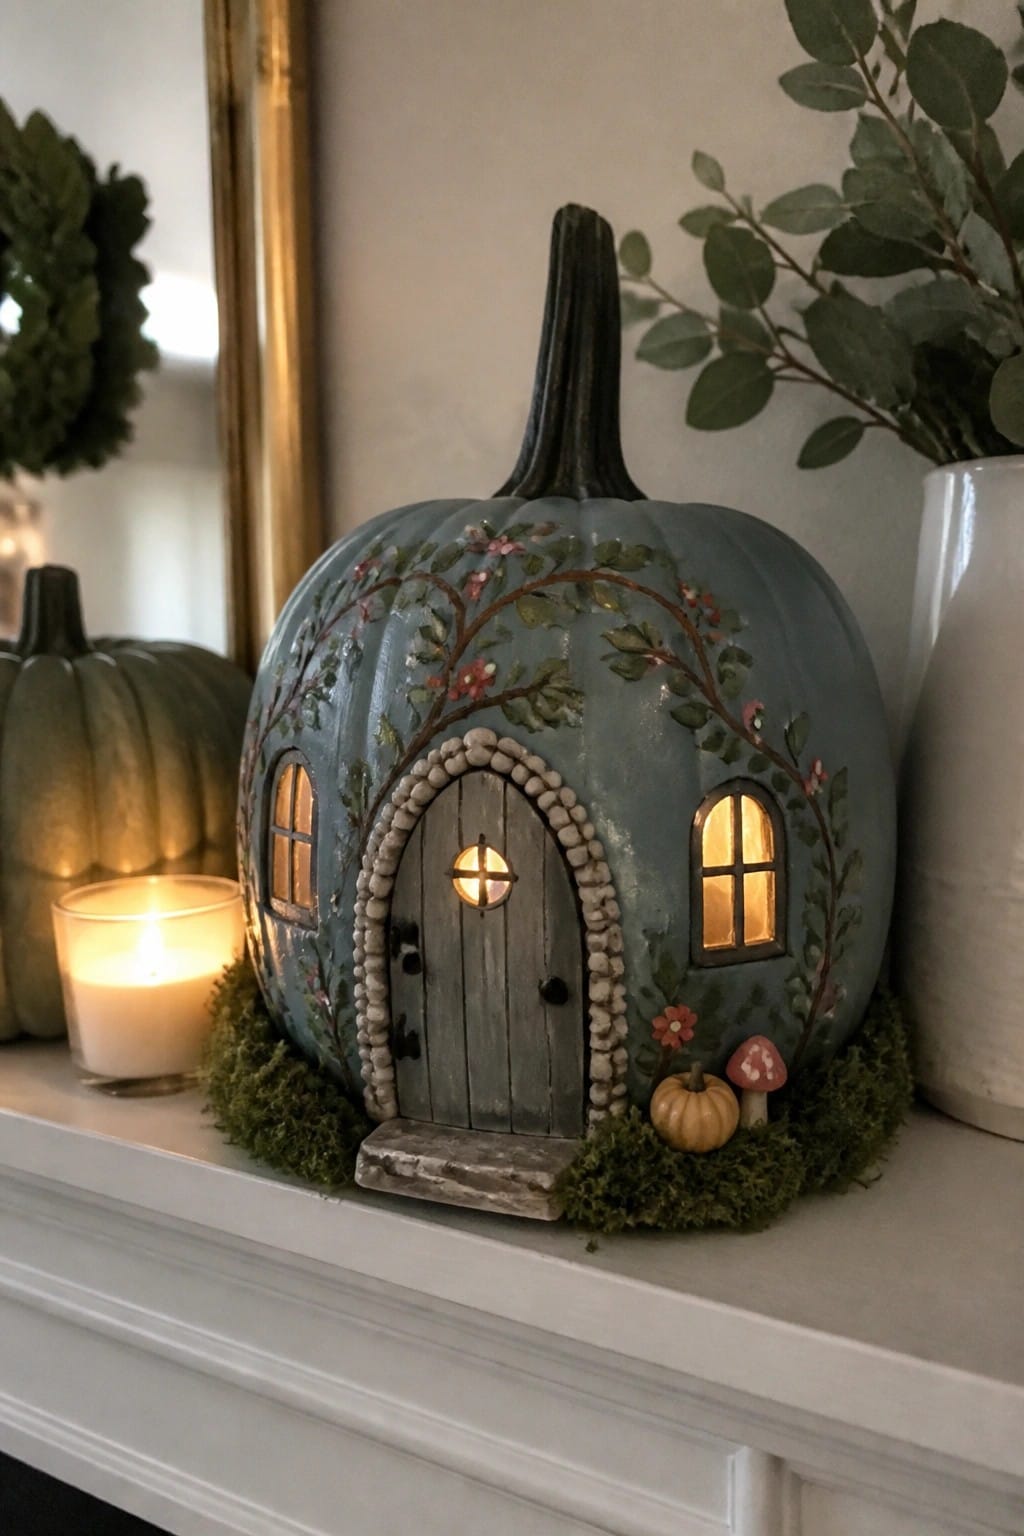
Turning a pumpkin into a miniature house gives you an eye-catching focal point without needing a lot of extra pieces. The painted door, windows, and climbing vines make the shape instantly recognizable as something more than a plain gourd, and the soft indoor light shining through the windows adds a simple glow once the sun goes down.
Place the finished pumpkin on a mantel or shelf and add a bit of moss around the base along with one or two small accents like a tiny gourd or mushroom. One painted pumpkin is usually enough to carry the idea, so keep the surrounding area light so the house detail stays the main attraction.
Paint Bold Brushstrokes Across A Pumpkin

A painted pumpkin with loose, overlapping strokes of pink, orange, yellow, and deep teal makes a simple but striking tabletop piece. The mix of colors keeps it from looking like a basic craft project and gives it enough presence to stand out without any extra props.
Set one large pumpkin on a wooden tray or low table where the strokes can be seen from a few angles. Use whatever paint you have on hand and do not worry about neat lines. One pumpkin is usually enough, so the rest of the surface stays clear.
Paint A Pumpkin With A Face And Floral Details
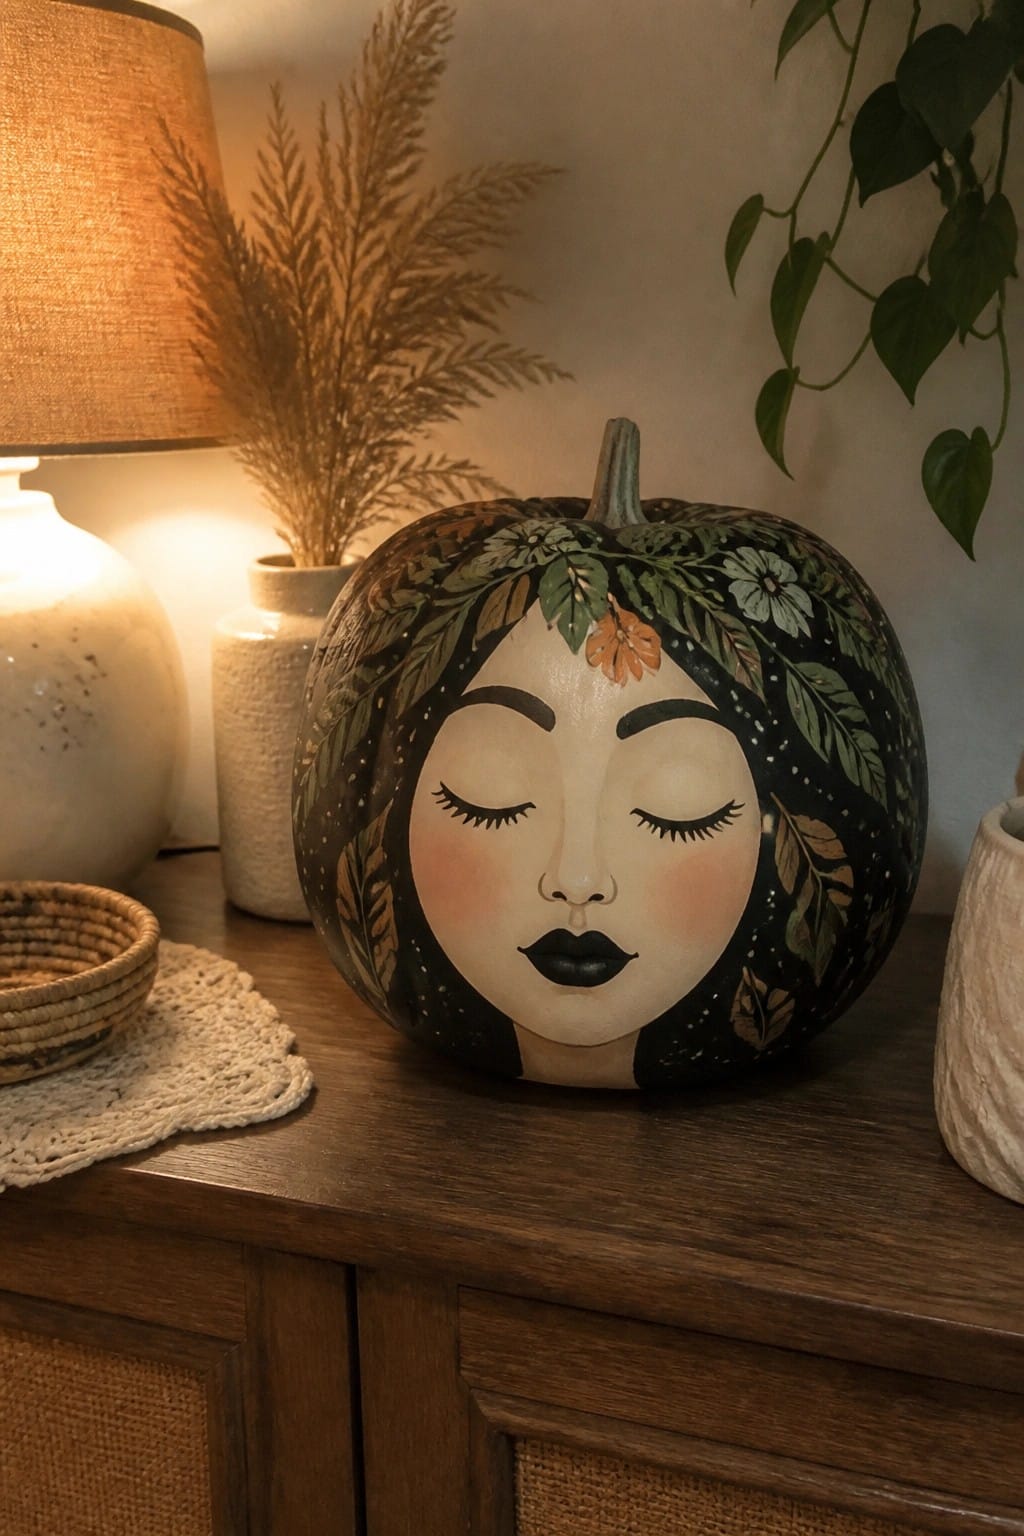
A painted pumpkin with a detailed face draws attention because the artwork itself becomes the decoration. The dark base with leaves and small flowers frames the features and keeps the look finished without extra layers.
Set one on a console or side table where it can be viewed up close. Use a few acrylic paints to create the face and botanical accents, then leave the surrounding surface mostly clear so the pumpkin stays the main point.
Paint a Bold Floral Pumpkin for the Entry Steps

A large pumpkin painted in bright turquoise with oversized sunflowers and daisies makes a strong seasonal statement right by the door. The colorful design stands out against stone and neutral surroundings, giving the entry an instant pop without needing extra props or clutter.
Place one painted pumpkin on the ground or low step where it can be seen from the walkway. Use acrylic paints for good coverage and seal it if the pumpkin will stay outside. This approach works well for anyone who wants a cheerful, low-maintenance accent that still feels festive for the season.
Paint A Face On Your Mantel Pumpkin
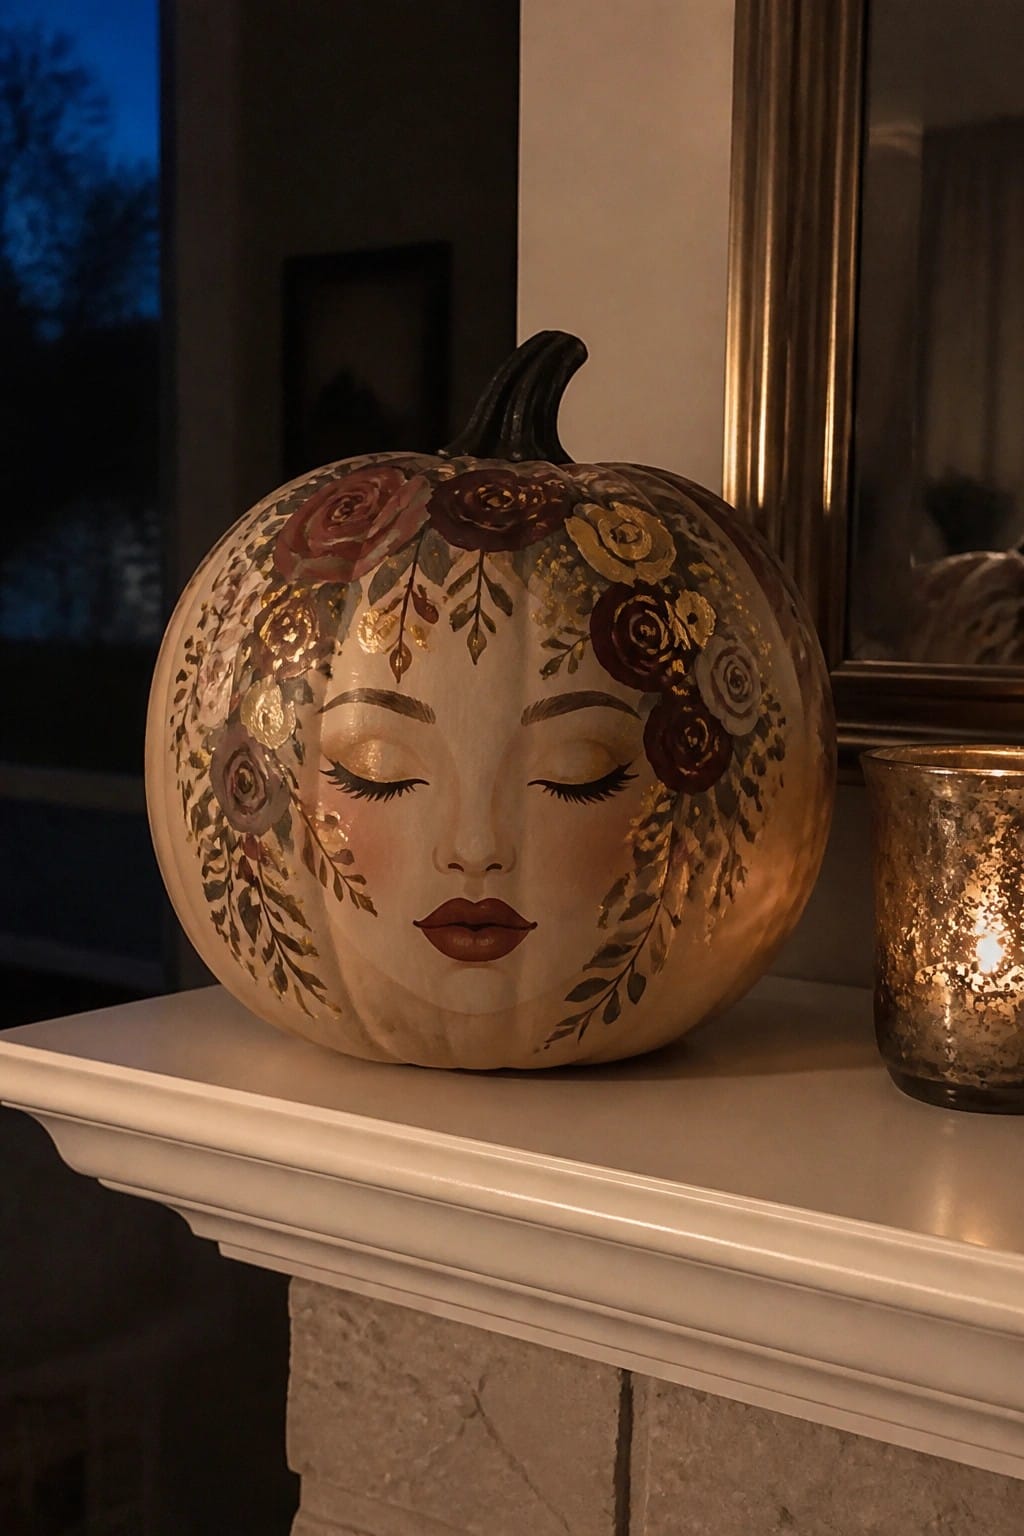
A painted pumpkin with a soft face and floral details makes a strong focal point on the mantel. The closed eyes and surrounding flowers give it a calm, finished look that still reads as Halloween instead of plain fall decor.
Set one large pumpkin in the center of the mantel and keep the rest of the surface simple. A single lit candle nearby is enough to finish the setup. This idea works best when you want one clear statement piece without filling the whole space.
Paint A Pumpkin With Bold Abstract Strokes

A painted pumpkin with thick, colorful brushstrokes stands out as a simple way to add a strong seasonal accent. The mix of deep blue, bright pink, orange, and gold creates an eye-catching pattern that feels fresh and artistic rather than traditional.
To try this look, use acrylic paints and apply loose strokes around the pumpkin, then finish the stem in gold. Place it on a tray or wooden surface with just a few supporting pieces so the painted pumpkin remains the main focus.
Frequently Asked Questions
Q: How do I stop the paint from peeling off after a few days outside? A: Pick acrylic paints made for outdoor use and seal everything with a clear coat once it dries. Set the pumpkins in a spot that stays dry most of the time. Touch up any thin spots after the first rain.
Q: What works if I only have basic craft paint at home? A: Thin the paint a little with water so it spreads smoothly over the curved surface. Do two light coats instead of one thick one. Let each coat dry fully before adding details.
Q: Can kids help with these designs without things getting too messy? A: Yes. Give them sponges or wide brushes for big shapes and keep a damp cloth nearby for quick wipes. Stick to simple patterns like stripes or dots so they finish fast and stay interested.
Q: How long should I let the pumpkins dry before moving them? A: Give each one at least four hours in a warm room. Check the surface with your finger. If it still feels tacky, wait another hour before handling.
