
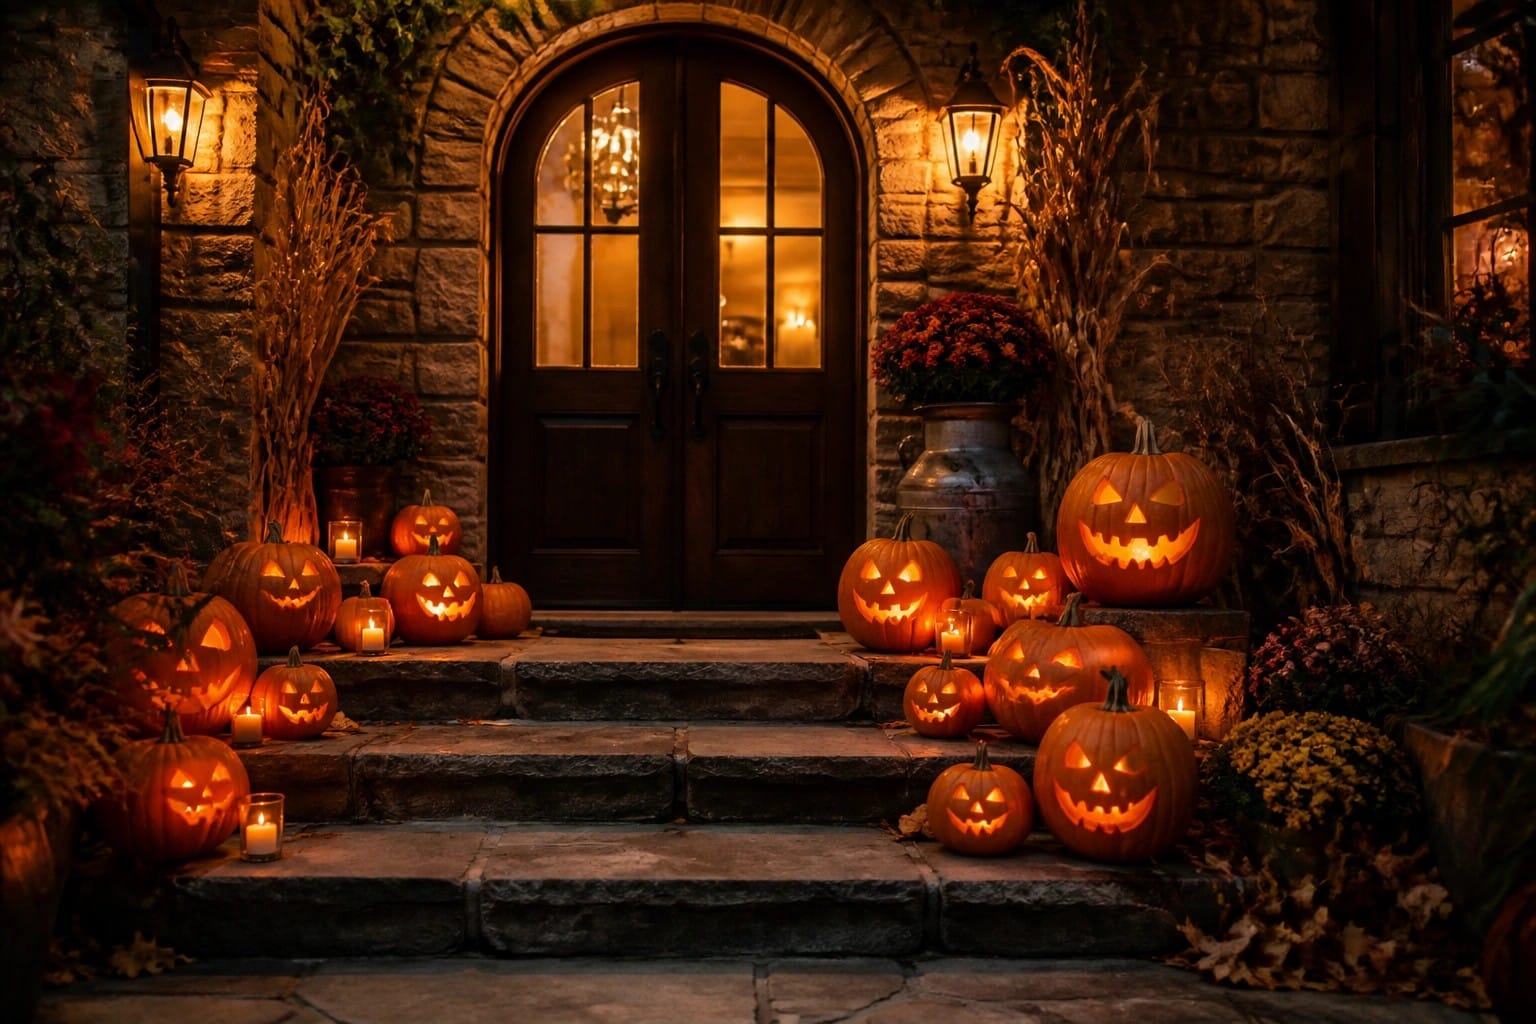
Jack-o’-lanterns still feel like the quickest way to add a clear Halloween touch without touching the rest of the house.
I usually pick up a couple of pumpkins only a few days ahead and keep the rest of the space untouched.
Simple face designs hold up better than complicated patterns when the clock is ticking.
They slide easily onto a front step or a kitchen counter without needing extra props or new furniture arrangements.
The real advantage is that even basic cuts still register as intentional Halloween decor instead of ordinary autumn accents.
Cluster Jack O Lanterns On The Porch Steps
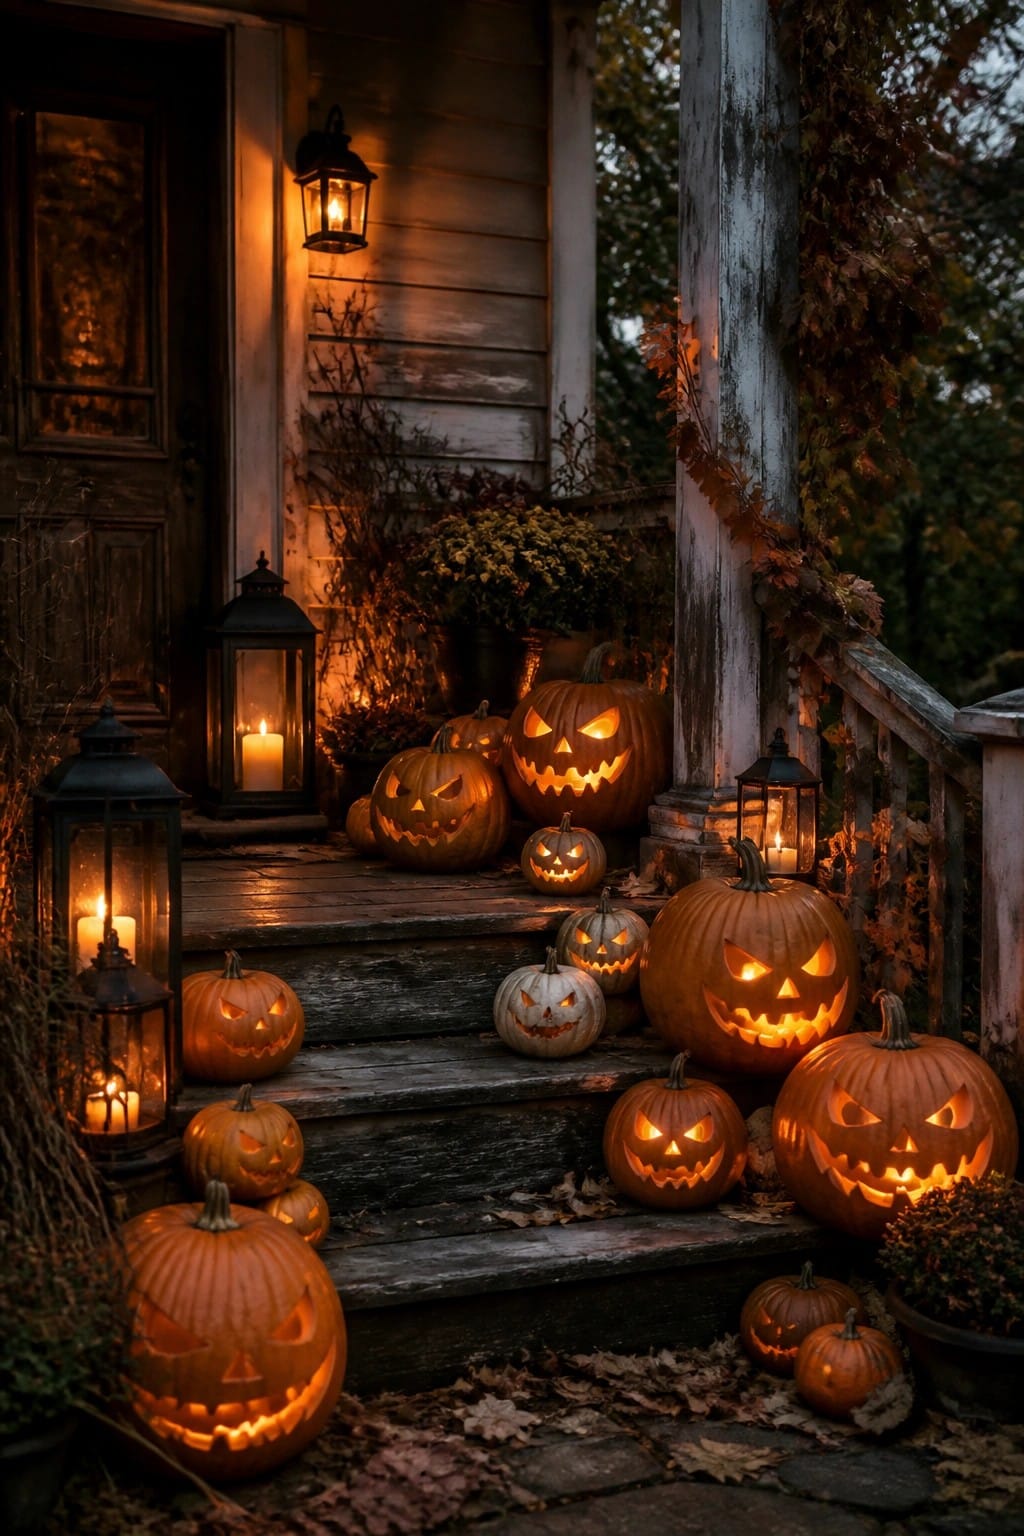
Placing a mix of carved pumpkins on porch steps creates an easy focal point that reads as Halloween right away. Different sizes and simple face designs keep the look full without needing extra props or complicated setups.
This works best when you start with three or four larger pumpkins at the base and add smaller ones higher up. Carve quick triangle faces the night before and set battery candles inside so the display stays lit after dark.
Group Jack O Lanterns Across The Mantel

Placing several carved pumpkins side by side on a mantel gives an instant Halloween focal point without much extra work. The glowing faces stand out against the dark surround and the simple garland of leaves underneath, making the whole setup feel complete with just the pumpkins themselves.
This works well because you can use whatever jack o lantern designs you already have or carve a few quick ones the night before. Mix sizes if you want, but keep the faces visible from the main seating area. Add a couple of tall candles on each end only if you need more light. The mantel stays the main display, so the rest of the room does not need much else.
Group Jack O Lanterns Along A Console Table
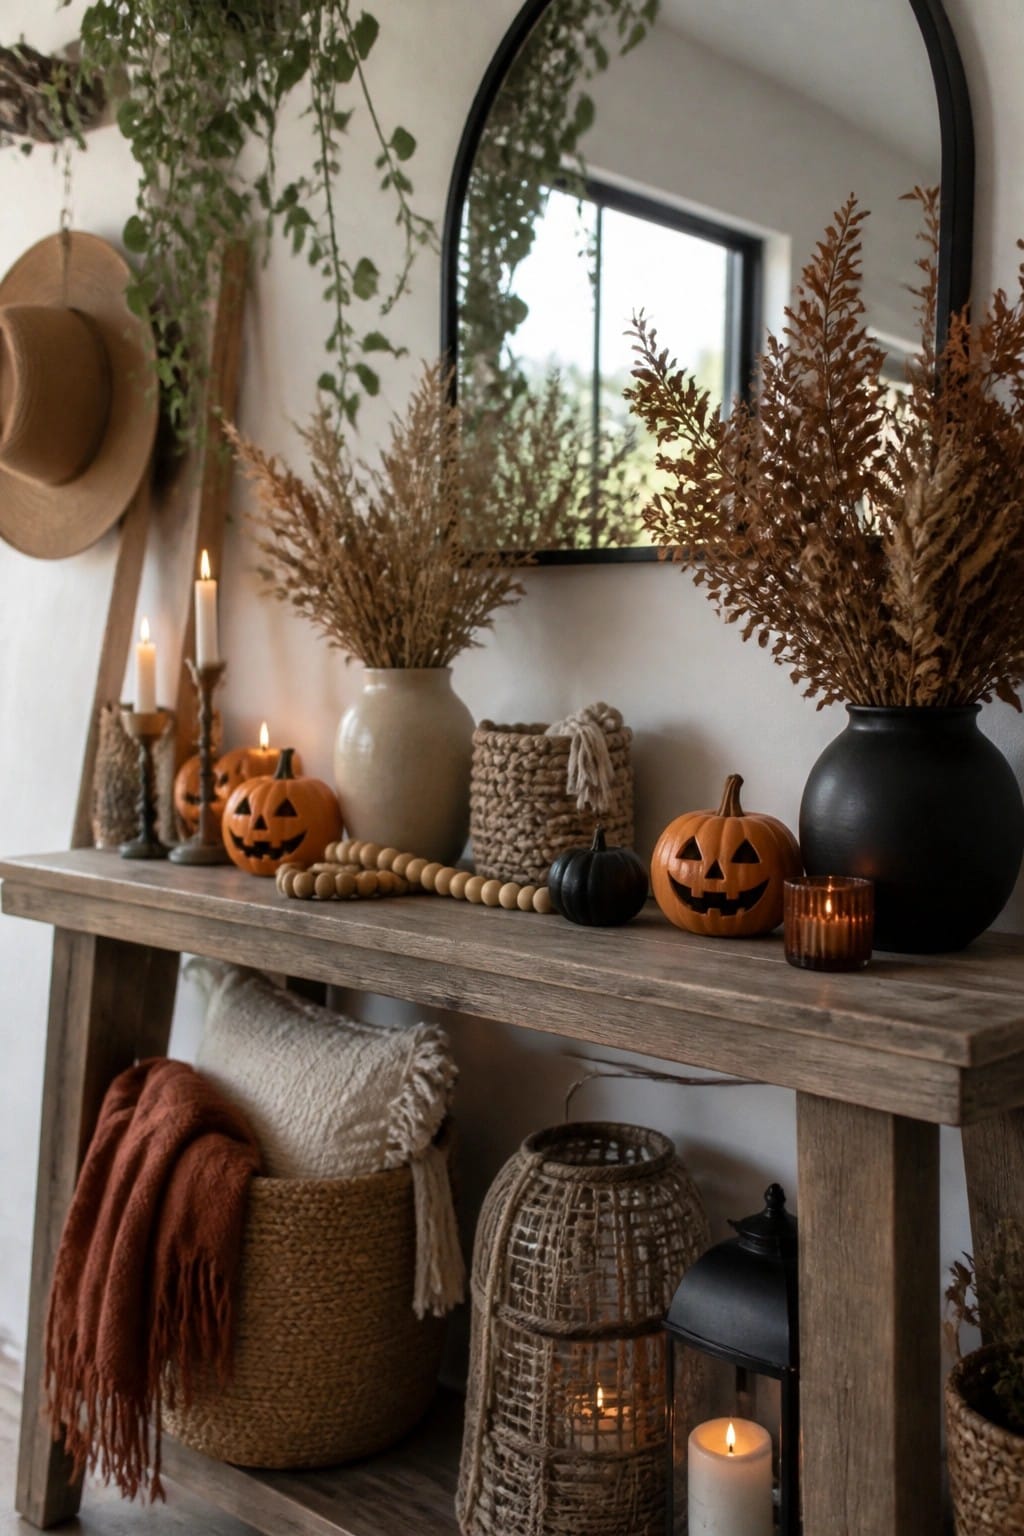
Placing several carved jack o lanterns together on a console creates an easy focal point that reads as Halloween right away. The mix of sizes and a few black accents helps the carved faces stand out without needing extra props or a full room overhaul.
This setup works well in an entryway or narrow hallway where you want quick impact. Set the pumpkins in a loose row, add a couple of simple candle holders if you like, and keep the rest of the surface fairly open so the carved designs stay the main thing people notice.
Group Jack O Lanterns Along The Porch Steps

Placing a row of carved pumpkins along the steps and walkway turns a simple front entry into a strong Halloween focal point. The carved faces catch the light from inside the lanterns and create an immediate seasonal signal that works even when the rest of the porch stays simple.
Start with five to eight pumpkins of different sizes and line them on both sides of the steps or along the path. Mix in a few battery candles or lanterns between them so the faces stay visible after dark. This setup needs only the pumpkins themselves and takes almost no time once the carving is done.
Group Jack O Lanterns On The Porch Swing
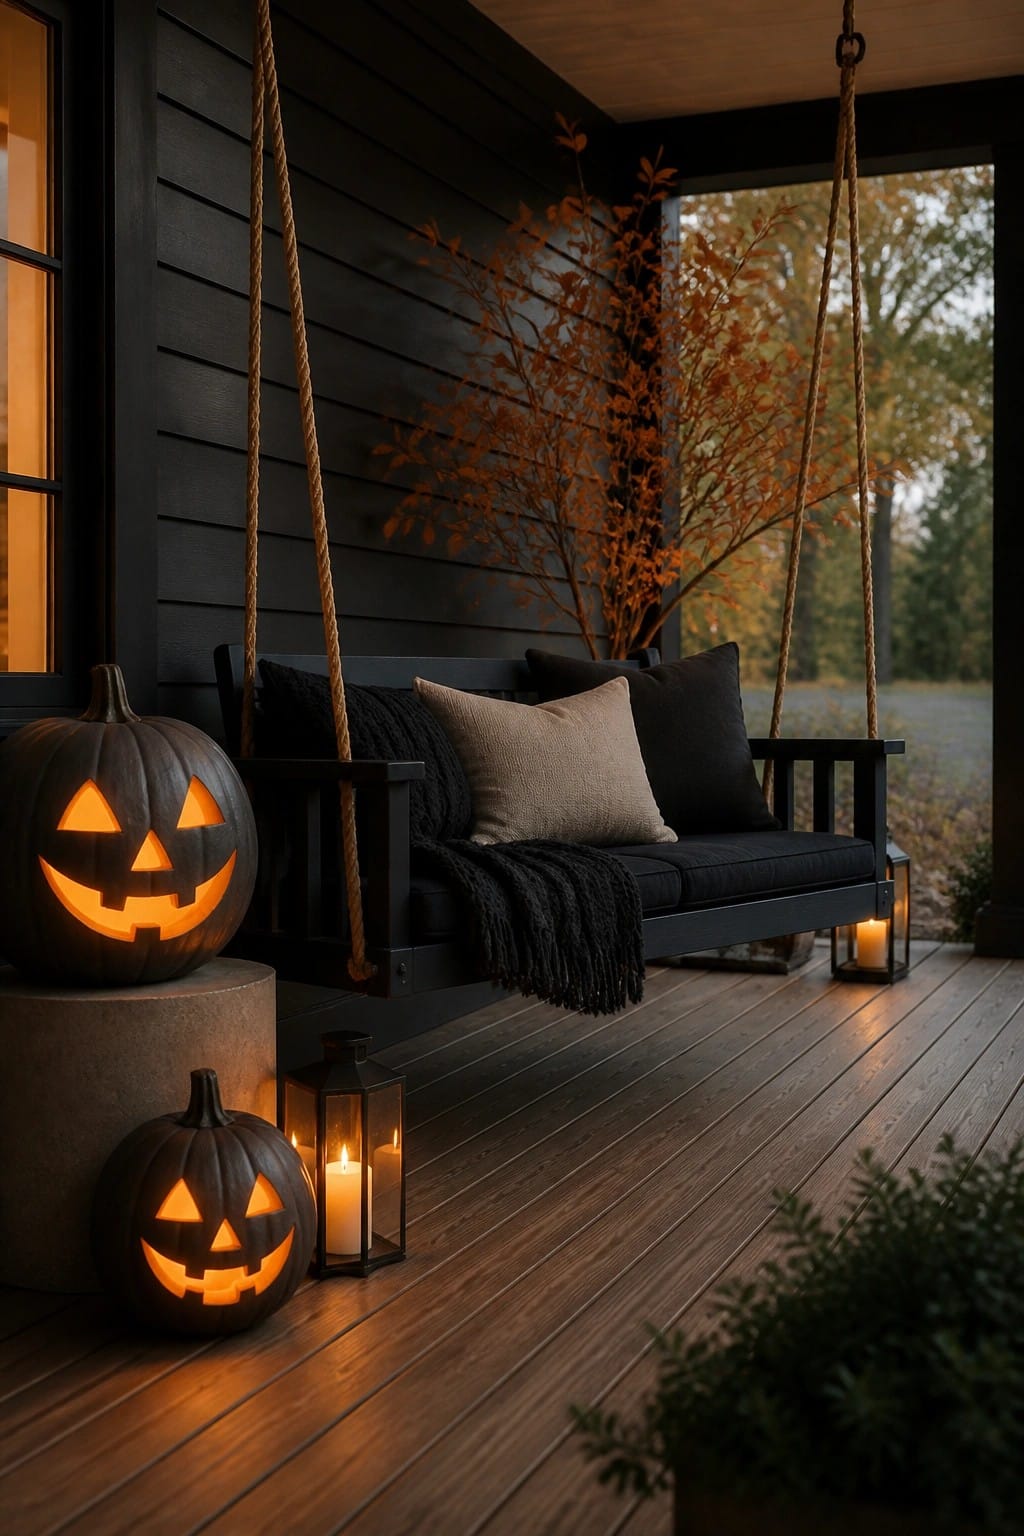
Carving a couple of classic jack o lanterns and setting them beside the porch swing turns the whole area into a quick Halloween spot. The lit faces stand out against the dark siding and give the space that recognizable holiday look without needing much else.
Two or three pumpkins are enough. Set the biggest one on a low stand or step so it sits higher, then place a smaller one nearby on the floor. Keep the rest of the porch simple so the carved faces stay the main focus.
Stack Jack O Lanterns On The Porch Steps
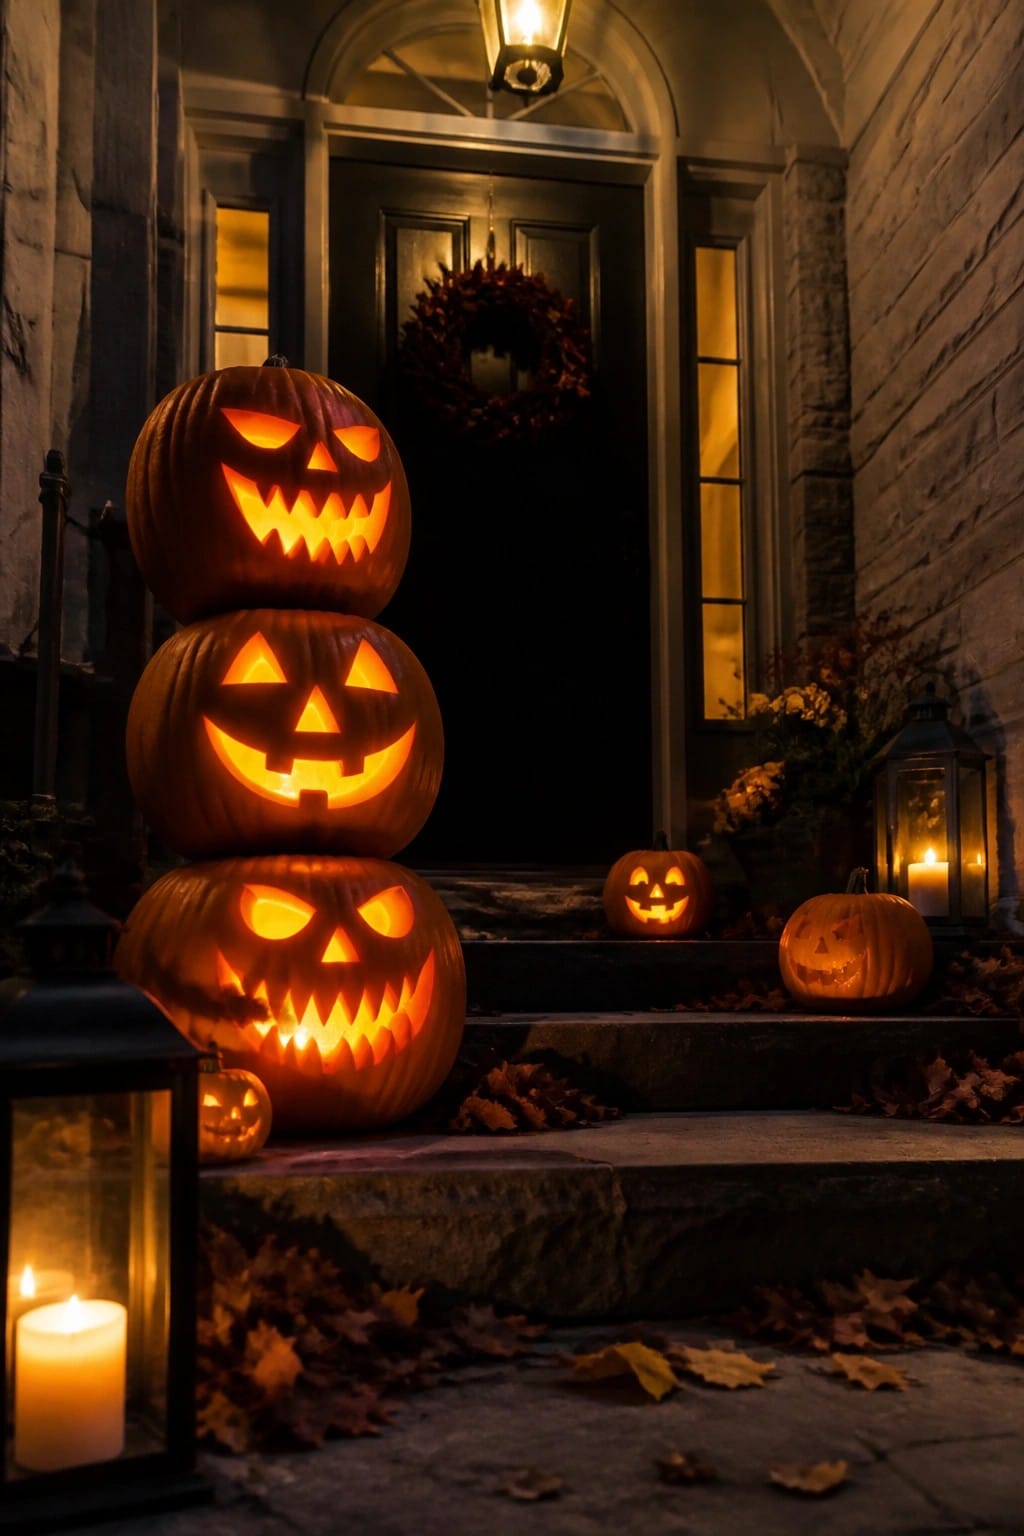
Stacking three carved pumpkins into a tall tower makes a strong focal point without needing much else. The different face styles give it instant variety while keeping the whole setup simple enough to finish in one evening.
Place the largest pumpkin at the bottom and work upward, making sure each one sits steady. Add a couple of smaller carved pumpkins nearby on the steps to fill the space and tie the look together. This works best right by the front door where the glowing faces catch attention as people walk up.
Cluster Jack O Lanterns On A Coffee Table
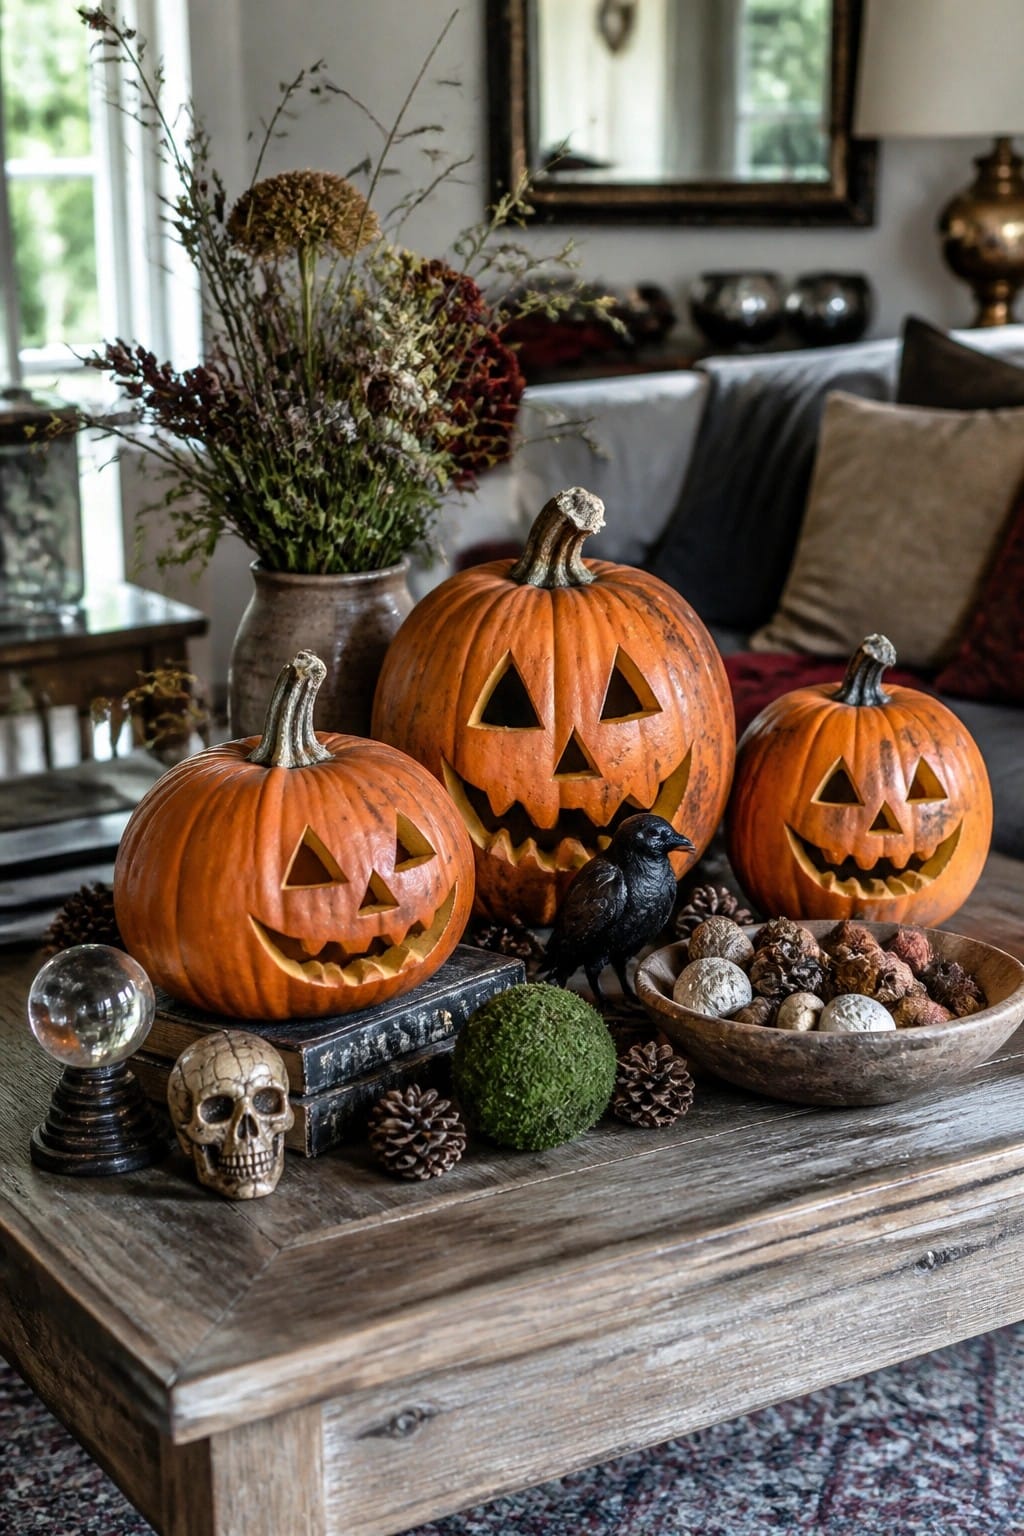
Placing several carved pumpkins together on a low table makes the jack o lantern designs stand out without much extra effort. The different sizes and simple face styles here show how basic triangle eyes and jagged mouths can still look effective when grouped.
You can try this by setting three or four pumpkins of varying sizes on any sturdy surface in the living room. Add a few small accents like a figurine or pinecones around them to fill space, but keep the focus on the carved faces.
Cluster Jack O Lanterns On The Porch Steps
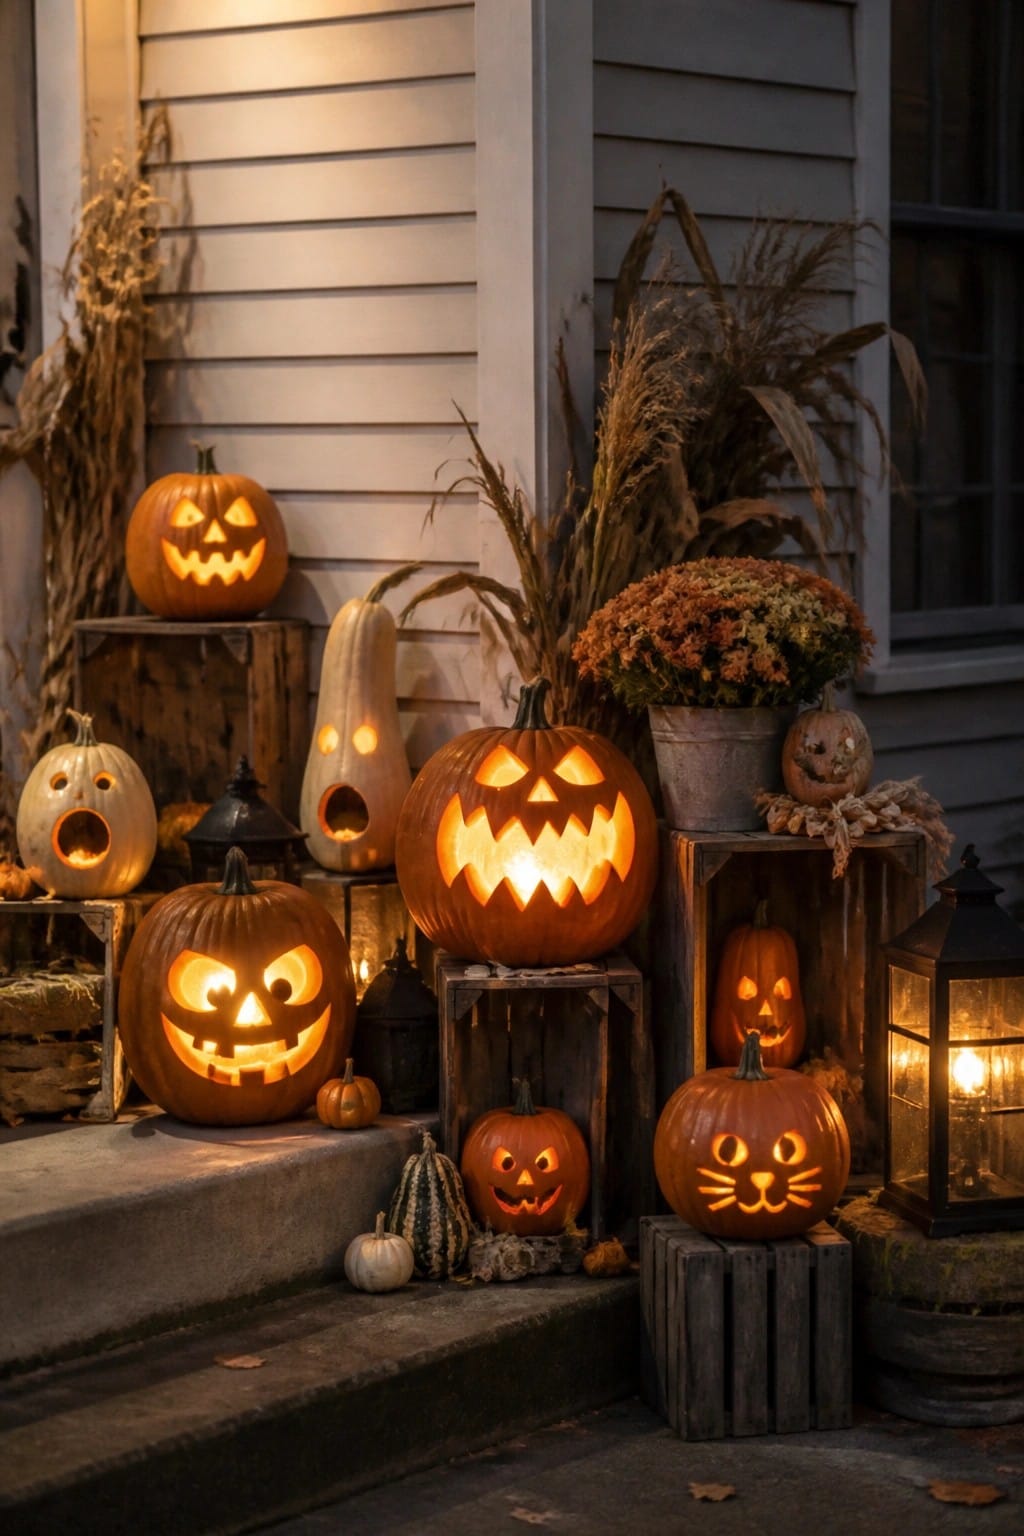
A simple way to show off several jack o lantern designs at once is to group them together on the front steps. Different carved faces stand out more when they sit at varying heights, and the mix of sizes keeps the display from feeling flat. Wooden crates or old boxes work well for lifting some pumpkins higher without any extra work.
This setup needs only a handful of pumpkins and a few sturdy crates. Place the largest ones on the lower steps and tuck smaller carved ones around them so every face stays visible. It stays easy to put together the night before and gives the whole entry a clear Halloween focus.
Group Jack O Lanterns On A Porch Bench

Carving a few jack o lanterns and lining them up on a bench creates a simple porch display that reads as Halloween right away. The carved faces do most of the work, and the grouping keeps the look intentional without extra layers.
Set three or four pumpkins side by side, add one or two small props if you already have them, and leave the rest of the space open. This idea works on any porch or entry step and stays easy to put up or take down.
Line Your Walkway With Jack O Lanterns
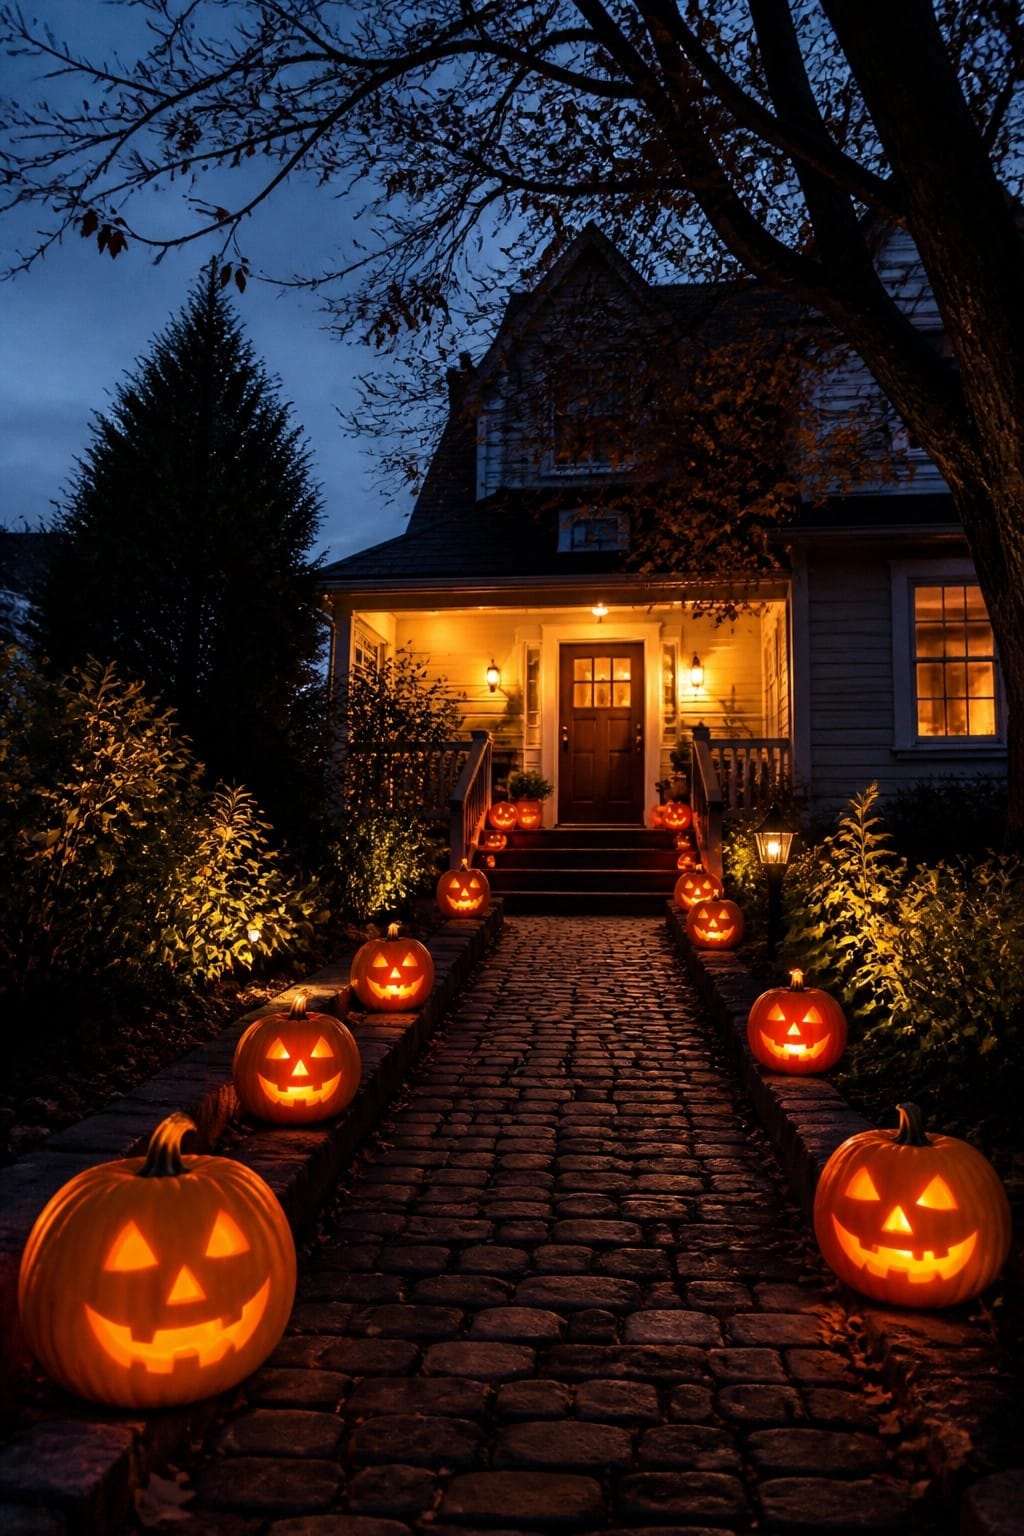
Placing rows of carved pumpkins along both sides of a path makes a simple but strong Halloween statement. The glowing faces create a clear trail that leads visitors right to the door.
You can copy this look with any number of pumpkins you have on hand. Carve basic faces the night before, set them out on the ground or low steps, and space them evenly so the light shows up well after dark.
Line Jack O Lanterns Up The Stairs
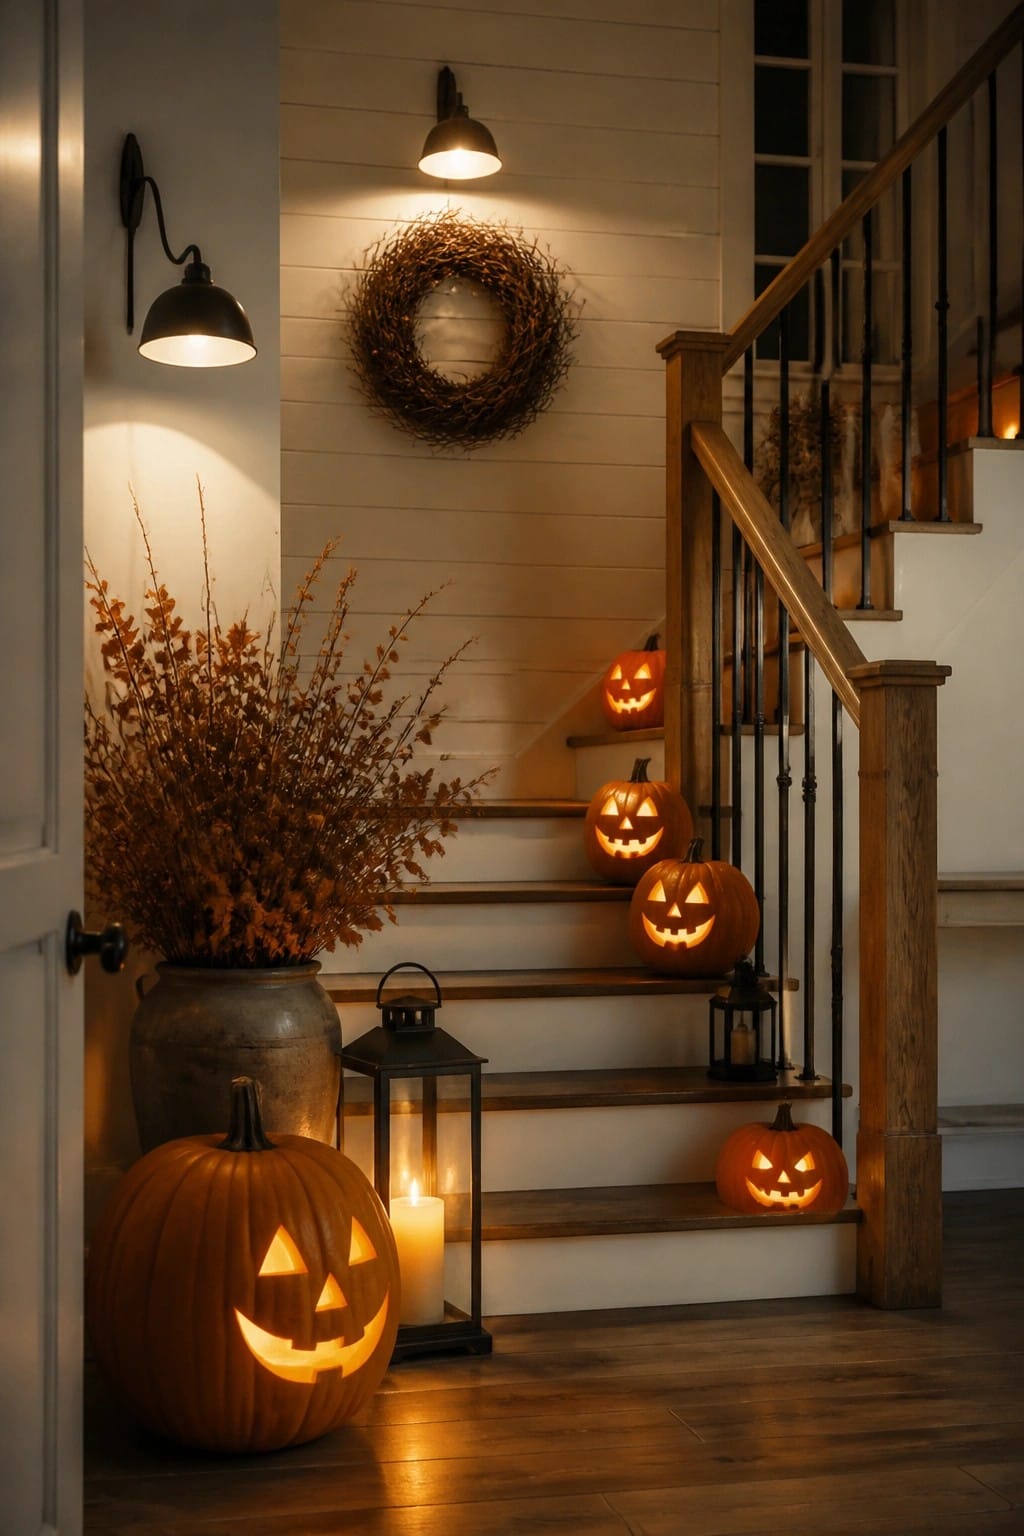
Placing carved pumpkins along each step gives a staircase an immediate Halloween feel without much effort. The glowing faces draw the eye upward and make the whole area feel festive.
Use four or five pumpkins with basic carved expressions and tuck a few lanterns between them for extra light. This works best in an entry or hallway where the display stays visible from the main living space.
Cluster Jack O Lanterns Along A Window Bench
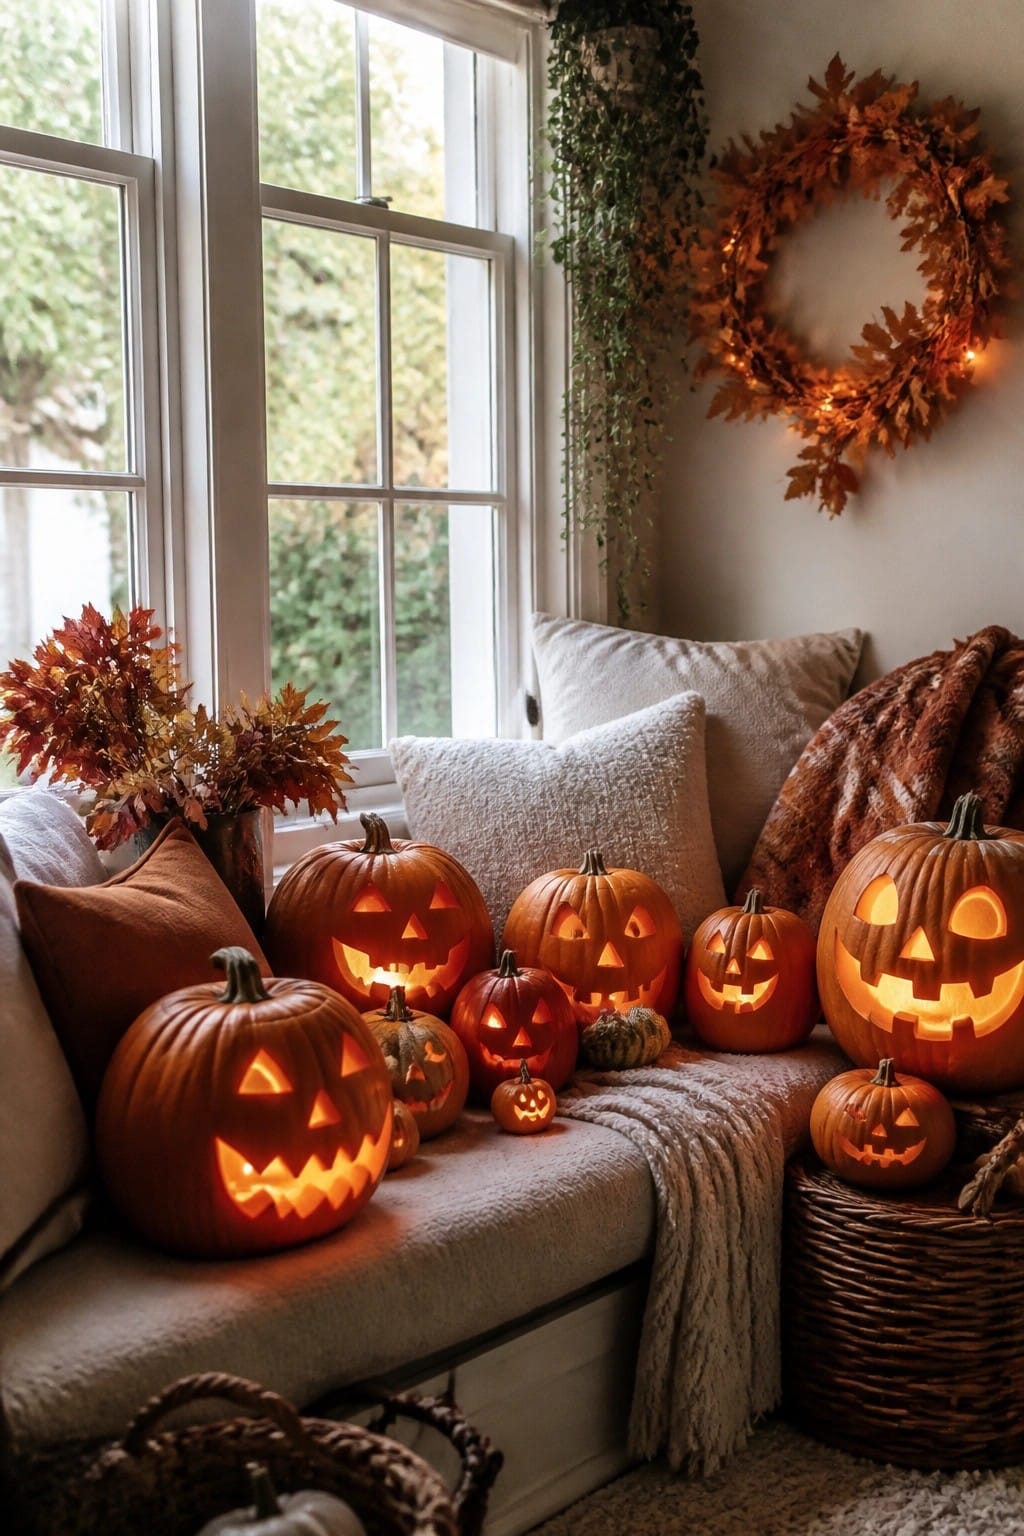
Placing several carved pumpkins together in one spot makes the jack o lantern designs stand out without needing extra props. Different sizes and face styles create a simple display that feels complete on its own, especially when the candles inside are lit at night.
This works well on any bench or wide windowsill where you can line them up in a row or loose group. Use whatever pumpkins you already carved and add a few smaller ones if the space feels empty. The setup stays easy to put away once the holiday ends.
Cluster Jack O Lanterns On An Entry Console
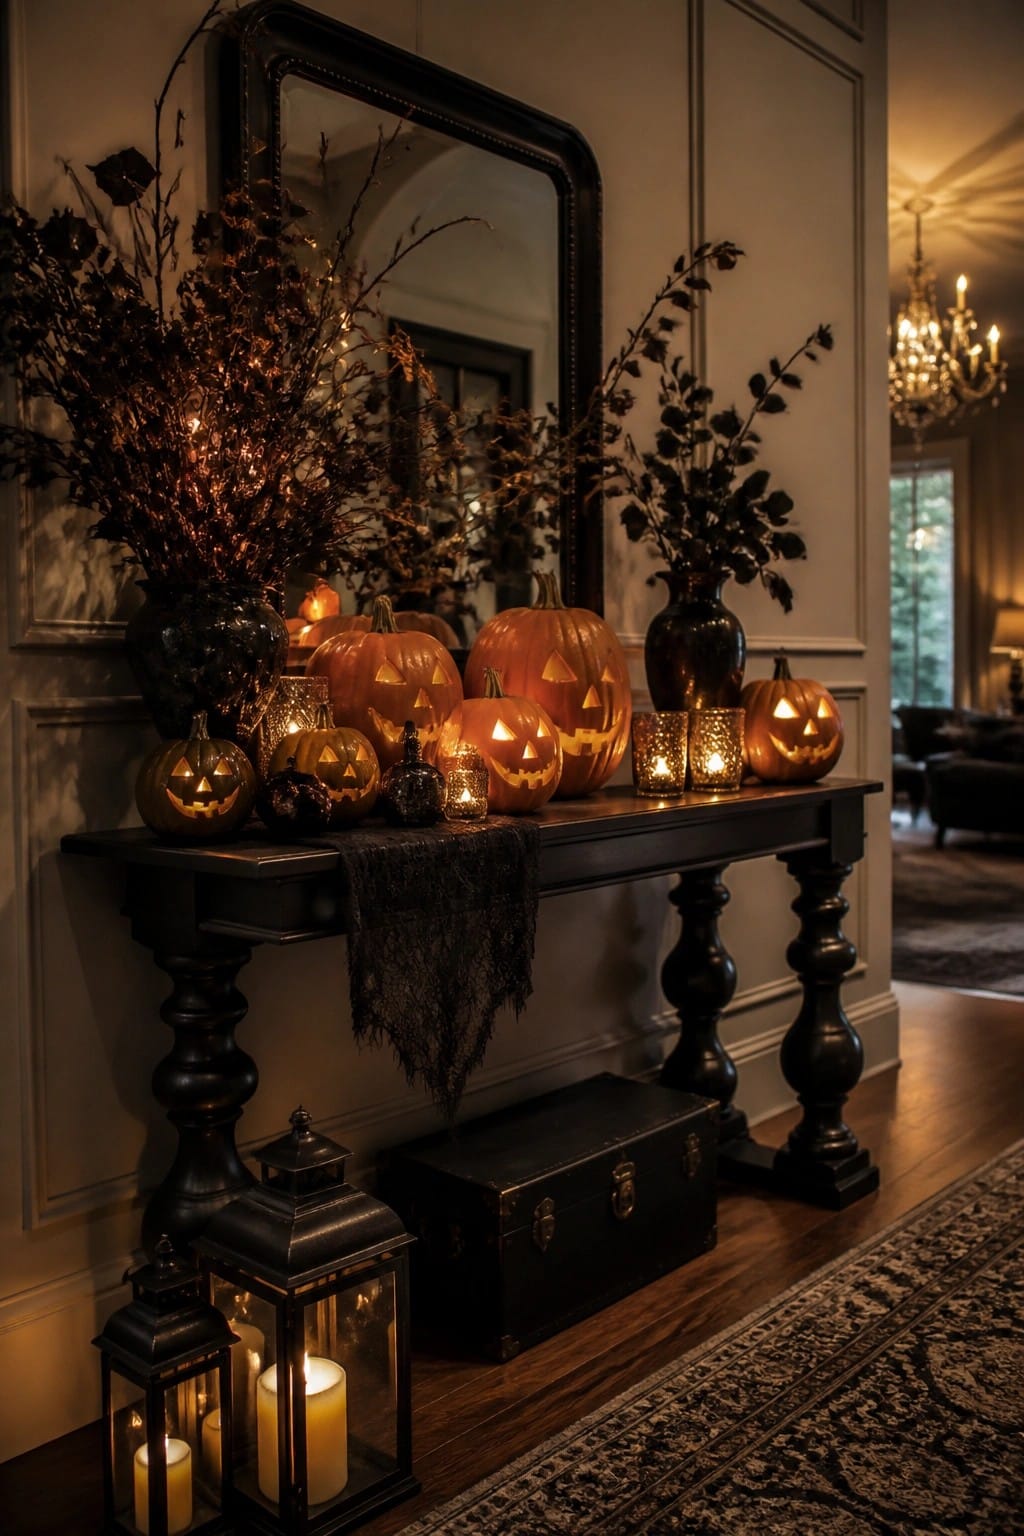
Placing several carved pumpkins together on a console table makes a simple but effective Halloween display. The lit faces stand out against the darker wood and bring the theme right into the entry without needing much else.
Carve a mix of expressions the day before and set them in a loose row. Add a few battery candles or small lanterns around the base so the whole group glows at night. This works in any entryway and uses only the pumpkins you already planned to carve.
Group Jack O Lanterns Along The Porch Railing
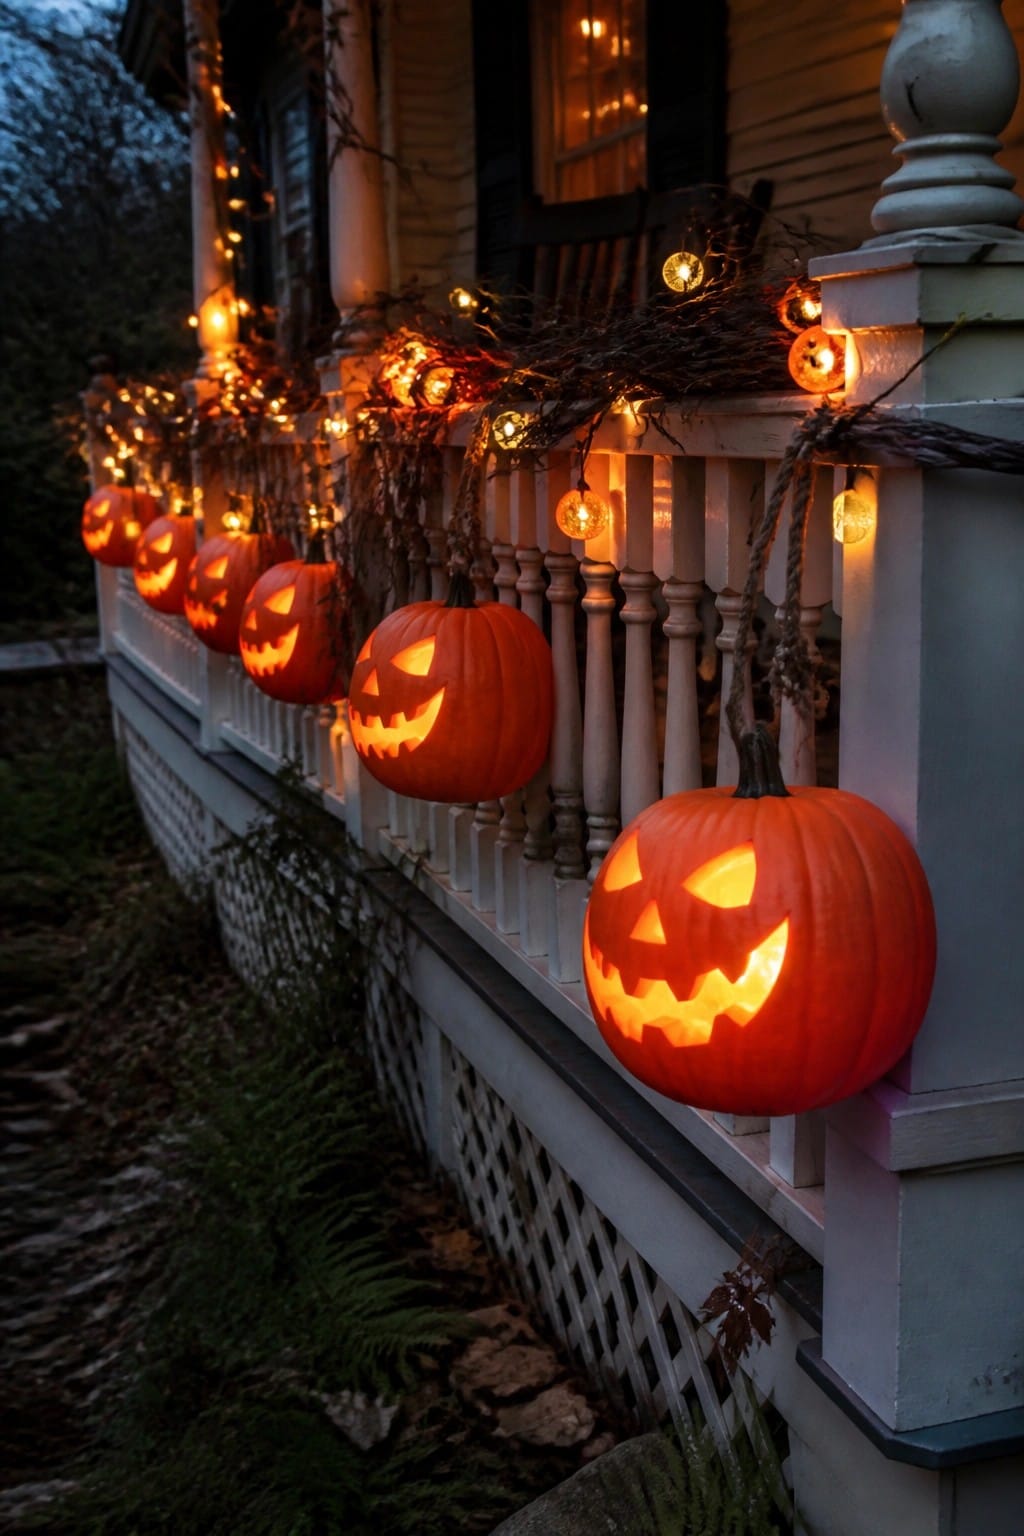
A row of carved pumpkins lines the porch railing and turns the whole entry into a quick Halloween display. The simple faces and glowing openings do most of the work, so you do not need extra props or complicated setups.
Carve a handful of pumpkins the day before and set them in a straight line where they catch passing eyes. Use a few different sizes if you have them and add a basic strand of lights so the display stays visible once the sun goes down.
Group Jack O Lanterns Across An Outdoor Table

Placing a mix of carved pumpkins on a simple wooden table turns an everyday surface into a strong Halloween focal point. The glowing faces stand out against the autumn leaves and give the arrangement an immediate festive feel without needing much else.
This works well for a last-minute setup because you can use whatever pumpkins you have on hand and arrange them in one spot. Keep the rest of the table clear so the carved designs remain the main feature.
Group Jack O Lanterns On An Entry Console
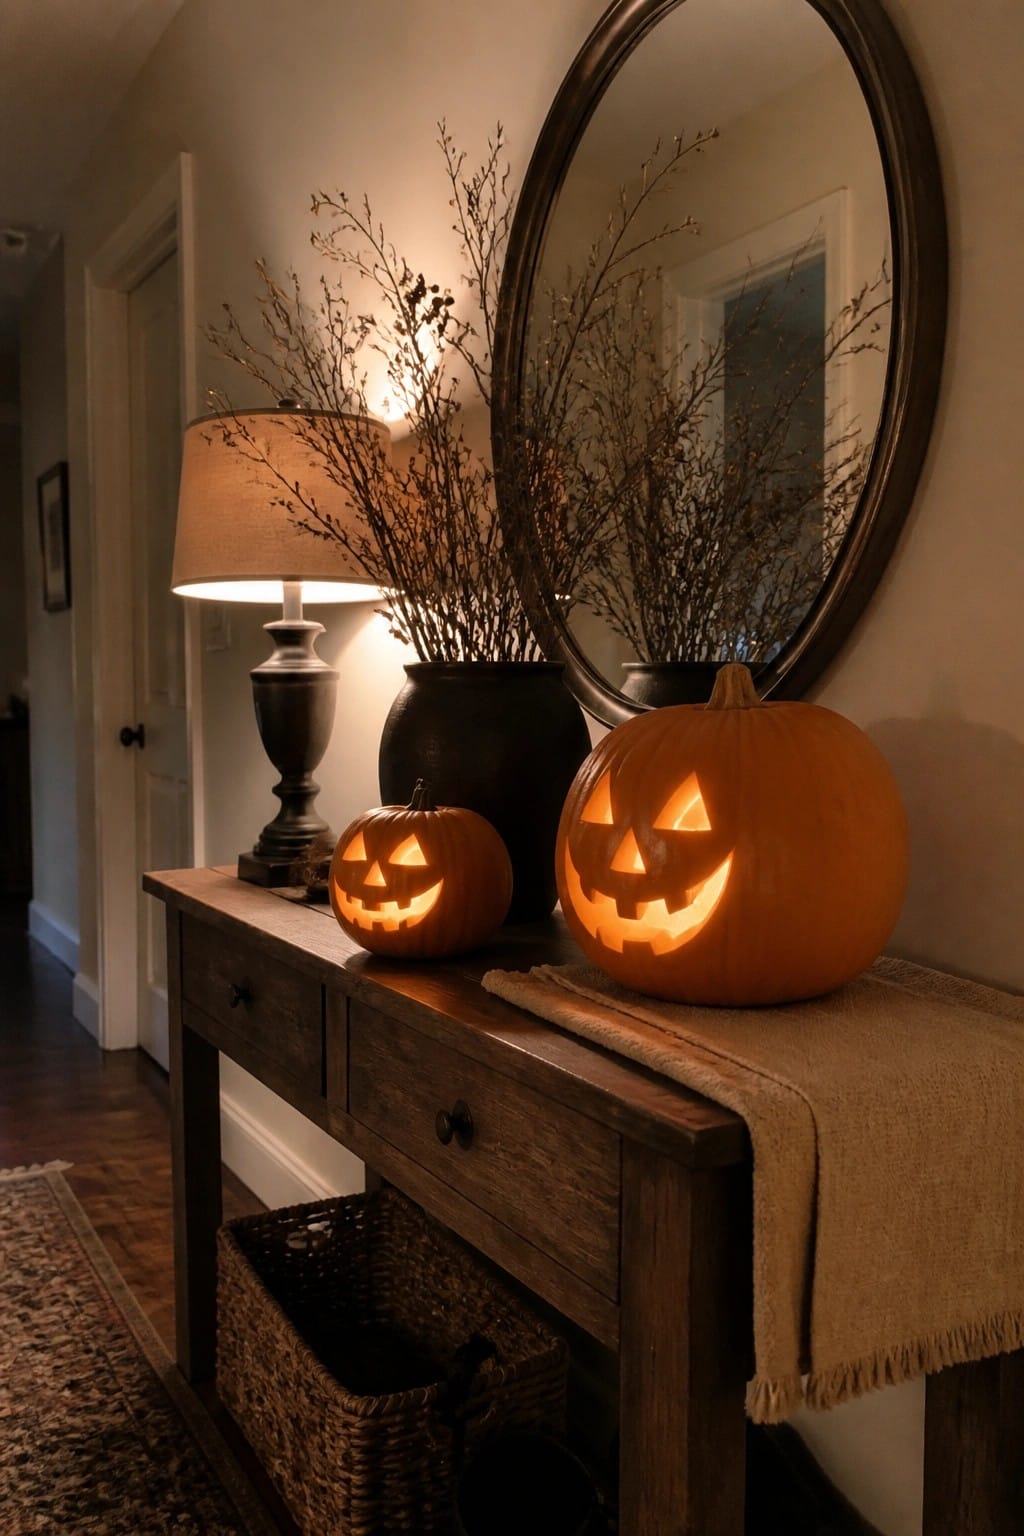
Carving just two pumpkins and setting them on a console table gives an entryway an instant Halloween touch without much effort. The glowing faces stand out against the darker wood and neutral background, making the display easy to notice as soon as someone walks in.
This setup works well in narrow spaces where you only have room for a few pieces. Use one larger pumpkin and one smaller one to keep the look balanced, then add a simple cloth underneath if you want to protect the surface. The whole thing takes very little time and can be put away quickly after the holiday.
Line Jack O Lanterns Along The Entry Path
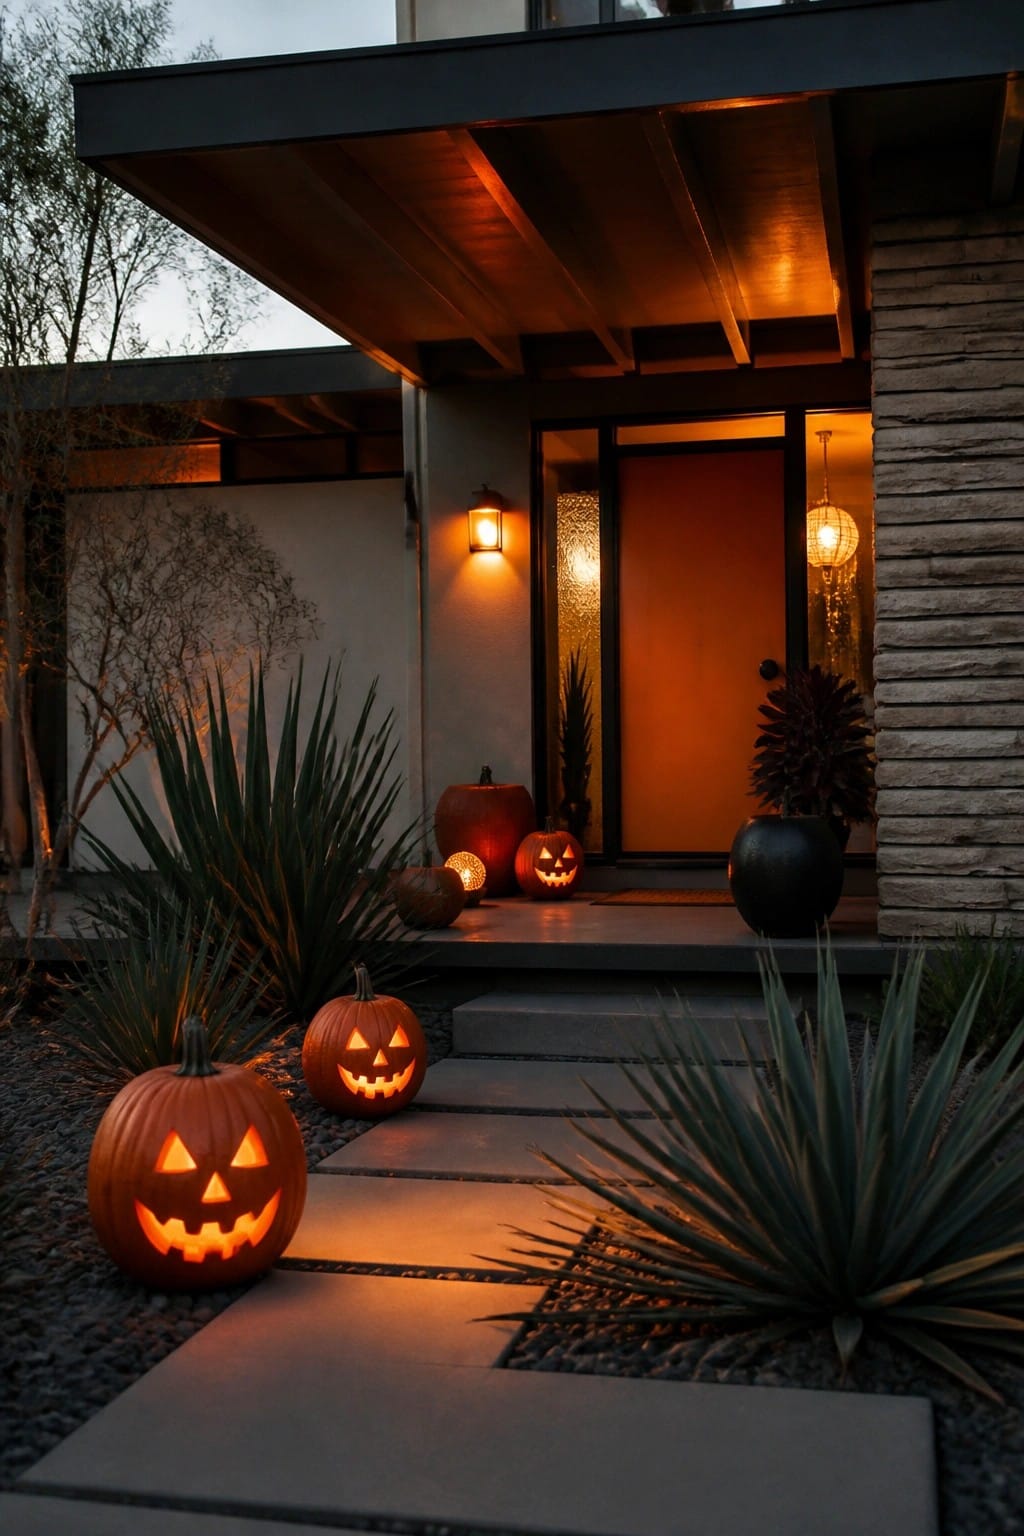
Placing several carved pumpkins with simple faces along the walkway leading to the front door gives the whole entrance a clear Halloween focus. The glowing cutouts stand out against the dark ground and plants, making the path feel intentional and ready for visitors.
You only need a handful of pumpkins to pull this off. Carve a few basic faces, set them along the steps or stones, and light them from inside. It works best right before guests arrive since the effect is strongest once the sun goes down.
Line A Walkway With Jack O Lanterns
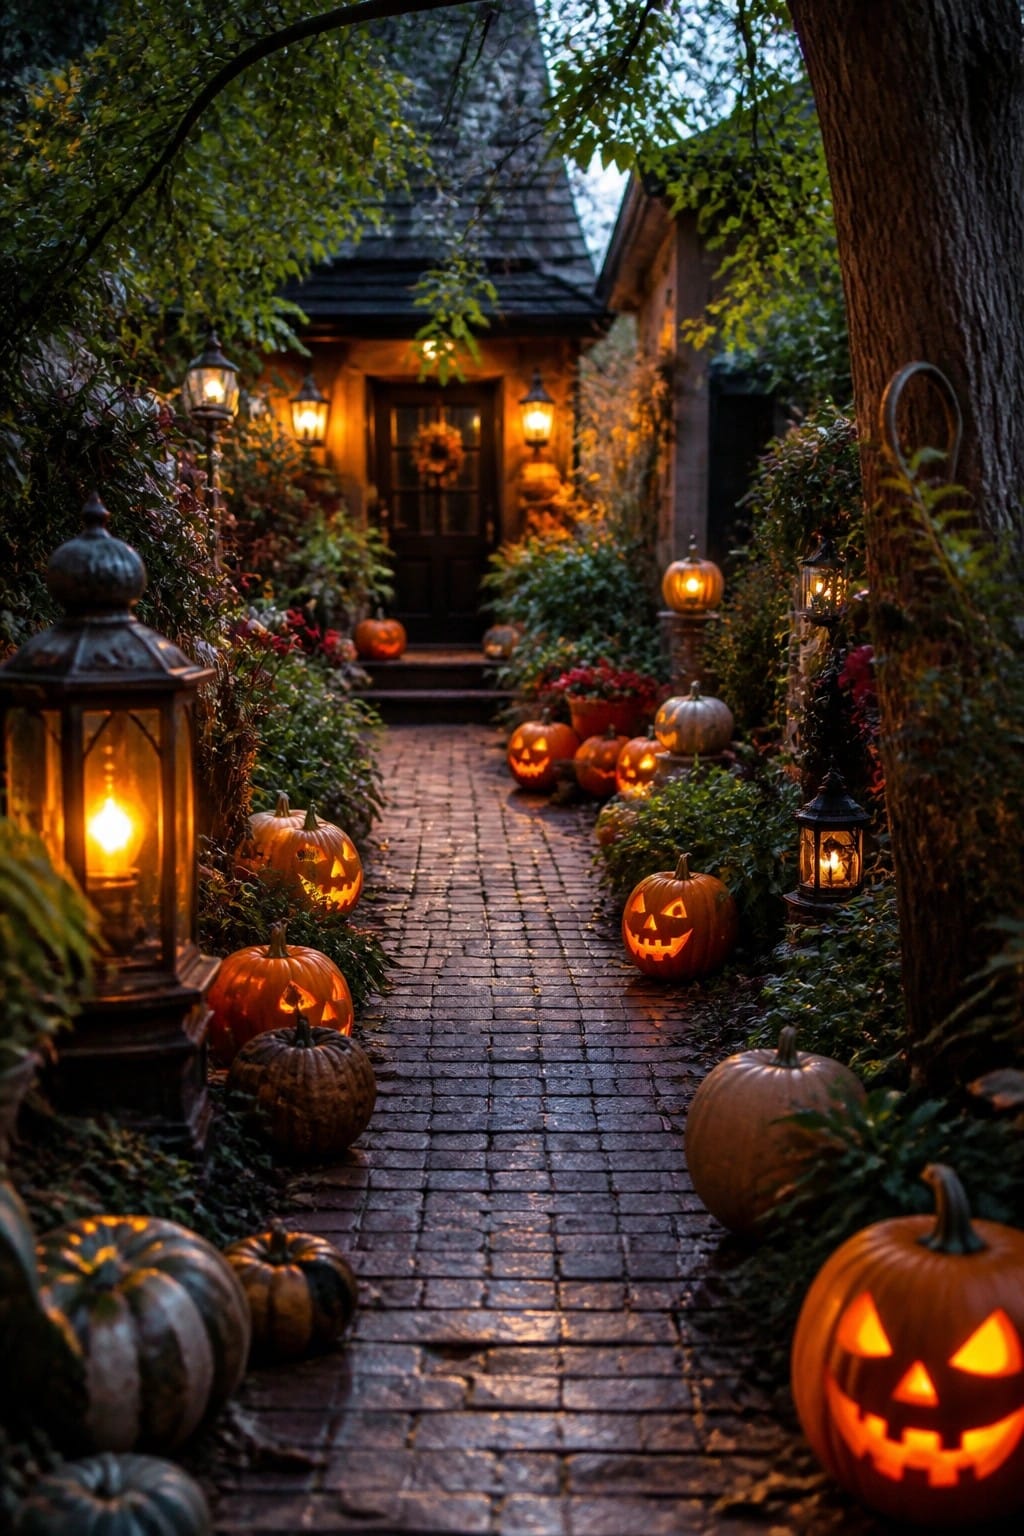
Placing carved pumpkins along both sides of a brick path turns a simple walkway into the main Halloween feature. The different sizes and face styles keep it interesting without needing anything complicated, and the lit interiors make the whole stretch feel ready for trick or treaters.
This idea works well for last minute decorating because you can carve as many or as few pumpkins as you have time for and set them out the same day. Mix in a few lanterns if you want extra light, but the carved faces do most of the work on their own.
Group Jack O Lanterns Along The Entry Steps
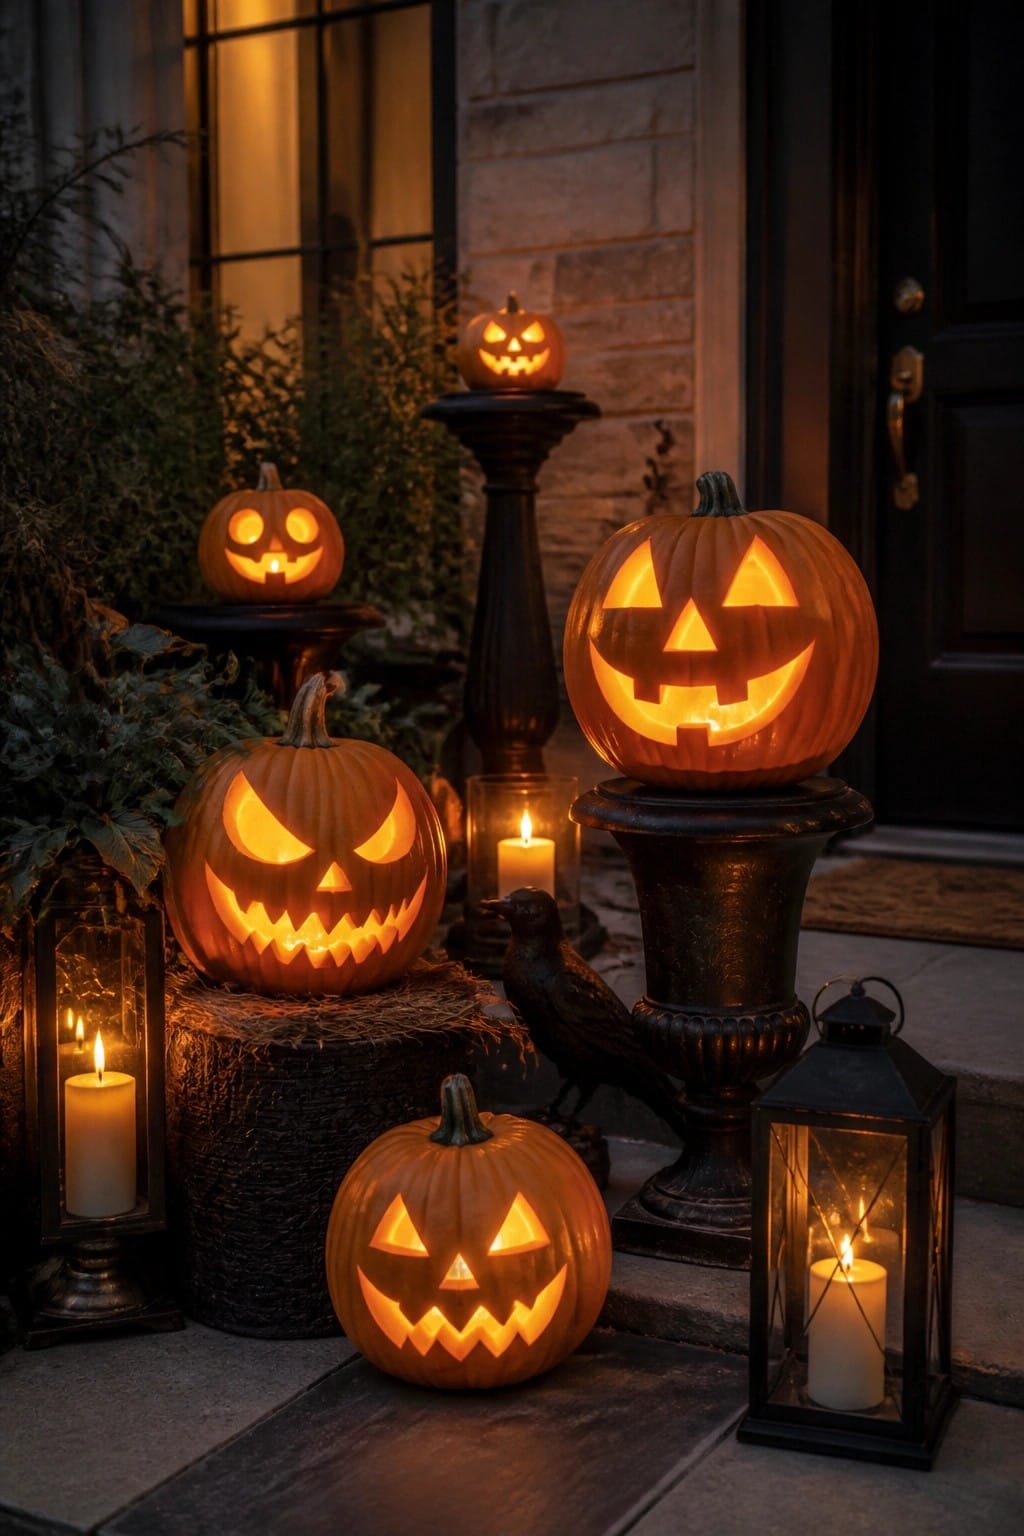
Placing several carved pumpkins at different heights along your front steps gives the entry a strong Halloween focus without much extra effort. The mix of tall pedestals and lower surfaces lets each jack o lantern stand out while the carved faces catch the light from inside.
To copy the look, use three to five pumpkins with simple faces and set them on crates, plant stands, or the steps themselves. Add a couple of lanterns nearby so the whole group glows at night and stays easy to put away after the holiday.
Frequently Asked Questions
Q: Do these designs need any special tools beyond a basic knife? A: Regular kitchen knives handle all the patterns in the article just fine. Start with the biggest shapes and work your way down to the details. You can even use a spoon to scrape away thin layers for shading.
Q: How do I stop my pumpkin from rolling while I carve? A: Cut a thin slice off the bottom to create a flat spot. Set it on a damp paper towel for extra grip. This trick keeps everything steady without extra equipment.
Q: What if I mess up one of the cuts? A: Turn the mistake into part of the design by adding a new shape next to it. Most of these last-minute ideas use simple outlines that hide small errors easily. Practice on a scrap piece of pumpkin skin first if you feel unsure.
