
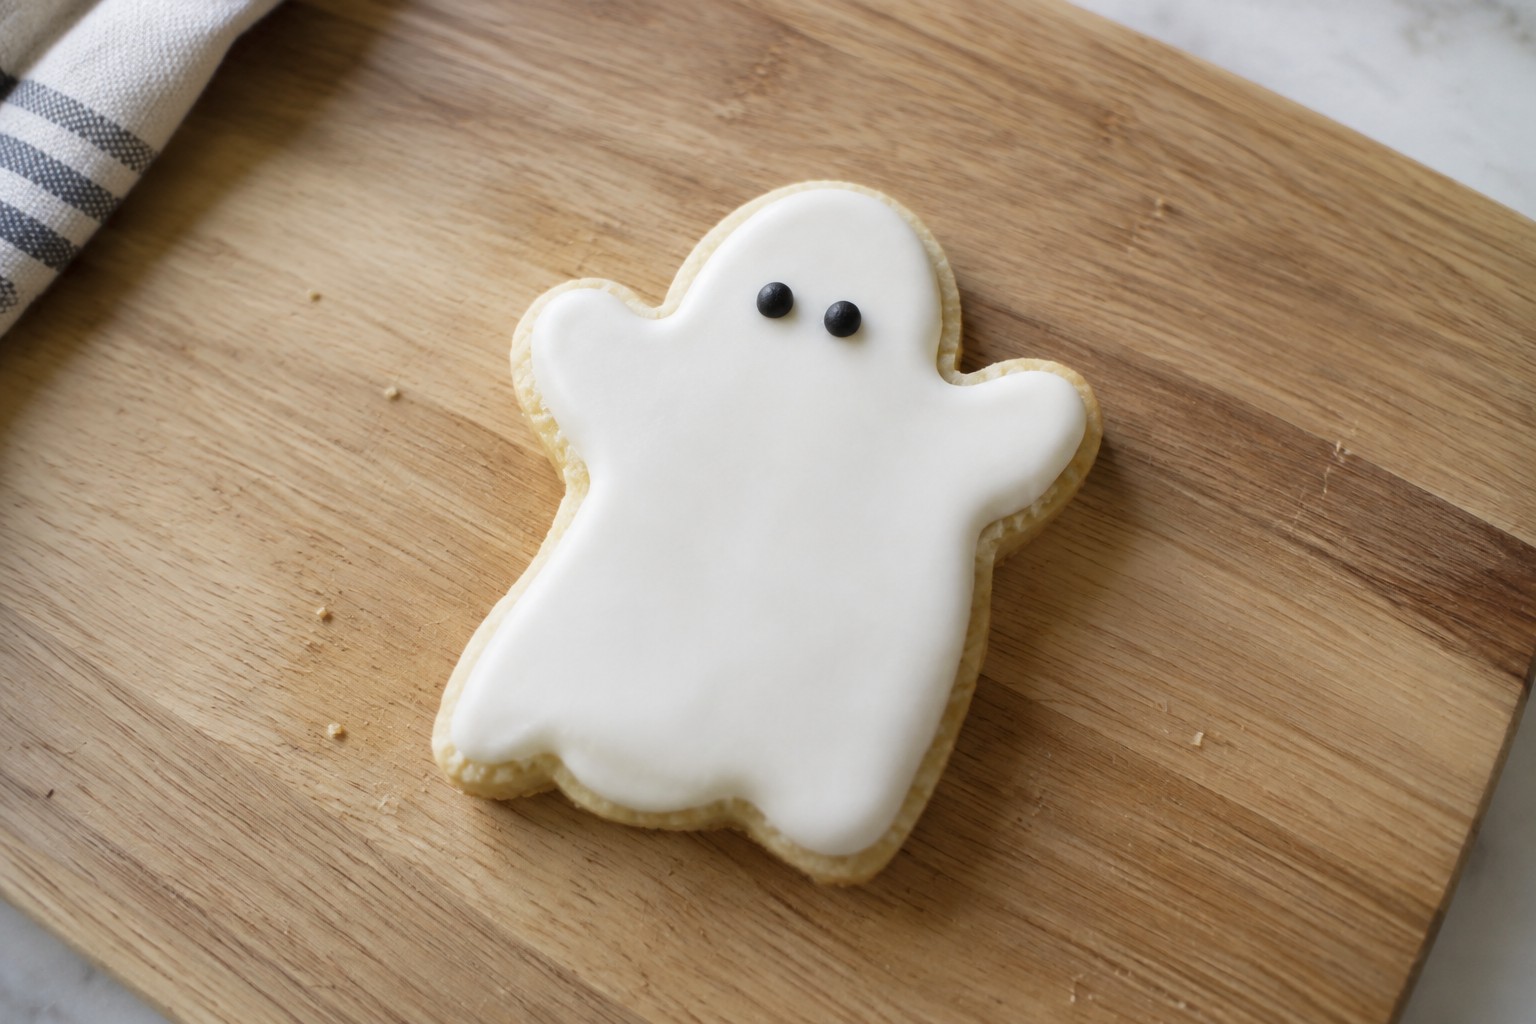
Bringing treats to the office is a nice way to celebrate Halloween with your coworkers.
These recipes focus on things that are easy to make ahead and pack up.
You can choose from sweet and savory options depending on what your team likes.
Many of them require basic kitchen tools and common ingredients.
They are all designed to look festive without too much extra effort.
Tips for Sharing Treats at Work
A bit of planning helps the treats travel well and suit a range of coworkers.
Make Single Servings
Cut or portion treats into individual pieces so people can grab one without extra utensils or plates.
Ask About Allergies First
Check with a few coworkers about nut, gluten, or dairy restrictions before you finalize the recipes.
Pack for Easy Transport
Use sturdy containers or bags that stack flat and keep treats from shifting during the commute.
Choose Make-Ahead Recipes
Focus on treats that hold well overnight so you can finish them the evening before instead of rushing in the morning.
Pumpkin Spice Cupcakes with Cream Cheese Frosting
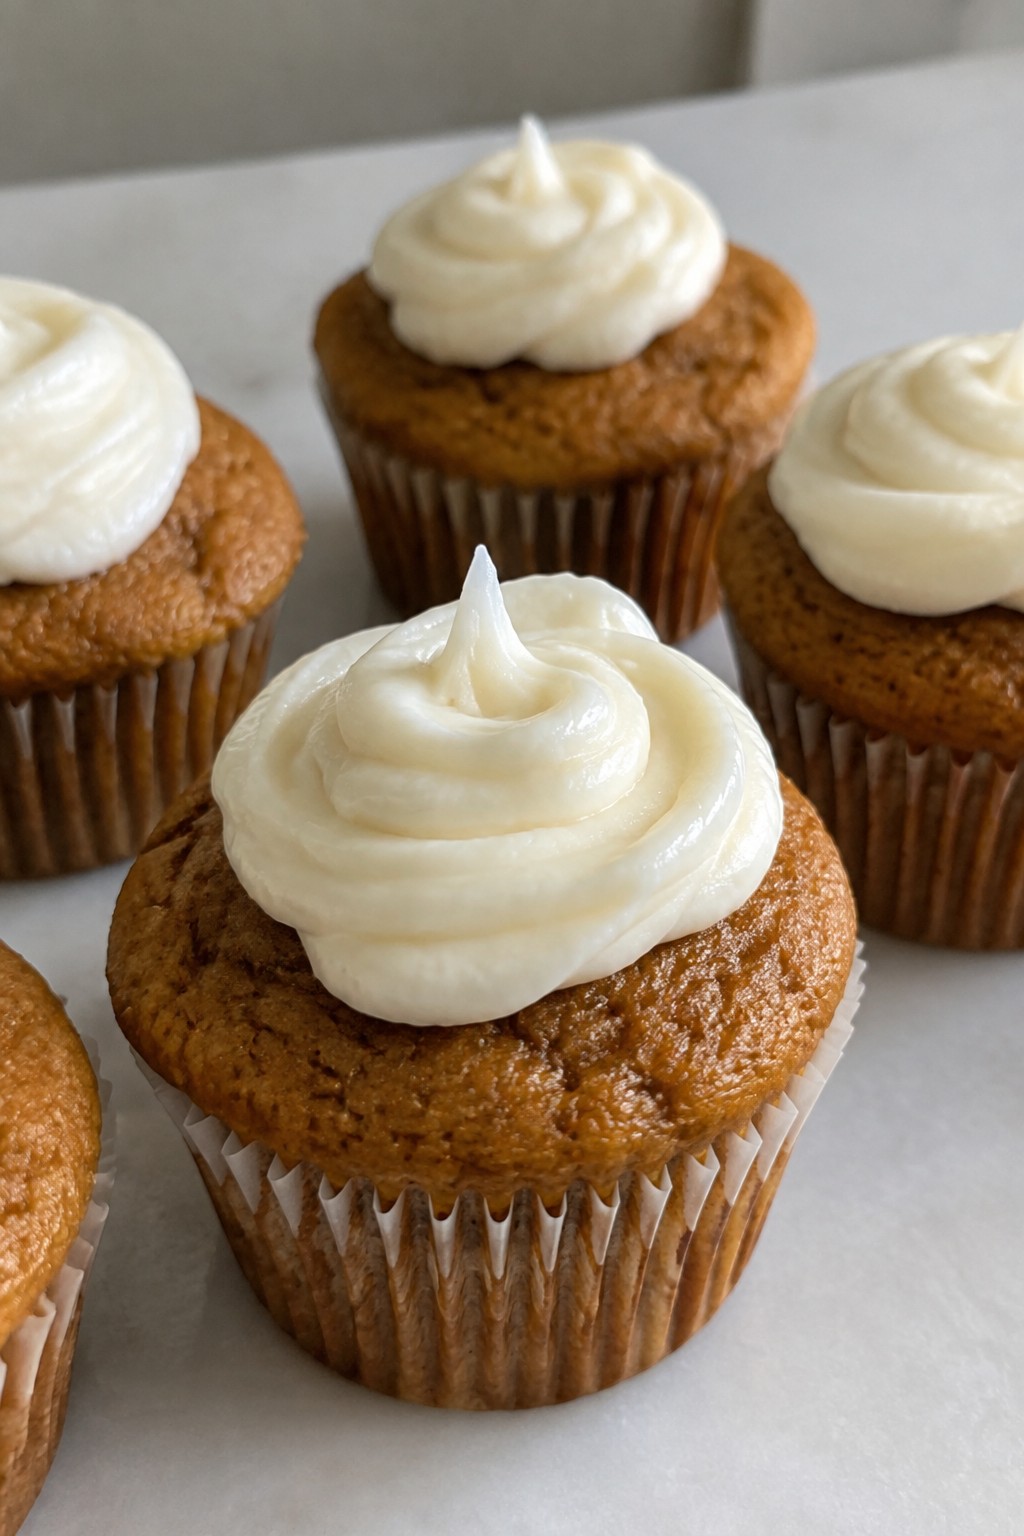
These pumpkin spice cupcakes offer a simple way to bring fall flavors to the office break room. The warm spices pair well with the smooth frosting, making them easy to pack up and share during Halloween gatherings.
The cupcakes bake up moist with a light crumb, while the cream cheese frosting adds a tangy finish. They travel well in a standard container and hold up through a workday.
Serves 4 people.
Ingredients
- 1/2 cup all-purpose flour
- 1/4 cup brown sugar
- 1/4 cup pumpkin puree
- 1 large egg
- 2 tablespoons vegetable oil
- 1/2 teaspoon pumpkin pie spice
- 1/4 teaspoon baking powder
- 1/4 teaspoon baking soda
- 1/4 teaspoon salt
- 4 ounces cream cheese, softened
- 1/4 cup powdered sugar
- 1/2 teaspoon vanilla extract
Instructions
- Preheat the oven to 350 degrees and line a muffin tin with four paper liners.
- In a mixing bowl, whisk together the flour, brown sugar, pumpkin pie spice, baking powder, baking soda, and salt.
- Add the pumpkin puree, egg, and vegetable oil to the dry ingredients and stir until the batter is smooth.
- Divide the batter evenly among the four liners and bake for 18 to 20 minutes, until a toothpick comes out clean.
- Let the cupcakes cool completely on a wire rack.
- In a clean bowl, beat the softened cream cheese with the powdered sugar and vanilla extract until the frosting is creamy and spreadable.
- Spread the frosting over each cooled cupcake before serving.
Extra Tips
Make the cupcakes the night before and store them unfrosted in an airtight container so the frosting stays fresh for the office. If you need to adjust sweetness, add a pinch more powdered sugar to the frosting. These travel best in a single layer to keep the frosting intact.Course: Dessert Cuisine: American Equipment: Mixing Bowls, Muffin Tin, Whisk
Monster Eye Chocolate Chip Cookies
These Monster Eye Chocolate Chip Cookies make a fun addition to any office Halloween spread. They travel well in a container and give coworkers something sweet to enjoy during the workday.
The cookies bake up chewy with plenty of chocolate in each bite. Candy eyeballs pressed on top create a simple monster look without extra steps.

Serves 4 people.
Ingredients
- 1/2 cup unsalted butter, softened
- 1/4 cup granulated sugar
- 1/4 cup brown sugar
- 1 large egg
- 1 teaspoon vanilla extract
- 1 cup all-purpose flour
- 1/2 teaspoon baking soda
- 1/4 teaspoon salt
- 3/4 cup chocolate chips
- 12 candy eyeballs
Instructions
- Heat the oven to 350 degrees and line a baking sheet with parchment paper.
- In a mixing bowl, beat the softened butter with the granulated sugar and brown sugar until smooth.
- Add the egg and vanilla extract to the bowl and mix until combined.
- Stir in the flour, baking soda, and salt until a dough forms.
- Fold the chocolate chips into the dough.
- Scoop rounded tablespoons of dough onto the baking sheet, spacing them a few inches apart.
- Bake for 10 to 12 minutes until the edges turn light golden.
- Remove the baking sheet from the oven and immediately press two candy eyeballs onto each warm cookie.
- Let the cookies cool on the sheet for a few minutes before moving them to a rack.
Extra Tips
Press the candy eyeballs on while the cookies are still warm so they stick without icing. If the dough feels too soft after mixing, chill it for 15 minutes before scooping. Store cooled cookies in an airtight container at room temperature for up to three days.Course: Dessert Cuisine: American Equipment: Mixing Bowl, Baking Sheet, Whisk
Caramel Apple Popcorn Balls
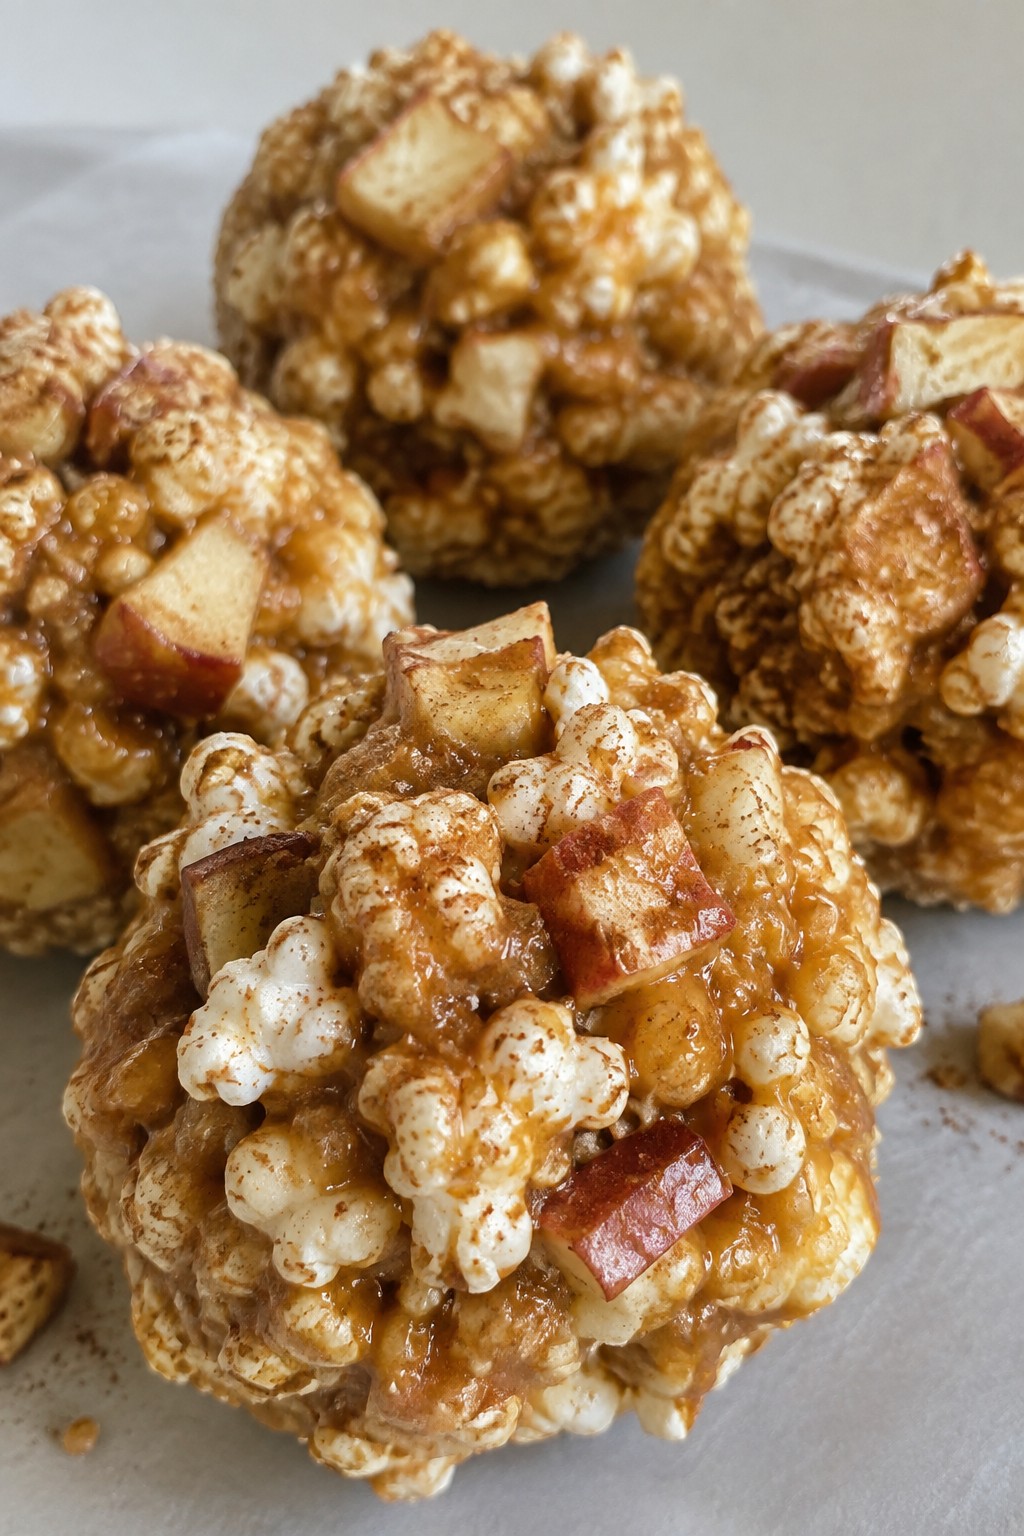
These popcorn balls combine crunchy popcorn with chewy caramel and bits of dried apple for a sweet and slightly tart treat. They travel well in a container, making them easy to bring to the office for a Halloween gathering with coworkers. The mix of textures keeps them interesting without being overly rich.
This recipe serves 4 people. – 8 cups popped popcorn – 20 caramel squares – 3 tablespoons milk – ¾ cup chopped dried apples – ½ teaspoon ground cinnamon – ¼ teaspoon salt
### Instructions 1. Place the popped popcorn in a large mixing bowl. Add the chopped dried apples, ground cinnamon, and salt. Stir gently to combine. 2. Add the caramel squares and milk to a medium saucepan. Heat over low heat, stirring often until the caramels melt into a smooth sauce. 3. Pour the warm caramel sauce over the popcorn mixture. Stir with a spatula until the popcorn and apples are evenly coated. 4. Lightly grease your hands with a bit of butter or oil. Scoop portions of the mixture and press firmly into 4 balls. Place each ball on a parchment-lined baking sheet to set.
### Extra Tips Work quickly while the caramel is warm so the balls hold their shape without crumbling. Store them in an airtight container at room temperature for up to two days before bringing to work. If the mixture cools too much during shaping, warm it briefly in the microwave for 10 seconds to soften.
Course: Snack Cuisine: American Equipment: Large mixing bowl, Medium saucepan, Baking sheet, Parchment paper
Serves 4 people.
Instructions
- Place the popped popcorn in a large mixing bowl. Add the chopped dried apples, ground cinnamon, and salt. Stir gently to combine.
- Add the caramel squares and milk to a medium saucepan. Heat over low heat, stirring often until the caramels melt into a smooth sauce.
- Pour the warm caramel sauce over the popcorn mixture. Stir with a spatula until the popcorn and apples are evenly coated.
- Lightly grease your hands with a bit of butter or oil. Scoop portions of the mixture and press firmly into 4 balls. Place each ball on a parchment-lined baking sheet to set.
Extra Tips
Work quickly while the caramel is warm so the balls hold their shape without crumbling. Store them in an airtight container at room temperature for up to two days before bringing to work. If the mixture cools too much during shaping, warm it briefly in the microwave for 10 seconds to soften.Course: Snack Cuisine: American Equipment: Large mixing bowl, Medium saucepan, Baking sheet, Parchment paper
Ghost Meringue Kisses
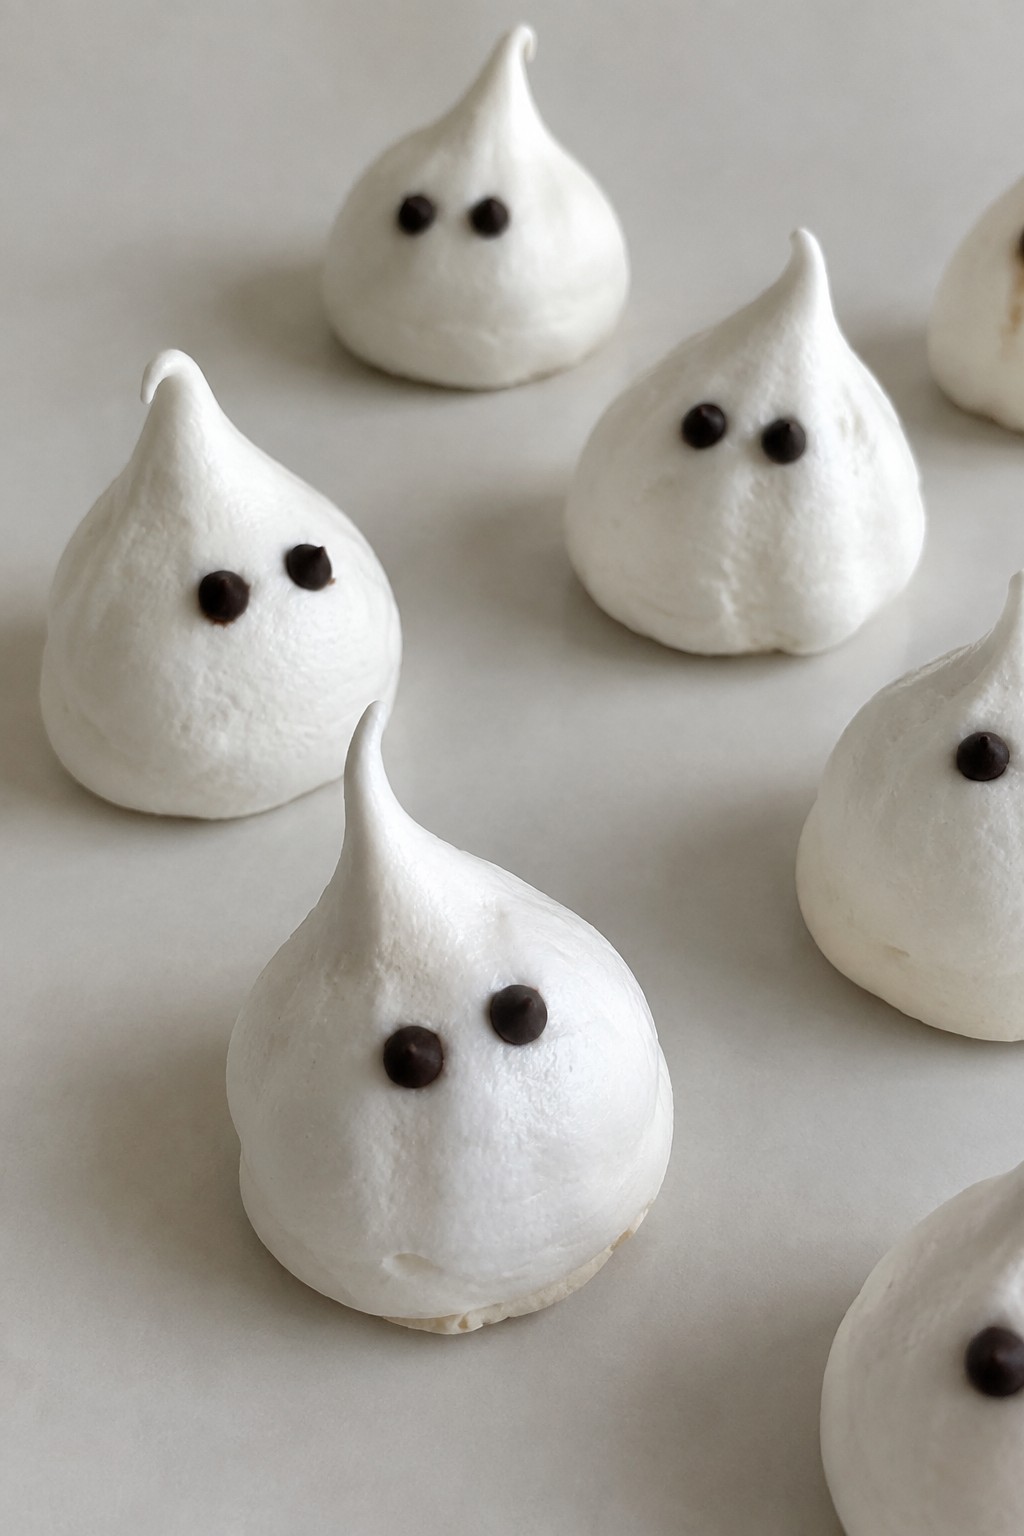
These ghost meringue kisses make a light and airy addition to any office Halloween spread. They are easy to portion out and hold up well when packed for coworkers to enjoy at their desks.
The treats have a sweet vanilla flavor and a crisp texture that dissolves quickly. They fit well at team meetings or as a festive break room snack during the holiday season.
Serves 4 people.
Ingredients
- 2 large egg whites
- 1/2 cup granulated sugar
- 1/4 teaspoon cream of tartar
- 1/2 teaspoon vanilla extract
- 2 tablespoons mini chocolate chips
Instructions
- Preheat the oven to 200 degrees Fahrenheit and line a baking sheet with parchment paper.
- Place the egg whites in a mixing bowl and add the cream of tartar. Beat with an electric mixer on medium speed until soft peaks form.
- Increase the speed to high and add the sugar one tablespoon at a time while beating. Continue until the mixture forms stiff, glossy peaks.
- Mix in the vanilla extract on low speed until just combined.
- Spoon the meringue into a piping bag fitted with a round tip. Pipe small ghost shapes onto the prepared baking sheet, leaving space between each one.
- Press two mini chocolate chips into the top of each ghost to create eyes.
- Bake for 90 minutes until the meringues feel dry and lift easily from the paper. Turn off the oven and let them cool inside with the door closed for 30 minutes.
Extra Tips
Pipe the ghosts with a steady upward motion to create a simple tapered shape that stands out on a platter. Store leftovers in an airtight container at room temperature to keep them crisp for up to three days.Course: Dessert Cuisine: American Equipment: Mixing Bowl, Electric Mixer, Piping Bag, Baking Sheet, Parchment Paper
Witch Hat Chocolate Truffles
These witch hat chocolate truffles bring a creamy ganache center to a simple hat shape that travels well to the office. They add a light Halloween touch to a shared table without needing fancy tools or extra time.
The flavor stays rich and smooth, with a firm coating that keeps the pieces neat in a container. They work best as a make-ahead treat for small groups at work.
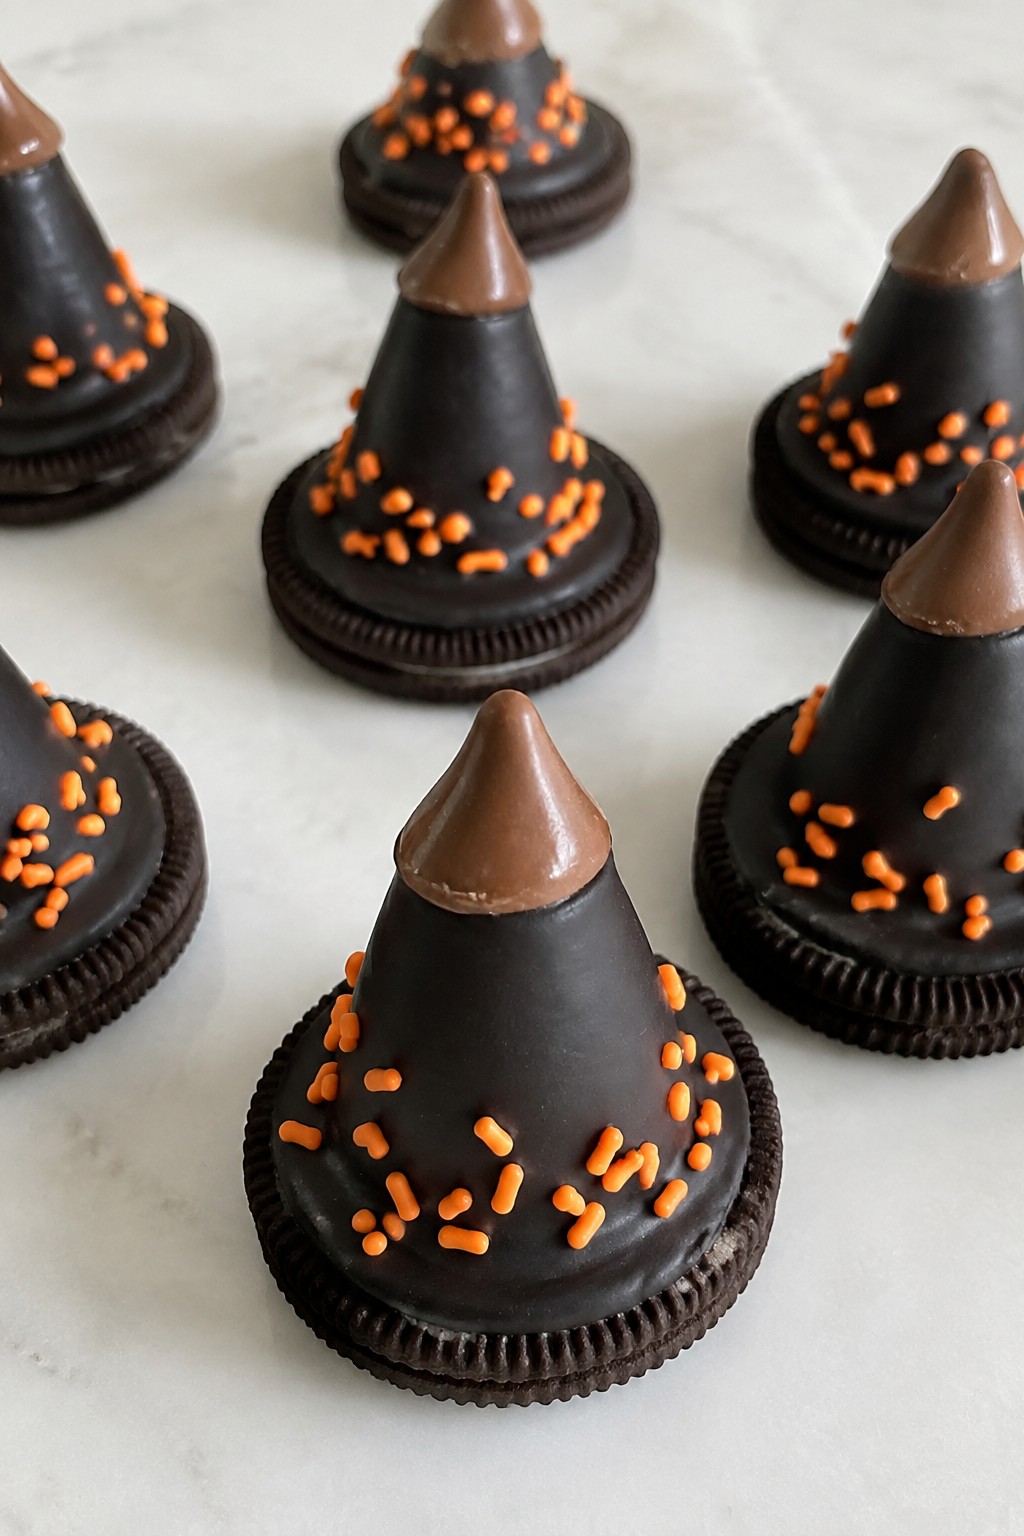
Serves 4 people.
Ingredients
- 8 ounces semisweet chocolate chips
- 1/2 cup heavy cream
- 1 teaspoon vanilla extract
- 8 chocolate sandwich cookies
- 8 milk chocolate kisses
- 6 ounces black candy melts
- 2 tablespoons orange sprinkles
Instructions
- Place the semisweet chocolate chips in a heatproof bowl. Heat the heavy cream in a small saucepan until it just begins to simmer, then pour it over the chips. Add the vanilla extract and stir until the mixture turns smooth. Cover and chill for two hours until firm.
- Scoop the chilled ganache and roll it into eight small balls. Set each ball on top of a chocolate sandwich cookie. Press one milk chocolate kiss onto each ball to form the pointed hat.
- Melt the black candy melts in the microwave in short bursts, stirring between each until fully liquid. Dip each assembled hat into the coating to cover the cookie, ganache, and kiss completely. Let excess drip off and place the pieces on a parchment-lined baking sheet.
- While the coating is still wet, add a ring of orange sprinkles around the base of the kiss to create the hat band. Chill the tray for 30 minutes until the coating sets.
Extra Tips
Roll the ganache balls firmly so they stay in place under the kiss during dipping. If the black coating thickens, warm it gently for a few seconds to keep it fluid. Store the finished truffles in an airtight container at room temperature for up to two days, which keeps the texture smooth for sharing at work.Course: Dessert Cuisine: American Equipment: Mixing Bowl, Saucepan, Baking Sheet, Microwave
Red Velvet Whoopie Pies with Cream Filling
These red velvet whoopie pies add a bright touch to office Halloween spreads. The soft cookie layers hold a light cream filling that travels well and holds up during the workday.
The mild cocoa taste pairs with tangy sweetness for a balanced bite. They suit casual sharing because each pie is easy to pick up and eat without plates or utensils.
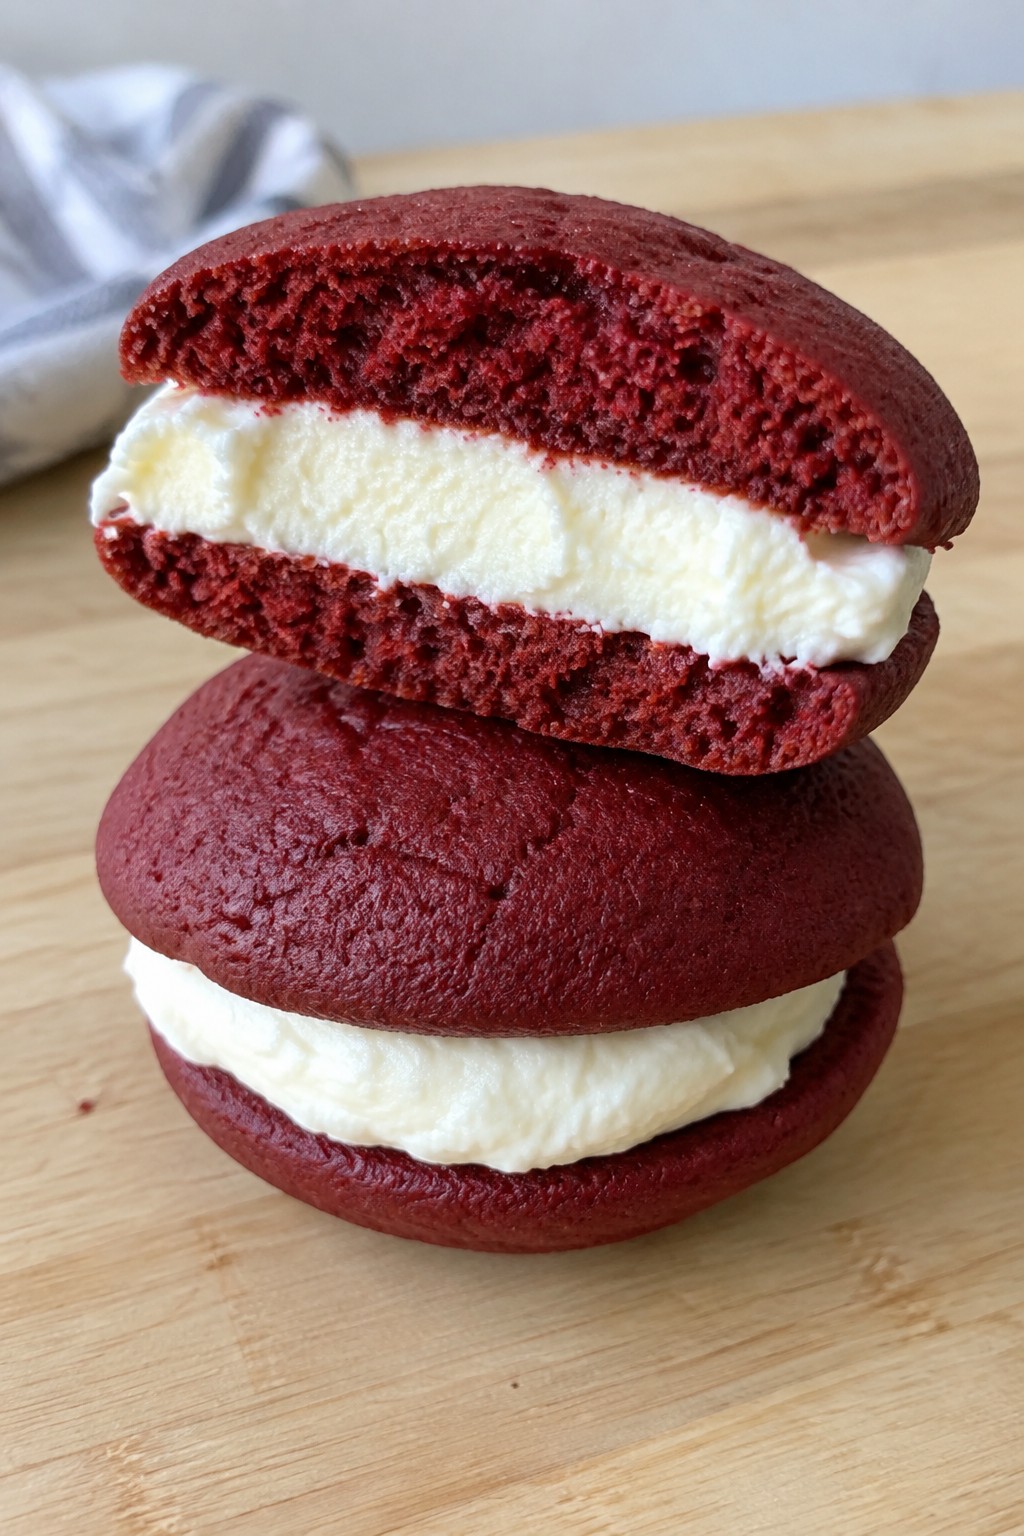
Serves 4 people.
Ingredients
- 1 cup all-purpose flour
- 2 tablespoons unsweetened cocoa powder
- 1/2 teaspoon baking soda
- 1/4 teaspoon salt
- 1/2 cup granulated sugar
- 1/4 cup vegetable oil
- 1 large egg
- 1 teaspoon red food coloring
- 1/2 teaspoon vanilla extract
- 1/4 cup buttermilk
- 1 teaspoon white vinegar
- 4 ounces cream cheese, softened
- 2 tablespoons unsalted butter, softened
- 1 cup powdered sugar
Instructions
- Preheat the oven to 350 degrees and line a baking sheet with parchment paper.
- In a mixing bowl, whisk together the flour, cocoa powder, baking soda, and salt.
- In a second bowl, beat the sugar and vegetable oil until smooth. Add the egg, red food coloring, vanilla extract, buttermilk, and white vinegar. Stir until combined.
- Pour the dry ingredients into the wet mixture and stir until a thick batter forms.
- Drop rounded tablespoons of batter onto the baking sheet, spacing them a few inches apart. Bake for 8 to 10 minutes until the tops spring back when touched. Cool completely on a wire rack.
- In a clean bowl, beat the cream cheese and unsalted butter until creamy. Gradually add the powdered sugar and mix until smooth.
- Spread the cream filling on the flat side of half the cooled cookies. Top each with a second cookie and press gently to seal.
Extra Tips
Make the cookies a day ahead and store them unfilled in an airtight container at room temperature. Fill them the morning you plan to share so the cream stays fresh. If the filling feels too soft, chill it for 15 minutes before assembly. These travel best in a single layer inside a shallow container.Course: Dessert Cuisine: American Equipment: Mixing bowls, baking sheets, oven, electric mixer
Candy Corn Cheesecake Bars
These bars combine a buttery graham cracker crust with a smooth cream cheese filling and bright candy corn pieces on top. They bring a festive touch to office gatherings without needing much fuss. The texture stays creamy in the center with a slight crunch from the base, and the candy corn adds a sweet, chewy finish that fits the season.
The recipe works well for sharing at work because the bars hold their shape once chilled and travel easily in a container. They offer a balanced sweet note that appeals to most tastes while keeping the Halloween theme clear through the candy corn.
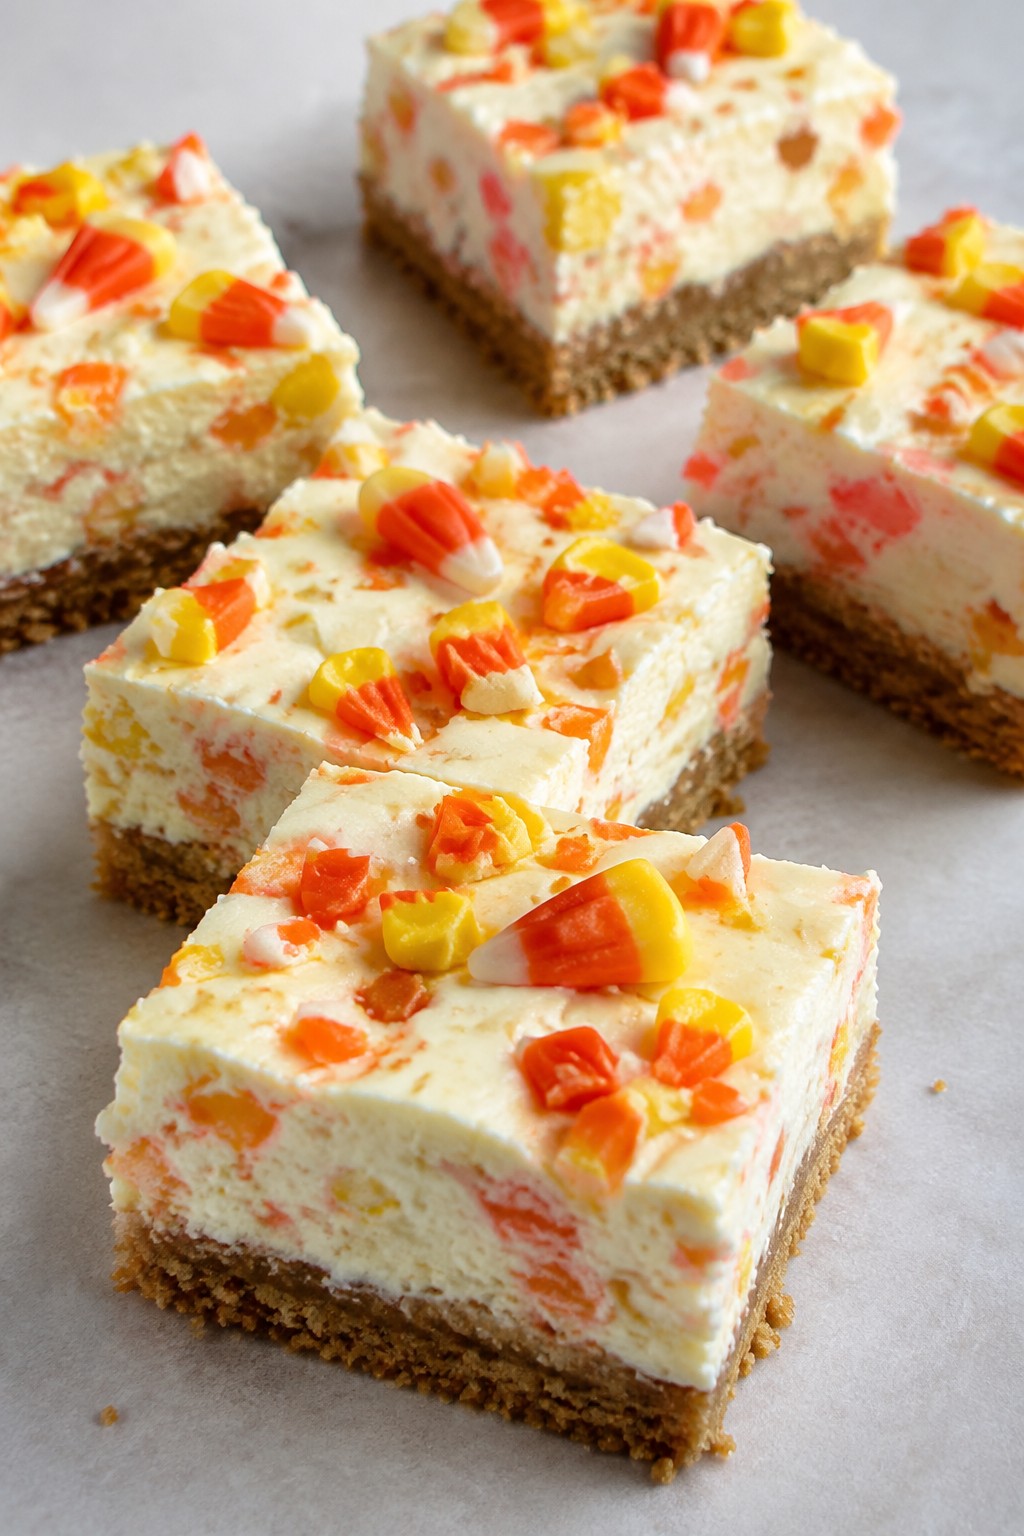
Serves 4 people.
Ingredients
- 1 cup graham cracker crumbs
- 3 tablespoons unsalted butter, melted
- 8 ounces cream cheese, softened
- 1/4 cup granulated sugar
- 1 large egg
- 1 teaspoon vanilla extract
- 1/2 cup candy corn, chopped
Instructions
- Preheat the oven to 325 degrees and line an 8×8 inch baking pan with parchment paper. Mix the graham cracker crumbs with the melted butter until the crumbs are evenly coated. Press the mixture firmly into the bottom of the pan to form a crust.
- In a mixing bowl, beat the softened cream cheese with the sugar until smooth. Add the egg and vanilla extract, then mix again until fully combined and free of lumps.
- Pour the cream cheese mixture over the prepared crust and spread it evenly. Bake for 20 minutes, or until the edges look set but the center still has a slight jiggle.
- Remove the pan from the oven and let it cool to room temperature. Scatter the chopped candy corn evenly across the top, then refrigerate for at least two hours before slicing into bars.
Extra Tips
Chop the candy corn into smaller pieces before adding it so the bars cut cleanly without large chunks pulling apart. If the filling seems too soft after baking, give it extra chill time in the fridge to firm up. These bars store best in an airtight container in the refrigerator for up to three days.Course: Dessert Cuisine: American Equipment: Mixing Bowl, 8×8 Baking Pan, Electric Mixer
Spiderweb Fudge Brownies
These brownies bring a simple Halloween touch to any office gathering. The fudgy base pairs with a white chocolate spiderweb design that looks festive without extra effort. They travel well in a container and hold up nicely on a shared table.
They offer a rich chocolate flavor with a dense, chewy texture. The spiderweb adds visual interest while keeping the focus on straightforward baking.
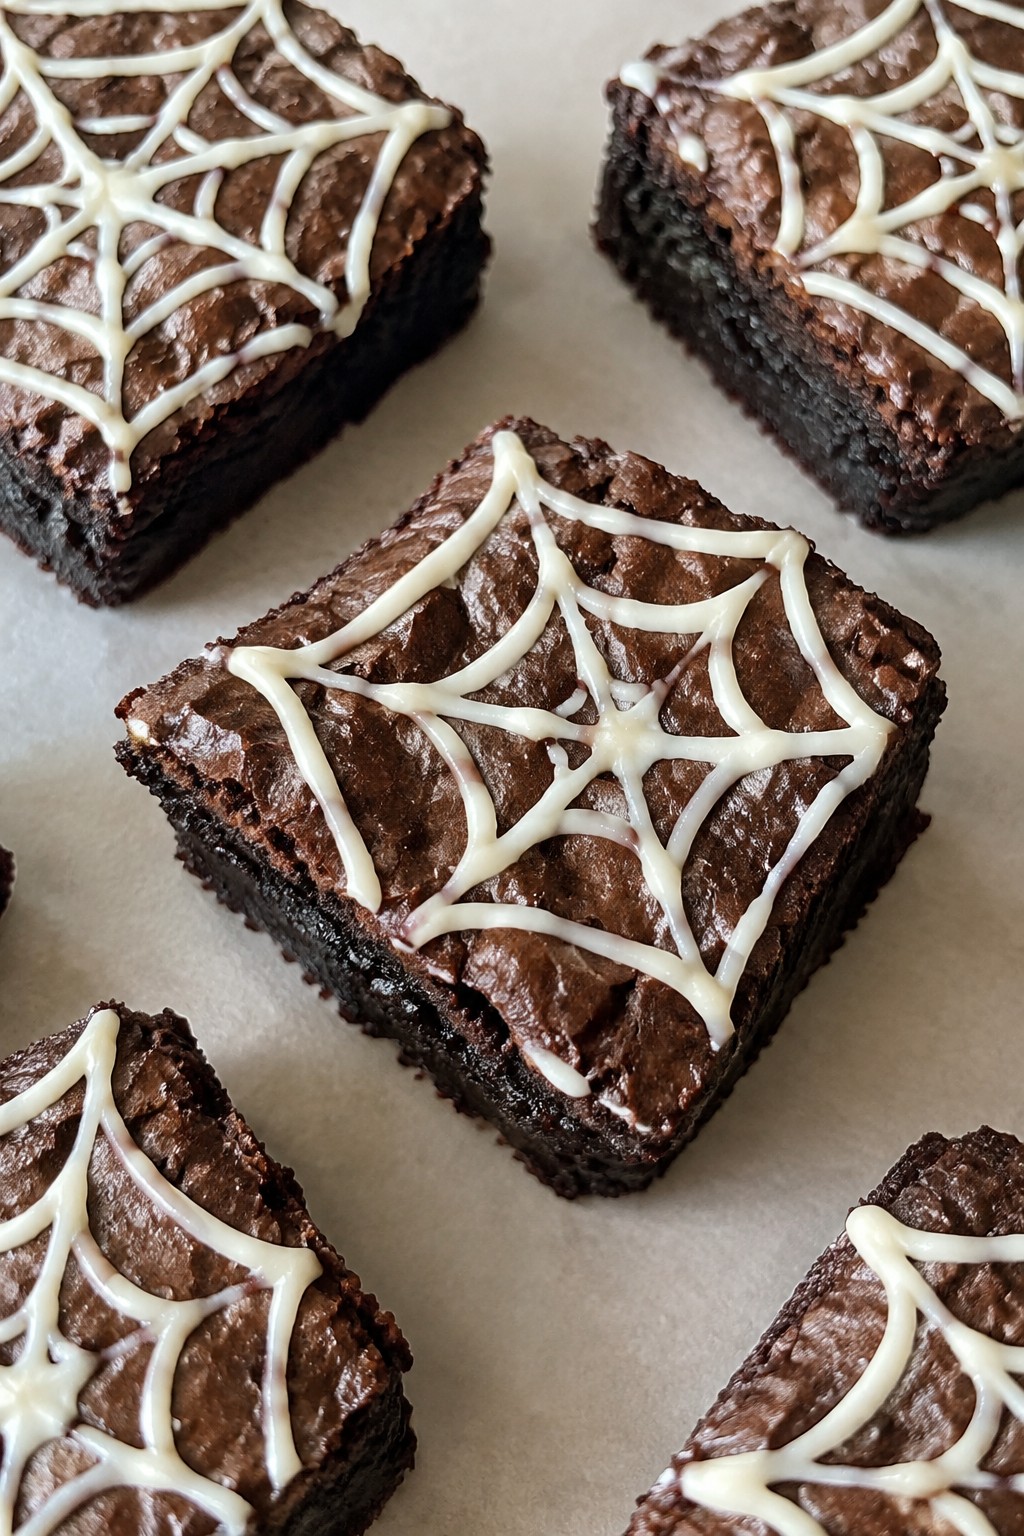
Serves 4 people.
Ingredients
- 4 tablespoons unsalted butter
- 1/2 cup granulated sugar
- 1 large egg
- 1/4 cup unsweetened cocoa powder
- 1/4 cup all-purpose flour
- 1/2 teaspoon vanilla extract
- Pinch of salt
- 1/4 cup white chocolate chips
Instructions
- Preheat the oven to 350 degrees and line a small loaf pan with parchment paper.
- Melt the butter in a microwave-safe bowl. Stir in the sugar until combined.
- Add the egg and vanilla extract, then mix until smooth.
- Stir in the cocoa powder, flour, and salt until no dry streaks remain.
- Spread the batter evenly in the prepared pan and bake for 20 minutes.
- Let the brownies cool completely in the pan.
- Melt the white chocolate chips in the microwave in short bursts, stirring between each one.
- Drizzle the melted white chocolate over the cooled brownies in concentric circles.
- Drag a toothpick from the center outward to create the spiderweb pattern.
- Cut into four squares once the white chocolate sets.
Extra Tips
Melt the white chocolate in 15-second intervals to avoid overheating and keep the lines smooth for the web. Cool the brownies fully before adding the topping so the pattern stays crisp. These hold their shape best when stored in a single layer at room temperature.Course: Dessert Cuisine: American Equipment: Mixing Bowl, Loaf Pan, Microwave-Safe Bowl
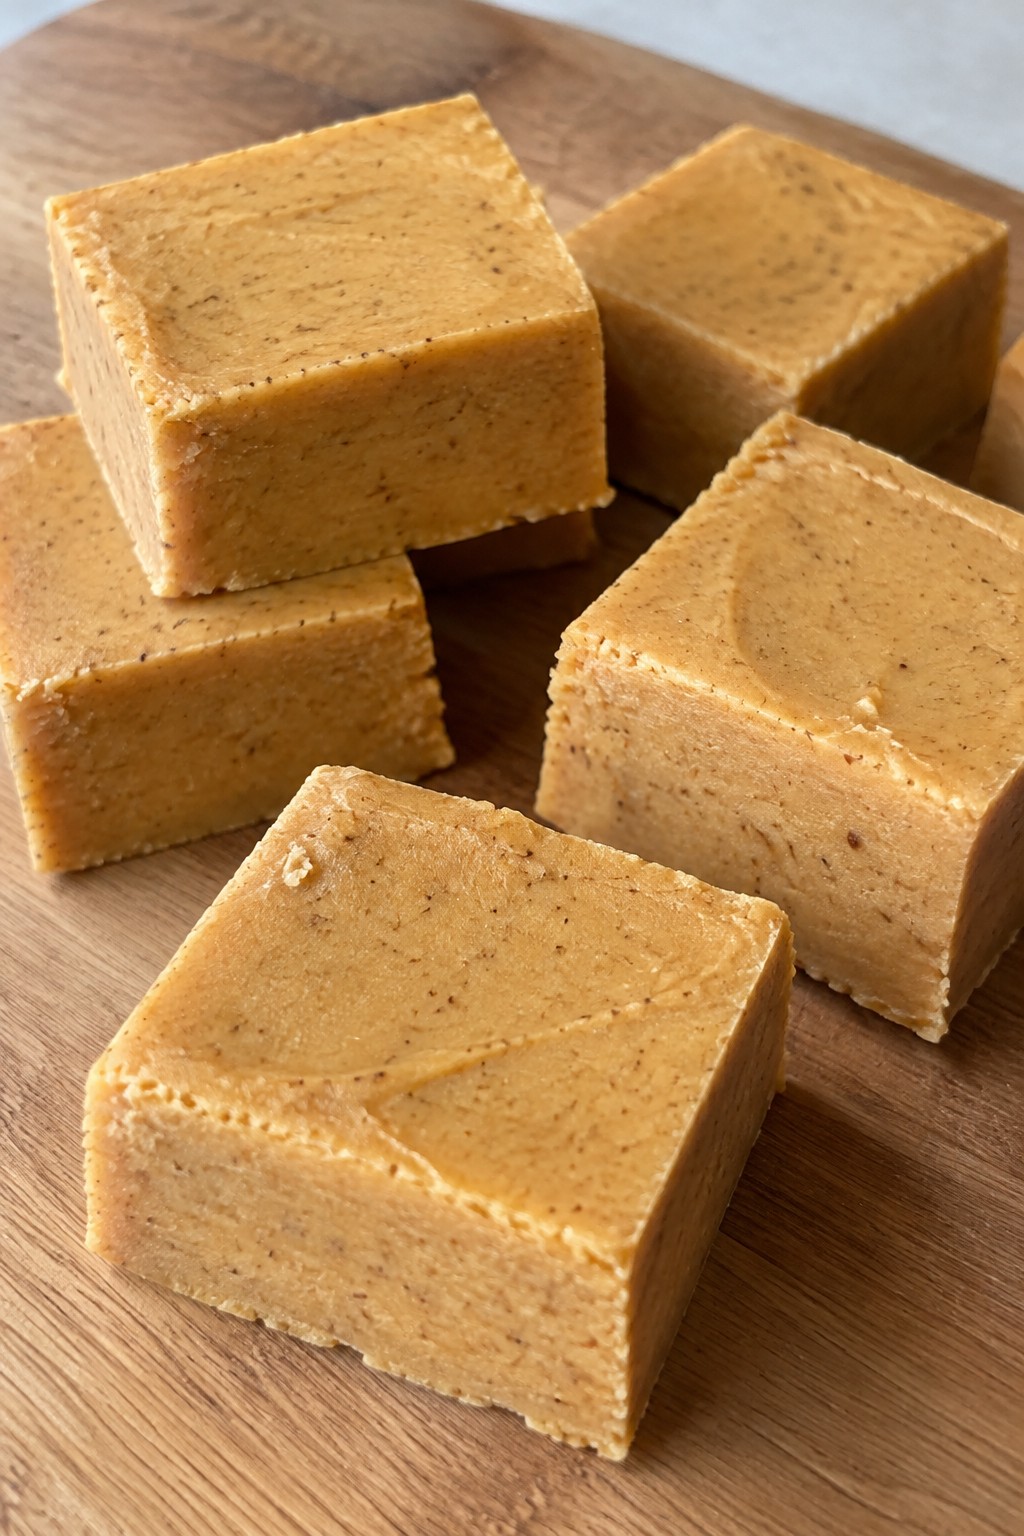
Pumpkin Pie Fudge Squares
These Pumpkin Pie Fudge Squares bring the familiar taste of pumpkin pie into an easy, no-bake treat that travels well to the office. The squares hold their shape at room temperature for a few hours, making them simple to pack up and share with coworkers during a Halloween gathering.
The texture is creamy and dense with warm spice notes that balance the sweetness. They feel festive without requiring much time or special skills in the kitchen.
Serves 4 people.
Ingredients
- 1 cup pumpkin puree
- 3/4 cup sweetened condensed milk
- 2 cups white chocolate chips
- 1/4 cup unsalted butter
- 1 teaspoon ground cinnamon
- 1/2 teaspoon ground nutmeg
- 1/4 teaspoon ground ginger
- 1 teaspoon vanilla extract
- Pinch of salt
Instructions
- Line an 8×8 inch baking pan with parchment paper so the fudge lifts out easily after chilling.
- Place the butter in a medium saucepan over low heat until fully melted.
- Add the pumpkin puree, sweetened condensed milk, cinnamon, nutmeg, ginger, vanilla extract, and salt to the saucepan. Stir steadily until the mixture is warm and smooth.
- Add the white chocolate chips and continue stirring until the chips melt completely and the mixture thickens into a uniform fudge base.
- Pour the fudge into the prepared pan and spread it evenly with a spatula.
- Refrigerate for at least three hours until the fudge is firm enough to cut.
Extra Tips
Cut the chilled fudge with a warm knife for clean edges. Store any leftovers in an airtight container in the refrigerator to keep the pumpkin flavor fresh. These squares pair well with a cup of coffee at a desk and hold up without melting during a short commute.Course: Dessert Cuisine: American Equipment: Saucepan, Mixing Bowl, 8×8 Baking Pan
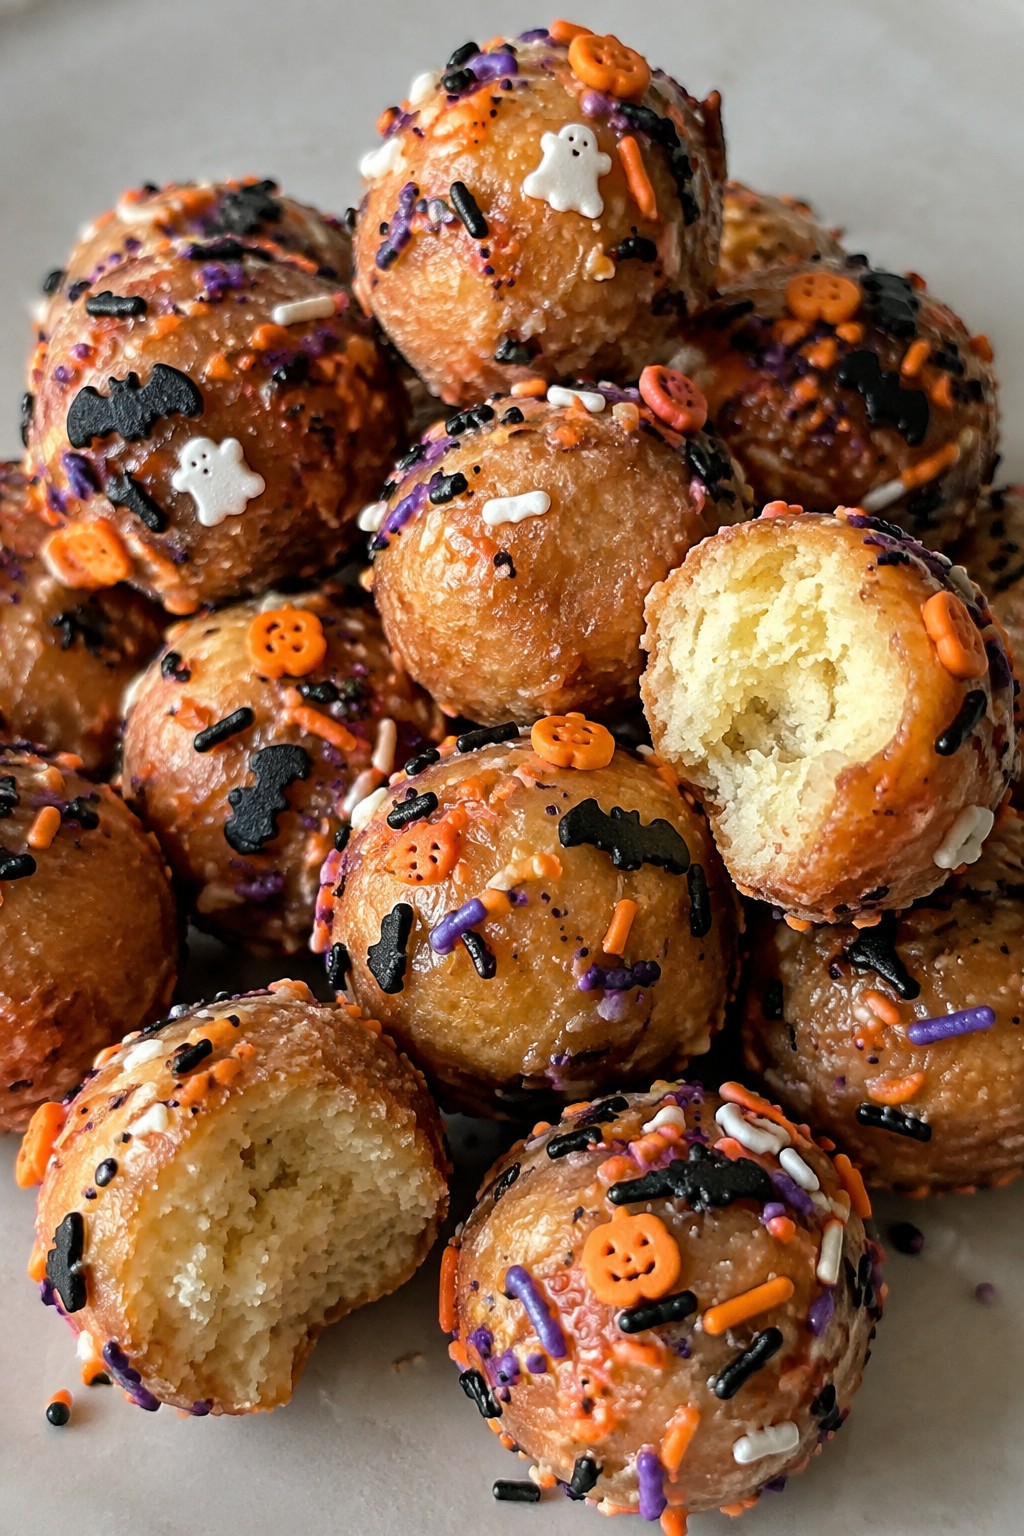
Halloween Sprinkle Donut Holes
These bite-sized treats bring a fun pop of color to any office break room. They travel well in a simple container and give coworkers a quick sweet bite without needing plates or utensils. The donut holes come out soft and cake-like inside with a light crunch from the sprinkle coating.
They work especially well for Halloween gatherings because the bright sprinkles make them look festive right away. The flavor stays mild and sweet, so they pair easily with coffee or tea during a workday.
Serves 4 people.
Ingredients
- 1 cup all-purpose flour
- 1/4 cup granulated sugar
- 1 teaspoon baking powder
- 1/4 teaspoon salt
- 1/2 cup milk
- 1 large egg
- 2 tablespoons unsalted butter, melted
- 1 teaspoon vanilla extract
- 1/2 cup Halloween sprinkles
- 2 tablespoons unsalted butter, melted (for coating)
Instructions
- Preheat the oven to 350 degrees and line a baking sheet with parchment paper.
- In a mixing bowl, stir together the flour, sugar, baking powder, and salt.
- Add the milk, egg, 2 tablespoons melted butter, and vanilla extract to the dry ingredients. Mix until a thick batter forms.
- Scoop small portions of batter and roll them into balls about 1 inch wide. Place the balls on the prepared baking sheet.
- Bake for 12 to 15 minutes until the donut holes are lightly golden and spring back when touched.
- Remove the baking sheet from the oven and let the donut holes cool for 5 minutes.
- Brush each donut hole with the remaining 2 tablespoons of melted butter, then roll them in the Halloween sprinkles until coated.
Extra Tips
Roll the donut holes in sprinkles while the butter is still warm so the sprinkles stick well. If you want a stronger vanilla flavor, add an extra 1/2 teaspoon to the batter. Store leftovers in an airtight container at room temperature for up to two days.Course: Dessert Cuisine: American Equipment: Mixing bowl, Baking sheet, Oven, Pastry brush
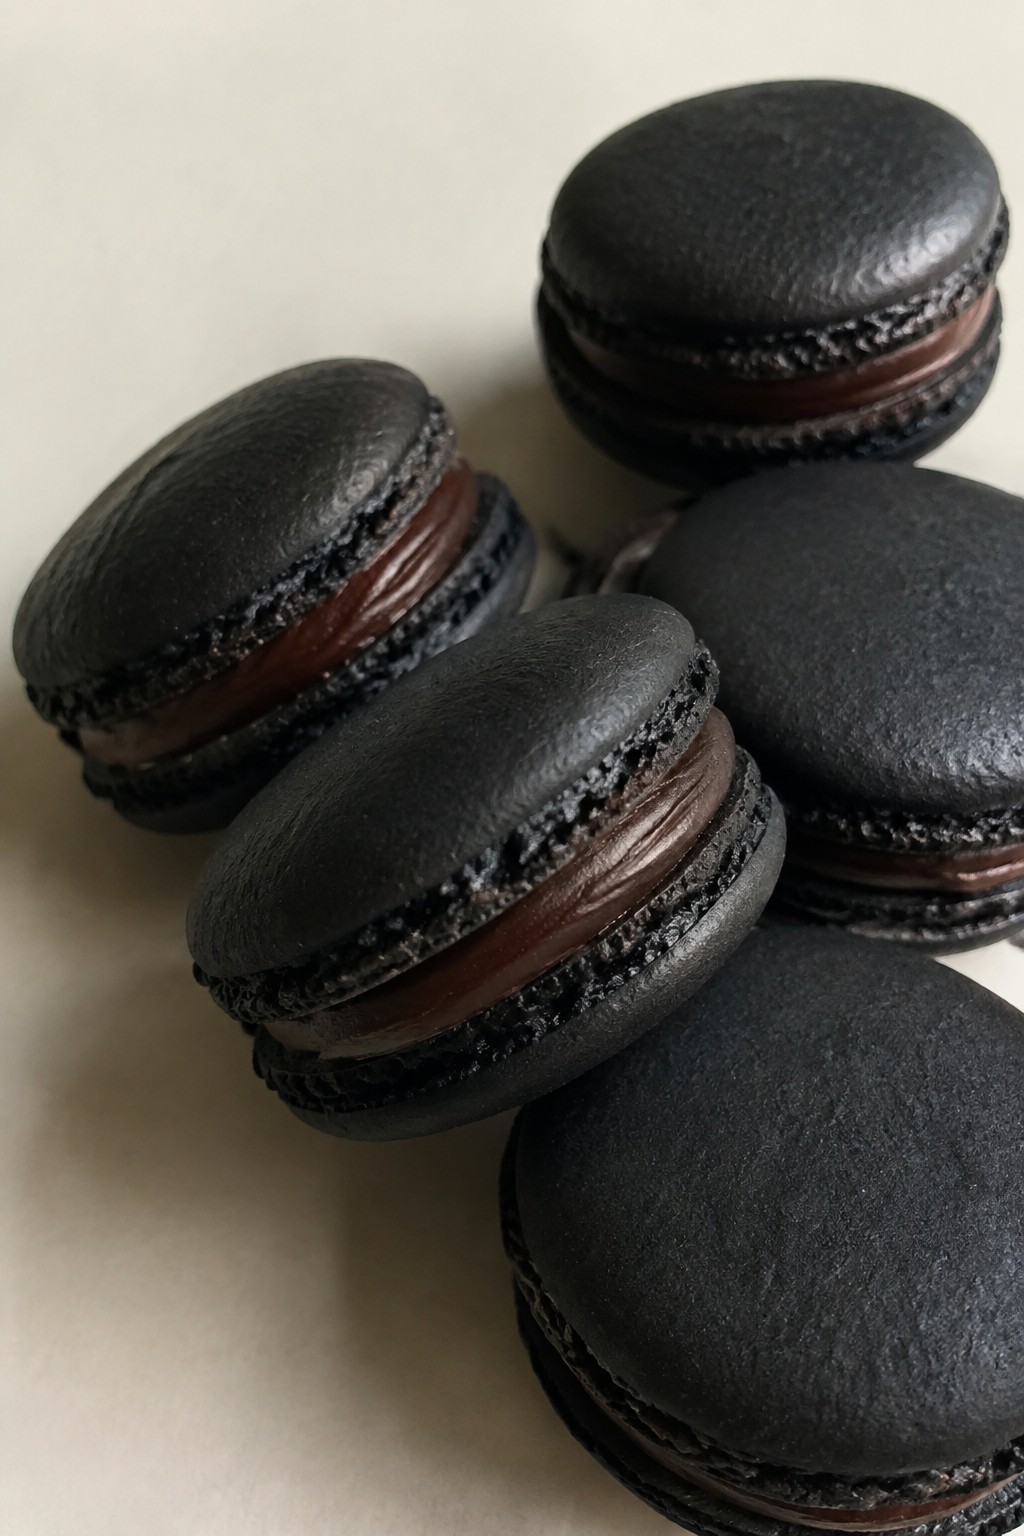
Black Cat Macarons
Black Cat Macarons add a light and festive option to any office treat table during Halloween. The dark shells and smooth chocolate filling give them a grown-up flavor that still feels fun for the season.
These treats travel well and hold up nicely when packed in simple boxes or trays for coworkers. The crisp outside and soft chewy center come from a classic macaron base boosted with black cocoa.
Serves 4 people.
Ingredients
- 100 grams almond flour
- 100 grams powdered sugar
- 75 grams egg whites
- 50 grams granulated sugar
- 1 tablespoon black cocoa powder
- Black gel food coloring
- 80 grams dark chocolate
- 40 grams heavy cream
Instructions
- Sift the almond flour, powdered sugar, and black cocoa powder into a bowl and set aside.
- Whip the egg whites with an electric mixer until foamy, then slowly add the granulated sugar until stiff peaks form.
- Add black gel food coloring to the meringue and mix until the color is even.
- Fold the dry ingredients into the meringue in stages until the batter flows smoothly off the spatula.
- Pipe the batter into small rounds with two small ear shapes on top to form cat faces on a lined baking sheet.
- Tap the sheet to release air bubbles and let the macarons rest until a skin forms on top.
- Bake at 300°F for 15 minutes, then cool completely on the sheet.
- Heat the heavy cream until steaming, pour over the dark chocolate, and stir until smooth to make the filling.
- Pipe the cooled chocolate filling onto half the shells and sandwich with the remaining shells.
Extra Tips
Pipe the ears slightly larger than you think so they stay visible after baking. Let the filled macarons rest in the fridge for a few hours to soften the shells before packing them for the office.Course: Dessert Cuisine: French Equipment: Sifter, Electric mixer, Piping bags, Baking sheets, Oven
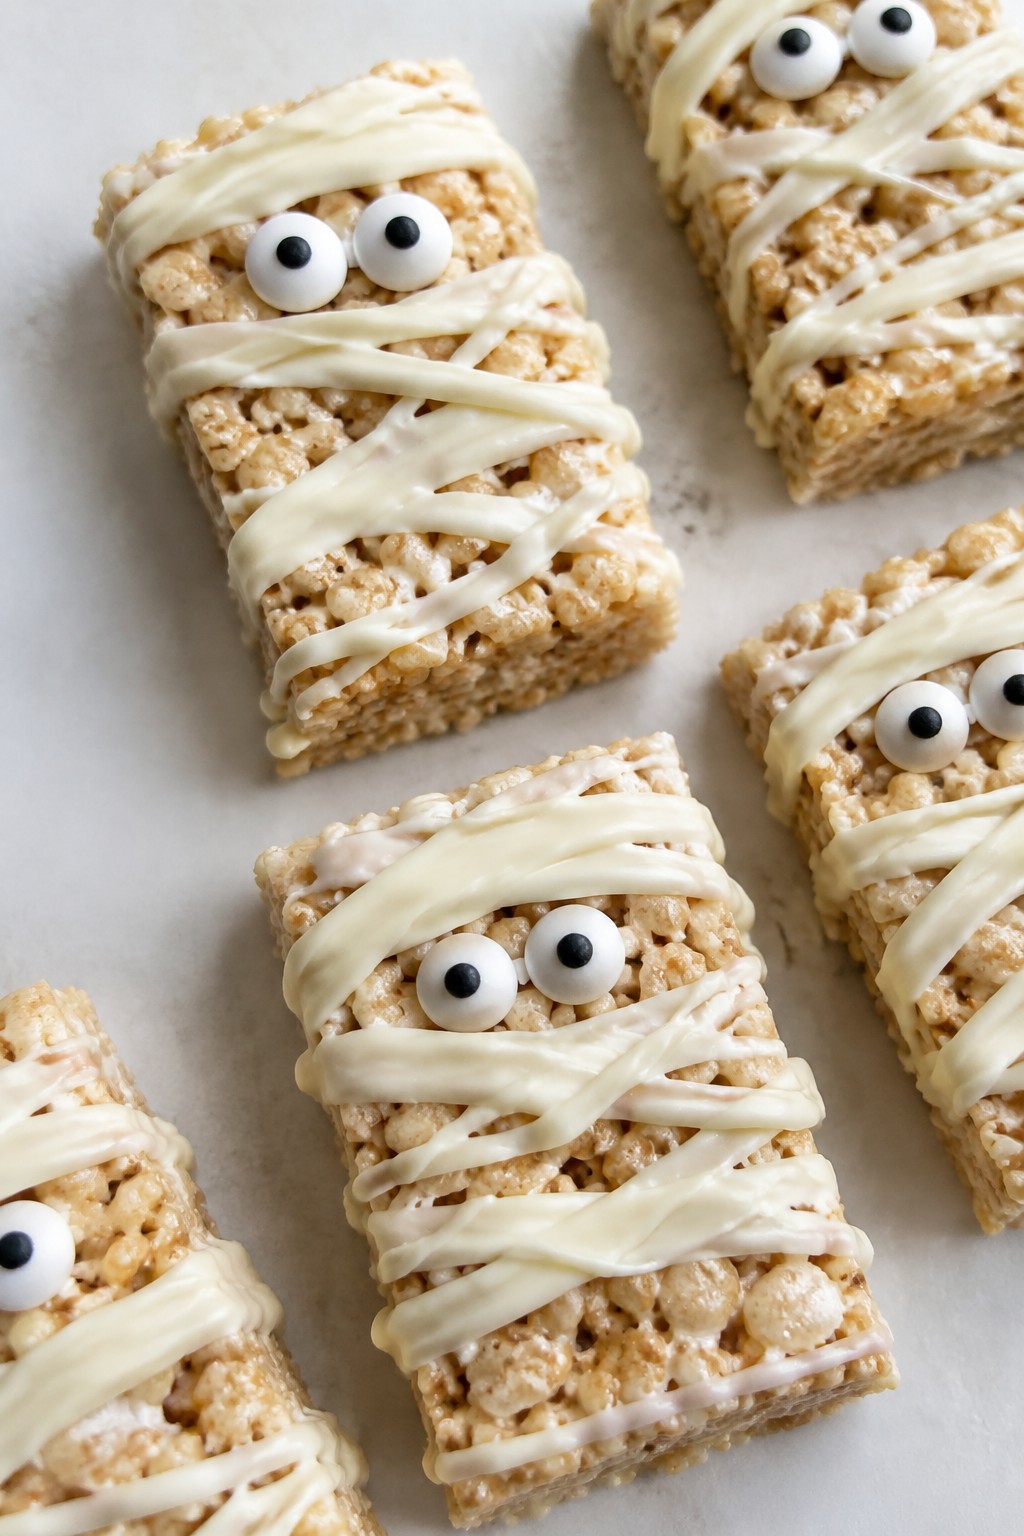
Mummy Rice Krispie Treats
These Mummy Rice Krispie Treats bring a light Halloween touch to any office break room. They travel well in a single layer and hold up at room temperature for several hours, so coworkers can grab one without extra plates or forks. Each bar keeps the familiar crisp cereal and chewy marshmallow texture, finished with thin white chocolate strips that look like bandages.
Serves 4 people.
Ingredients
- 2 tablespoons unsalted butter
- 3 cups mini marshmallows
- 4 cups Rice Krispies cereal
- 1/2 cup white chocolate melting wafers
- 8 candy eyeballs
Instructions
- Melt the butter in a large saucepan over low heat. Add the mini marshmallows and stir until completely smooth.
- Remove the pan from the heat and quickly stir in the Rice Krispies cereal until evenly coated.
- Press the mixture firmly into an 8×8-inch pan lined with parchment paper. Let it cool for 20 minutes, then cut into four rectangles.
- Place the white chocolate melting wafers in a microwave-safe bowl and heat in 20-second bursts, stirring between each, until smooth.
- Drizzle the melted white chocolate back and forth over each rectangle to create bandage-like stripes. Immediately press two candy eyeballs onto each treat while the chocolate is still soft.
Extra Tips
Press the cereal mixture firmly so the bars stay compact when you cut and move them. If the white chocolate thickens while you work, warm it for five seconds and stir again. Store cooled bars in an airtight container at room temperature for up to two days; the candy eyes stay bright and the chocolate stripes do not smear.Course: Dessert Cuisine: American Equipment: Large saucepan, 8×8 baking pan, Microwave-safe bowl
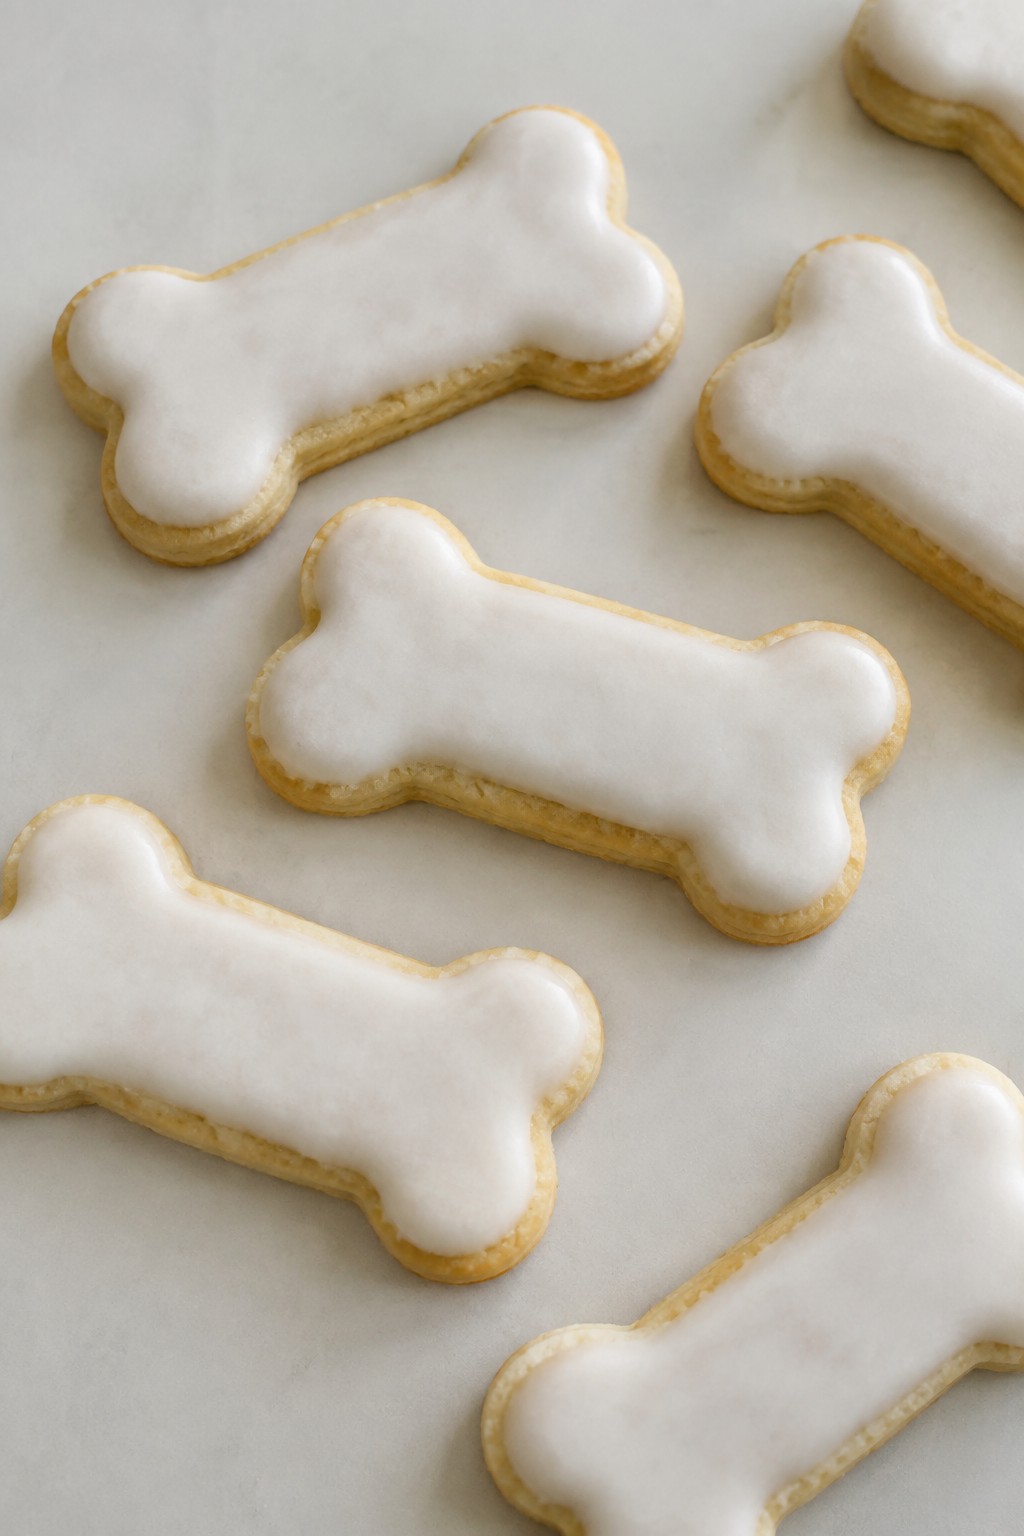
Skeleton Bone Sugar Cookies
These cookies bring a light Halloween touch to the break room without any fuss. Shaped like simple bones and finished with a thin white icing, they look festive on a platter and taste like a classic sweet sugar cookie. They hold up well in a container, so coworkers can grab one on the way out.
The finished cookies have crisp edges and a tender center. The icing sets to a matte finish that makes the bone shapes stand out on the plate.
Serves 4 people.
Ingredients
- 1 1/4 cups all-purpose flour
- 1/2 cup unsalted butter, softened
- 1/3 cup granulated sugar
- 1 large egg yolk
- 1 teaspoon vanilla extract
- 1/2 teaspoon baking powder
- 1/4 teaspoon salt
- 3/4 cup powdered sugar
- 1 tablespoon milk
Instructions
- Preheat the oven to 350 degrees and line a baking sheet with parchment paper.
- Beat the softened butter and granulated sugar in a mixing bowl until light and creamy.
- Add the egg yolk and vanilla extract, then mix until combined.
- Stir in the flour, baking powder, and salt until a soft dough forms.
- Divide the dough into 8 equal pieces. Roll each piece into a short log, then pinch the ends to create a bone shape.
- Place the shaped cookies on the prepared baking sheet and bake for 10 to 12 minutes until the edges turn lightly golden.
- Cool the cookies completely on a wire rack.
- Whisk the powdered sugar and milk in a small bowl until smooth.
- Dip a spoon or small brush into the icing and draw simple bone outlines on each cooled cookie. Let the icing set before moving the cookies.
Extra Tips
Shape the dough logs slightly thicker in the middle and thinner at the ends for a clearer bone look. If the icing feels too thick, add a few drops of milk at a time until it flows easily from the spoon. Store the finished cookies in a single layer in an airtight container so the icing stays intact for sharing at work.Course: Dessert Cuisine: American Equipment: Mixing Bowl, Baking Sheet, Wire Rack
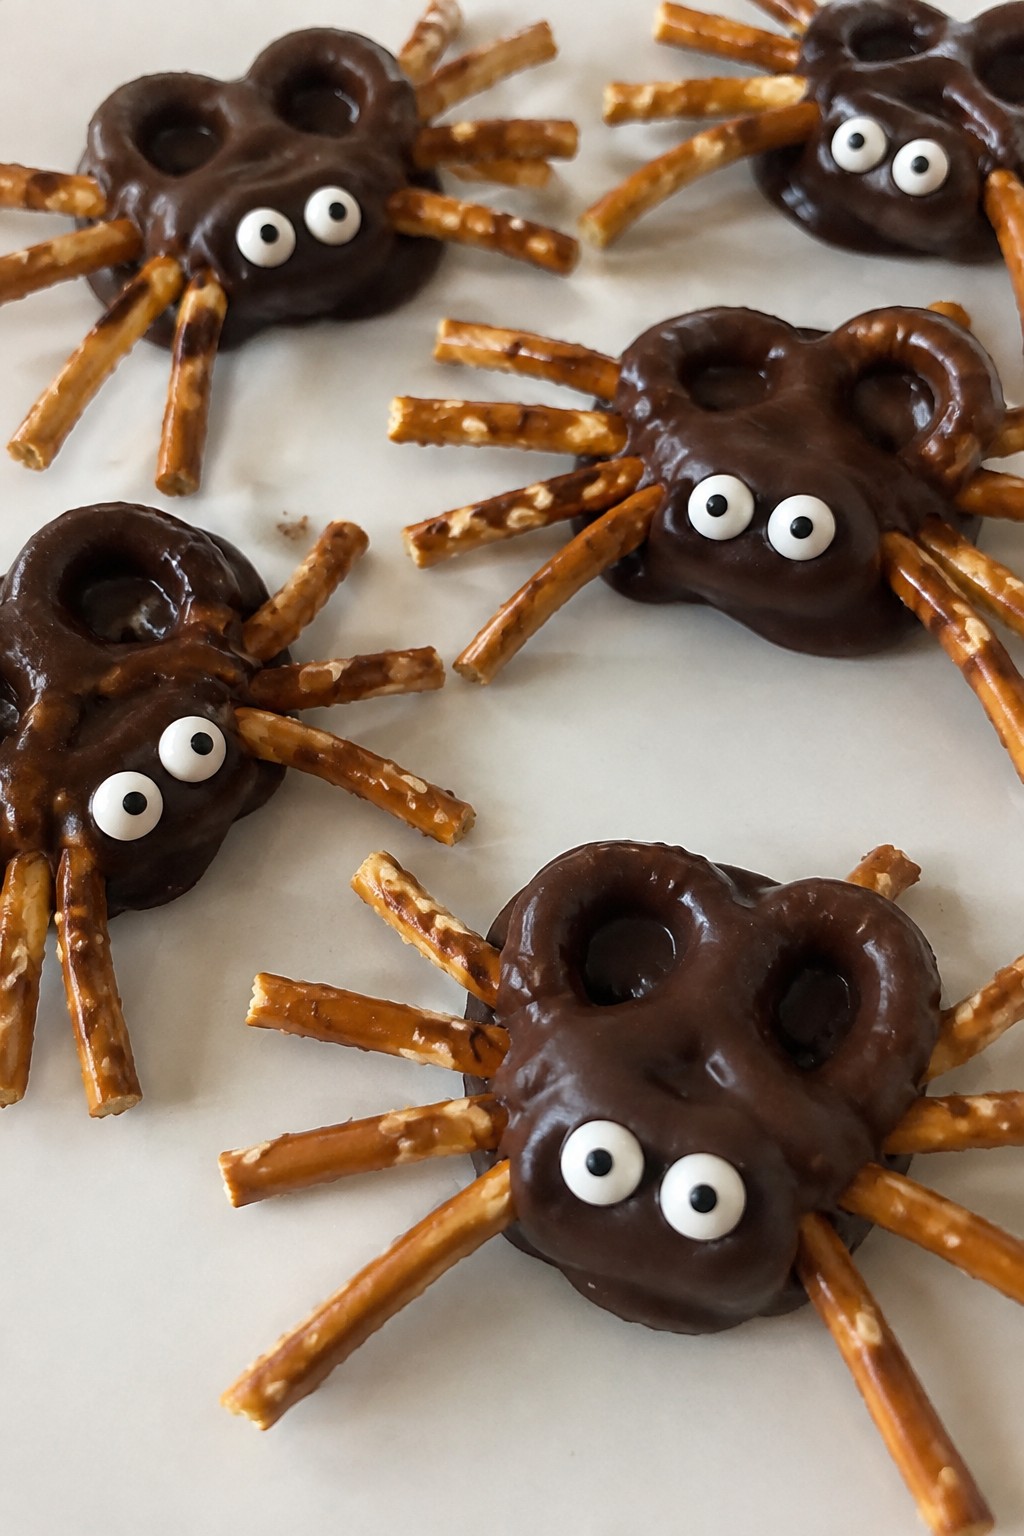
Chocolate-Dipped Pretzel Spiders
These chocolate-dipped pretzel spiders add a lighthearted Halloween touch to any office gathering. They require no baking and hold up well when packed for sharing with coworkers.
The combination of crisp pretzels and smooth chocolate creates a simple contrast that feels festive yet familiar.
Serves 4 people.
Ingredients
- 8 pretzel twists
- 64 thin pretzel sticks
- 12 ounces semisweet chocolate chips
- 2 tablespoons vegetable shortening
- 16 candy eyes
Instructions
- Line a baking sheet with parchment paper and set it aside.
- Place the chocolate chips and shortening in a microwave-safe bowl. Heat in 30-second intervals, stirring after each, until the mixture is smooth.
- Dip each pretzel twist into the melted chocolate until fully coated. Lift it out and let excess chocolate drip back into the bowl.
- Quickly press eight thin pretzel sticks into the sides of the coated pretzel to form legs while the chocolate is still soft. Add two candy eyes on top.
- Repeat with the remaining pretzels. Place the finished spiders on the prepared baking sheet and let them set at room temperature until firm.
Extra Tips
Work in small batches when attaching the legs so the chocolate does not harden before you finish. Store the spiders in a single layer in an airtight container at room temperature for up to three days. If the kitchen is warm, chill them briefly to speed setting without making the pretzels soggy.Course: Snack Cuisine: American Equipment: Baking sheet, Parchment paper, Microwave-safe bowl, Spoon
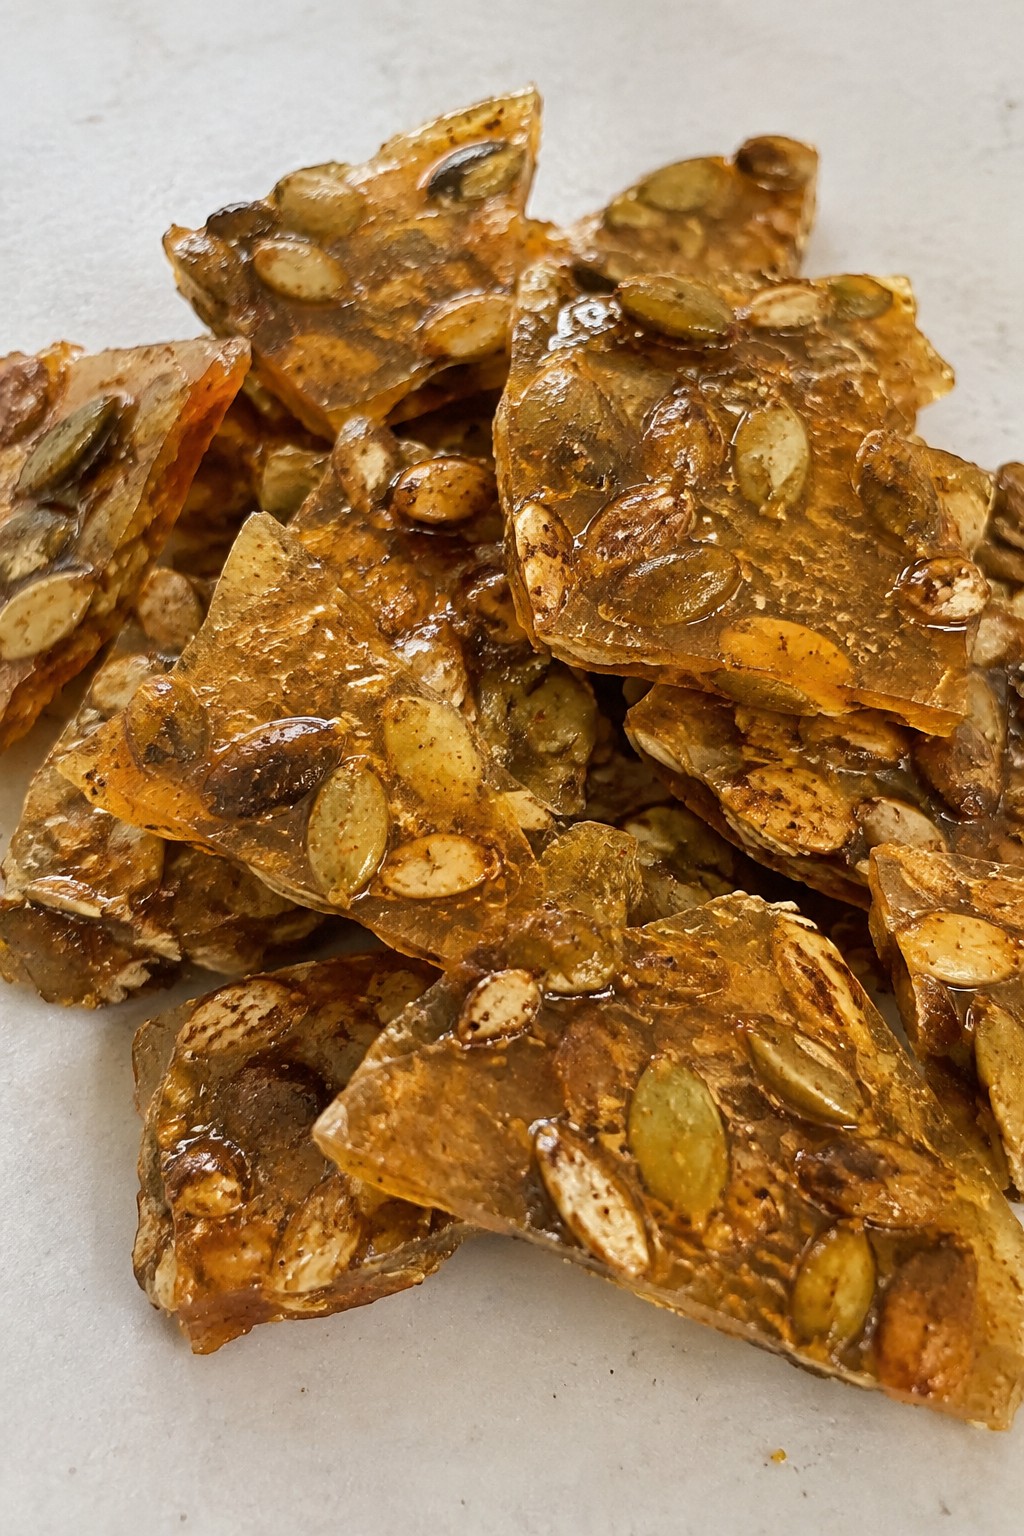
Spiced Pumpkin Seed Brittle
This spiced pumpkin seed brittle offers a crunchy, shareable treat that fits right into a Halloween office spread. The toasted seeds add a nutty bite while warm spices give it a cozy kick that stands out from basic sweets.
It delivers a clean snap with balanced sweet heat, making it easy to pack into small bags or tins for coworkers.
Serves 4 people.
Ingredients
- 1 cup raw pumpkin seeds
- 1 cup granulated sugar
- 1/3 cup light corn syrup
- 2 tablespoons unsalted butter
- 1 teaspoon pumpkin pie spice
- 1/4 teaspoon cayenne pepper
- 1/2 teaspoon baking soda
- 1/4 teaspoon salt
Instructions
- Toast the pumpkin seeds in a dry skillet over medium heat for 3 to 4 minutes until they start to pop and turn lightly golden. Set them aside.
- In a medium saucepan, combine the sugar and corn syrup. Cook over medium heat, stirring until the sugar dissolves, then stop stirring and let the mixture reach 300 degrees on a candy thermometer.
- Remove the pan from heat and quickly stir in the butter, pumpkin pie spice, cayenne pepper, and salt until the butter melts.
- Add the baking soda and stir. The mixture will foam up.
- Fold in the toasted pumpkin seeds right away, then pour everything onto a parchment-lined baking sheet and spread into a thin layer.
- Let the brittle cool completely at room temperature before breaking it into pieces.
Extra Tips
Work quickly once the baking soda goes in because the mixture sets fast. Store the cooled pieces in an airtight tin at room temperature so they stay crisp for gifting. If you want less heat, reduce the cayenne by half on the next batch.Course: Snack Cuisine: American Equipment: Saucepan, Candy Thermometer, Skillet, Baking Sheet, Parchment Paper
